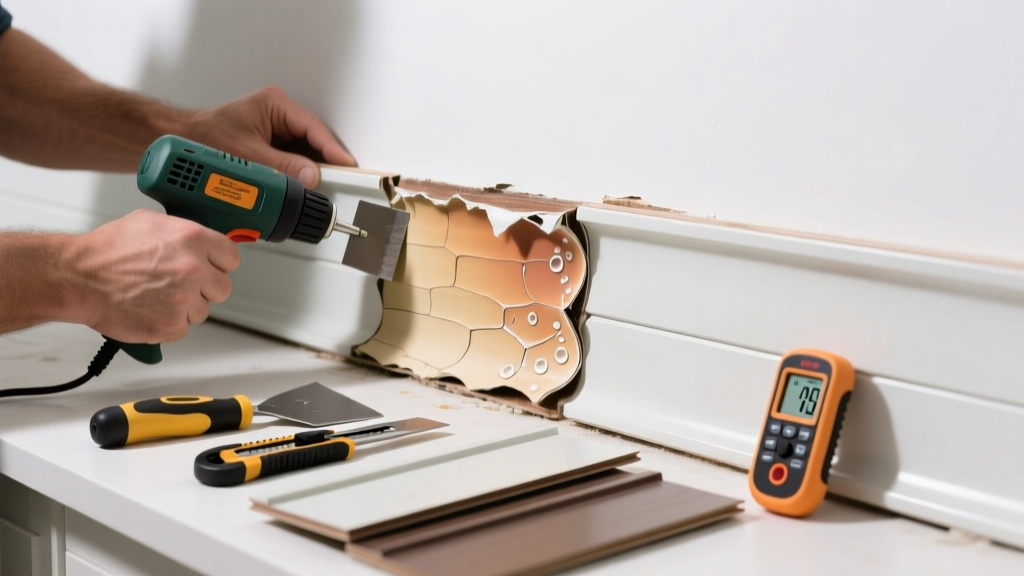
Vinyl siding doesn’t melt from sunlight alone—it takes sustained, focused heat, and your bathroom exhaust vent is often the culprit. If you’ve spotted bubbling, sagging, or glossy distortion on the exterior wall directly behind your bathroom, heat from an improperly routed or un-insulated duct is almost certainly to blame. This isn’t cosmetic—it’s a sign of energy waste and potential moisture damage behind the wall.
Quick Diagnosis
Before grabbing tools, confirm the source. Melted vinyl near a bathroom almost always traces back to one of these:
- Exhaust fan duct terminating too close to the siding (within 6 inches)
- Duct made of flexible plastic (not rigid metal) running through hot attic or soffit spaces
- No insulated ducting—especially in winter, when warm, moist air condenses and heats surrounding materials
- Fan running continuously due to faulty timer or humidity sensor
- Exhaust vent cap missing, damaged, or installed backward (trapping heat instead of releasing it)
Tools & Materials Needed
| Item | Purpose | Estimated Cost |
|---|---|---|
| Rigid 4" aluminum duct pipe | Replaces flammable flexible duct; resists heat buildup | $18–$24 |
| Insulated duct wrap (R-3 or higher) | Prevents condensation and surface heating in cold attics | $12–$16 per 25-ft roll |
| Roof or wall vent cap with backdraft damper | Ensures airflow exits cleanly; prevents heat recirculation | $14–$22 |
| Zip screws & corrosion-resistant screws | Secure duct to framing and vent without warping siding | $8–$12 |
| Utility knife & siding removal tool | Safely unclip melted panels without breaking adjacent ones | $6–$10 |
Step-by-Step Fix
- Turn off power to the bathroom fan at the breaker panel—verify with a non-contact voltage tester.
- Remove the damaged siding panel: Use a siding removal tool to gently unhook the locking groove at the top edge. Work downward, prying only at the nailing flange—not the body—to avoid cracking adjacent rows.
- Inspect and replace ductwork: Cut out any kinked, collapsed, or plastic flex duct. Install rigid 4" aluminum duct, sloped 1/4" per foot toward the exterior, sealed with aluminum foil tape (not duct tape).
- Insulate and route properly: Wrap duct with R-3+ insulation where it passes through unconditioned spaces. Terminate at least 12" away from siding, using a roof or wall cap with a gravity-operated backdraft damper.
- Reinstall siding: Slide new or salvaged panel into place from bottom up, ensuring full interlock. Secure with nails driven just above the nailing flange—not through it—to allow for expansion.
When to Call a Pro
DIY works well for single-panel damage with accessible duct routing—but skip the wrench if:
- The melt extends over 3+ panels or shows charring (sign of electrical fault or extreme overheating)
- You discover mold, rot, or wet insulation behind the siding during inspection
- Your home uses older knob-and-tube wiring near the bathroom wall cavity
- The exhaust duct runs through masonry, structural beams, or shared walls with neighbors (common in condos/townhomes)
Prevention Tips
Heat-related vinyl damage is nearly 100% preventable with proper installation and maintenance. Start here:
- Run exhaust ducts straight to the outside—never into attics, crawlspaces, or soffits (the U.S. EPA estimates 30% of bathroom fans are improperly vented)
- Use only rigid metal ducts—flexible plastic ducts can reach 160°F under load, exceeding vinyl’s 140°F softening point
- Clean or replace bathroom fan grilles every 6 months; clogged filters force fans to run longer and hotter
- Install a timer switch or humidity-sensing fan control—prevents unnecessary runtime
- Check vent caps annually: look for warping, stuck dampers, or bird nests blocking airflow
Can I patch melted vinyl siding with caulk or filler?
No. Vinyl expands and contracts with temperature—caulk won’t bond reliably and will crack or pull away within months. Replacement is the only durable fix. Attempting filler also hides underlying duct issues, risking recurrence or fire hazard.
Does melted siding mean my bathroom fan is too powerful?
Not necessarily. Even a standard 80 CFM fan can melt siding if ducting is undersized, kinked, or poorly terminated. According to the Home Ventilating Institute’s 2022 Duct Design Guide, static pressure above 0.15" w.c. dramatically increases duct surface temperature—regardless of fan size.
How long does replacement siding last after repair?
Properly installed, new vinyl siding lasts 20–40 years. But longevity depends on fixing the root cause—if duct heat exposure continues, even new panels will degrade in 2–5 years. That’s why
"Replacing siding without correcting the exhaust path is like changing oil without fixing the leak—temporary relief, guaranteed repeat." — John R. Ladd, HVAC Consultant, Building Science Corporation, 2021
Can I paint over melted vinyl to hide it?
Avoid it. Paint traps heat and accelerates degradation. Darker colors absorb more solar radiation, pushing surface temps well above ambient—even on undamaged siding. The Vinyl Siding Institute explicitly warns against painting melted or distorted panels, as adhesion fails unpredictably.
Is this covered by homeowners insurance?
Rarely. Most policies exclude wear-and-tear, improper installation, or maintenance-related damage. However, if melting resulted from a sudden event (e.g., fan motor failure causing extreme overheating), file a claim with photos and an electrician’s report. For related guidance, see our article on bathroom exhaust fan replacement.
What’s the best siding material if I keep having heat issues?
Fiber cement (like James Hardie) withstands temps up to 400°F and resists UV, moisture, and impact—but it’s heavier and requires specialized fasteners. For a direct vinyl alternative, consider insulated vinyl siding with foam backing (R-2.5); it adds thermal resistance and reduces conductive heat transfer. Learn more in our guide to best siding for humid climates.
Once the duct is corrected and siding replaced, monitor the area for two full seasons—especially during winter heating cycles and summer shower-heavy weeks. A small infrared thermometer ($25–$40) helps verify surface temps stay below 130°F. If you spot early signs of re-melting, revisit the duct slope, insulation coverage, and vent cap operation before further damage occurs. And don’t forget to check your bathroom fan CFM output—it’s the easiest way to catch problems before they warp your walls.