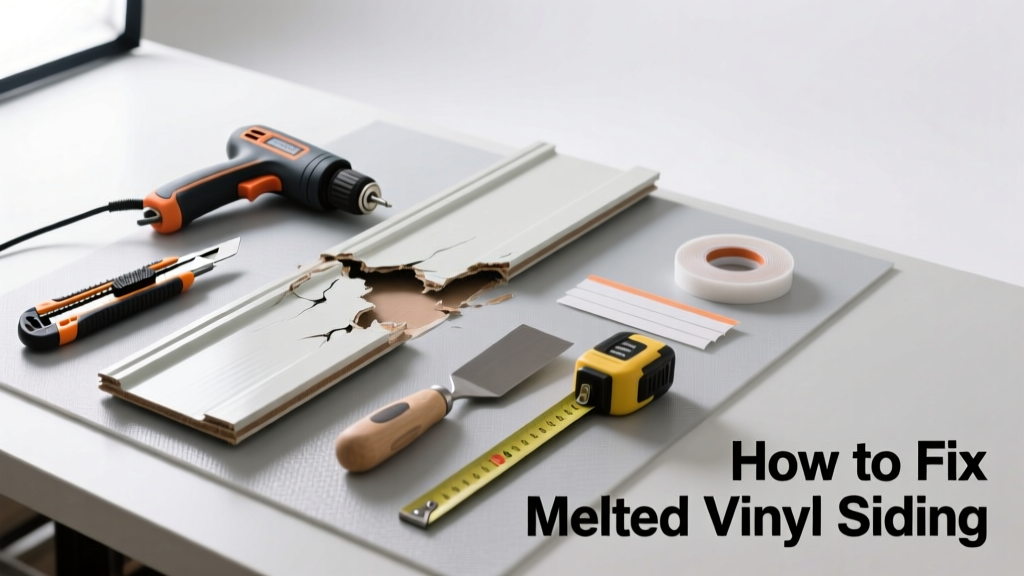
Melted vinyl siding isn’t just an eyesore—it’s a red flag that something nearby is overheating, and ignoring it risks fire hazards or water intrusion. Whether it’s warped near a grill, bubbled under a window reflection, or sagging beside a dryer vent, the damage usually points to a fixable cause. Start here to assess, repair, or decide if it’s time for professional help.
Quick Diagnosis
Vinyl siding melts at around 160–165°F—well below boiling water—but common household heat sources easily exceed that. Here are the top culprits:
- Concentrated sunlight reflected off energy-efficient windows (especially low-e glass)
- Propane or charcoal grills placed too close to the house (within 3 feet)
- Improperly vented clothes dryers discharging hot air directly onto siding
- AC condenser units mounted flush against or angled toward the wall
- Outdoor lighting fixtures with incandescent bulbs installed too close to panels
Tools & Materials Needed
| Item | Purpose | Estimated Cost |
|---|---|---|
| Utility knife with snap-off blades | Cuts melted sections cleanly without cracking adjacent panels | $8–$15 |
| Zip tool (vinyl siding removal tool) | Lifts locking edges without damaging undamaged rows above | $6–$12 |
| Replacement vinyl siding panel (matching profile & color) | Exact match prevents visual mismatch; order from manufacturer or use color matching guide | $25–$45 per 12-ft panel |
| Corrosion-resistant roofing nails (1-1/4” galvanized) | Secure new panel without warping; avoid overdriving | $5–$9 per box |
| Heat-resistant caulk (silicone-based, ASTM C920) | Seals gaps around vents or windows contributing to reflection issues | $12–$18 per tube |
Step-by-Step Fix
Choose the method based on melt severity and location. For minor warping (<1/4” sag), try cooling and reshaping first. For severe melting (bubbling, dripping, or loss of structural integrity), full panel replacement is safest.
- Cool and assess: Wait until ambient temps drop below 75°F. Gently press the warped area—if it springs back, it may be salvageable with cold water spray and light pressure. If it stays deformed or feels brittle, skip to step 3.
- Reshape (for mild cases only): Use a damp cloth and ice pack for 10 minutes, then apply gentle pressure with a flat wood block and clamp for 2 hours. Do not use heat guns or hair dryers—this worsens distortion.
- Remove damaged panel: Insert zip tool under the upper edge of the damaged panel, slide horizontally to release the locking tab, then lift upward and out. Work from bottom up to avoid disturbing panels above.
- Install replacement: Slide new panel’s bottom nailing hem into the starter strip, align the top lock with the panel above, and push down firmly until it clicks. Nail every 12 inches—leaving 1/32” gap at nail head for thermal expansion.
- Address root cause: Install a non-reflective screen on nearby windows, relocate grills to ≥3 ft away, or redirect dryer exhaust with a properly angled vent cap.
When to Call a Pro
Some situations demand licensed expertise—not just for safety, but code compliance and warranty protection.
- Melting spans more than two full panels or occurs across multiple walls (indicates systemic reflection or venting failure)
- Damage overlaps soffit, fascia, or roofline junctions where flashing or moisture barriers may be compromised
- You’re replacing siding on a multi-story home without scaffolding or fall protection
- Your home has fiber-cement or insulated vinyl backing—cutting or sealing requires specialized tools and training
"Over 62% of vinyl siding melt incidents reported to the Vinyl Siding Institute in 2022 involved window reflection—most preventable with simple film or screening solutions." — Vinyl Siding Institute Annual Report, 2023
Prevention Tips
Fixing melted siding once isn’t enough—preventing recurrence protects your investment and avoids insurance complications.
- Install anti-reflective window film on south- or west-facing low-e windows (tested to reduce surface temps by up to 40°F)
- Use a thermometer to verify dryer exhaust outlet temps stay below 140°F; clean lint traps monthly and inspect ducts annually
- Keep grills, fire pits, and space heaters at least 36 inches from any exterior wall surface
- Trim shrubs and vines within 18 inches of the foundation—dense foliage traps radiant heat against siding
Can I paint over melted vinyl siding?
No. Paint doesn’t adhere reliably to heat-distorted surfaces, and trapped moisture beneath will cause blistering and peeling within months. Replacement is the only durable solution.
Will insurance cover melted vinyl siding repair?
Typically no—most policies exclude damage from gradual heat exposure or improper appliance placement. However, if melting resulted from a covered event like a lightning strike igniting a nearby object, file a claim with photos and a fire department report.
How long does replacement vinyl siding last after repair?
Properly installed, matching panels last 20–40 years—same as original siding—provided you address the root cause. Panels exposed to repeated reflection without mitigation may degrade in as little as 3–5 years.
Can I patch melted areas with epoxy or filler?
Absolutely not. Vinyl expands and contracts with temperature; rigid fillers crack, separate, and trap moisture behind the panel. This leads to rot, mold, and eventual panel failure.
Is there a temporary fix while I wait for replacement panels?
For small, non-structural warps, cover with a UV-stable vinyl repair tape (e.g., 3M™ Vinyl Repair Tape) as a short-term cosmetic stopgap—never longer than 30 days. It won’t restore integrity or insulation value.
Do I need to replace the entire wall if one panel melts?
No—unless adjacent panels show micro-cracks, discoloration, or thermal stress lines radiating from the melt zone. Those indicate cumulative exposure and warrant inspection of all panels in that sun-exposed section.
Once the new panel is secured and the heat source corrected, inspect the surrounding area quarterly for early signs of re-warping—especially during peak summer afternoons. A quick visual check takes less than two minutes but can save hundreds in future repairs. And if you’re working near aluminum soffits or gutters, remember: vinyl and metal expand at different rates, so leave extra clearance at transition points to avoid buckling or noise.