If your vinyl floor is tearing at the seam, curling at the edge, or showing cracks near a doorway or appliance, you likely don’t need to rip up the whole floor—just the failing part. Vinyl is durable, but localized damage happens from heavy furniture, moisture exposure, or poor subfloor prep. Replacing just the torn section saves time, money, and avoids mismatched patterns.
Quick Diagnosis
Before cutting anything, confirm the issue isn’t just surface wear or adhesive failure. Tearing that lifts easily, reveals gaps underneath, or shows discoloration or warping beneath means replacement—not re-gluing—is required.
- Moisture intrusion under the vinyl (common near sinks or laundry rooms)
- Subfloor movement or unevenness causing stress at seams
- Older vinyl (pre-2000) losing plasticizer, becoming brittle
- Poor initial installation: insufficient adhesive, no acclimation, or improper seam welding
- Heavy rolling loads (e.g., refrigerator casters) concentrating pressure on one spot
Tools & Materials Needed
| Item | Purpose | Estimated Cost |
|---|---|---|
| Utility knife with snap-off blades | Cuts cleanly through vinyl without gouging subfloor | $8–$15 |
| 36-inch straightedge or metal ruler | Guides precise, straight cuts along seams or pattern lines | $12–$22 |
| Vinyl flooring patch kit (matching pattern/texture) | Provides adhesive, seam sealer, and compatible material | $25–$45 |
| Notched trowel (1/16" x 1/16") | Spreads thin-set or vinyl-specific adhesive evenly | $7–$14 |
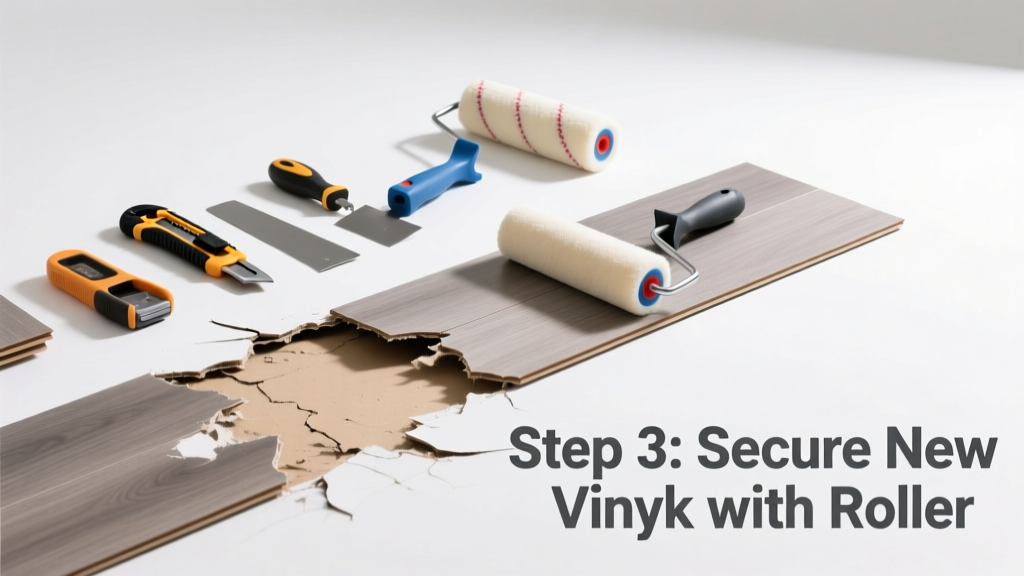
| Roller (50-lb weighted) | Ensures full contact and eliminates air pockets | $20–$35 |
Step-by-Step Fix
Work in a well-ventilated room. Turn off HVAC to minimize dust circulation. Remove baseboards if the tear extends within 2 inches of the wall.
- Cut out the damaged section: Score along existing seams or grout lines using a straightedge; cut 1/2 inch beyond visible damage. Lift and remove the piece carefully—don’t pry upward, which can lift adjacent tiles.
- Prepare the subfloor: Scrape old adhesive with a carbide scraper. Fill low spots with self-leveling compound; let cure 24 hours. Sand high spots until smooth. Vacuum thoroughly—any grit causes future lifting.
- Test-fit the replacement: Lay the new piece dry, checking alignment with pattern and adjacent planks. Trim as needed with utility knife and straightedge—never force-fit.
- Apply adhesive and set: Spread vinyl-specific adhesive with notched trowel. Wait until tacky (per manufacturer timing—usually 10–20 min). Press firmly into place, then roll twice—once lengthwise, once crosswise.
- Seal the seam: Use seam sealer designed for your vinyl type (LVT vs. sheet). Apply with fine-tip applicator, wipe excess immediately with damp cloth. Let cure 48 hours before foot traffic.
When to Call a Pro
Some tears signal deeper issues that DIY can’t safely resolve. Don’t attempt replacement if:
- The tear spans more than two full planks or covers over 4 sq. ft.
- You find black mold, rot, or soft spots in the subfloor beneath the vinyl
- Your home was built before 1985—old vinyl may contain asbestos; testing and abatement are legally required before removal
- The surrounding floor shows buckling, widespread separation, or inconsistent color fading (signs of systemic moisture or adhesive failure)
"Over 60% of vinyl floor failures stem from subfloor prep—not the material itself." — National Wood Flooring Association (NWFA) Installation Guidelines, 2022
Prevention Tips
Extend the life of your repair—and the rest of the floor—with these habits:
- Use felt pads under all furniture legs and replace them every 6 months
- Install door mats at exterior entries to trap grit—sand is vinyl’s #1 abrasive
- Maintain indoor humidity between 35–55% year-round to prevent plasticizer loss
- Avoid dragging appliances; lift and carry or use furniture sliders rated for vinyl
- Reapply vinyl-specific sealant to seams annually in high-moisture zones like bathrooms
Can I use bleach on this?
No. Bleach breaks down vinyl’s polymer structure and accelerates embrittlement. Use pH-neutral cleaners like Bona Stone, Tile & Laminate Cleaner instead. For disinfecting, dilute 1 part white vinegar to 3 parts water—never undiluted.
Will the patch match my existing floor?
Exact matching depends on age and batch. If you kept leftover planks from installation, use those. Otherwise, order a sample from the same manufacturer and lot number—if available. For LVT, many brands offer online pattern-matching tools (e.g., Shaw’s Visual Match Tool).
How long does the adhesive take to fully cure?
Most vinyl adhesives reach handling strength in 24 hours, but full chemical cure takes 72 hours. Avoid mopping, moving furniture, or placing rugs during this period. High humidity slows cure time—add dehumidification if RH exceeds 60%.
Do I need to acclimate the replacement piece?
Yes—even for small patches. Acclimate for at least 48 hours in the room where it will be installed. Store flat, not rolled, and keep sealed in original packaging until ready to cut.
Can I replace sheet vinyl with luxury vinyl tile (LVT)?
You can—but only if the subfloor is perfectly level and stable. Sheet vinyl often hides minor imperfections; LVT exposes them. You’ll need to skim-coat and sand first. For seamless transitions, consider sticking with the same product type. See our guide on sheet vinyl to LVT transitions.
What if the tear keeps coming back after repair?
Recurring tears point to unresolved root cause: either ongoing subfloor movement (check for loose joists or foundation settling) or chronic moisture (test with a moisture meter—readings above 75% RH indicate problem). Address the source first—patching without fixing it is temporary.
A well-executed partial replacement restores function and appearance without the cost or disruption of a full floor redo. Pay close attention to subfloor prep and adhesive timing—the difference between a 5-year fix and a 5-month failure often comes down to those two steps. Keep your spare vinyl pieces labeled with date and room location; they’ll save you time and stress next time a corner lifts near the dishwasher.