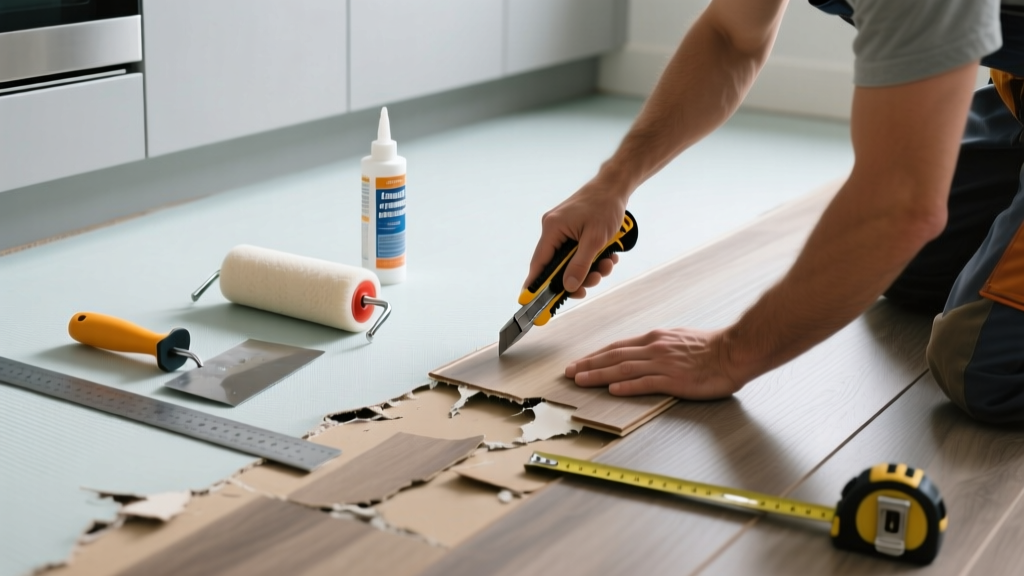
That jagged tear near your fridge or under the island isn’t just an eyesore—it’s a trip hazard and a moisture trap waiting to worsen. Kitchens subject vinyl to constant thermal expansion, heavy loads, and accidental drops, making tears far more common here than in bedrooms or hallways. The good news? Most small-to-moderate tears can be repaired in under two hours with basic tools and the right adhesive.
Quick Diagnosis
Before grabbing glue or a utility knife, identify what’s really causing the tear:
- Subfloor movement—especially over concrete with minor settling or moisture vapor issues
- Heavy appliance shifting (refrigerators, dishwashers) dragging or pinching the sheet
- Repeated impact from dropped cookware or rolling carts
- Poor installation: seams not heat-welded, or inadequate acclimation before laying
- Chemical degradation from harsh cleaners like ammonia-based degreasers or undiluted vinegar
Tools & Materials Needed
| Item | Purpose | Estimated Cost |
|---|---|---|
| Utility knife with snap-off blades | Cleanly trim frayed edges without tearing further | $8–$15 |
| 3M Vinyl Floor Seam Sealer (or Armstrong S-89) | Flexible, waterproof adhesive designed for PVC-based vinyl | $12–$20 |
| Roller (5-inch J-roller or seam roller) | Presses adhesive into seam and removes air bubbles | $14–$22 |
| Painter’s tape (low-tack, 1.5") | Holds edges flat while adhesive cures; won’t lift vinyl backing | $6–$10 |
| Isopropyl alcohol (91%) and lint-free cloths | Cleans oil, grease, and residue before bonding—critical for adhesion | $5–$8 |
Step-by-Step Fix
Choose the method that matches your tear’s size and location:
- Small linear tear (<3 inches, no lifting): Clean with isopropyl alcohol, apply seam sealer directly into the crack with a fine-tip applicator, press edges together, weight with books for 24 hours.
- Lifted seam or flap (2–8 inches): Lift gently, scrape old adhesive residue with a plastic putty knife, reapply seam sealer to both subfloor and back of vinyl, use J-roller from center outward, then tape edges down for 12 hours.
- Corner curl + tear (common near cabinets): Cut away damaged corner using utility knife and straightedge, cut matching patch from scrap vinyl (grain and pattern aligned), bond with seam sealer, roll firmly, and seal perimeter with clear vinyl seam tape.
When to Call a Pro
DIY repairs hit hard limits when structural or environmental factors are involved. Call a certified flooring contractor if you see any of these:
- Tear spans more than 12 inches and runs parallel to a wall—often signals subfloor deflection or moisture intrusion
- Multiple tears appearing within 6 months, especially in different zones—points to improper installation or slab moisture above 75% RH (per ASTM F2170 test)
- Musty odor or dark discoloration under lifted vinyl—possible mold growth beneath, requiring EPA-certified remediation
- Underlayment is buckling or delaminating (e.g., cork or foam pad separating from concrete)
"Over 68% of vinyl floor failures in kitchens stem from moisture-related subfloor issues—not surface wear—according to the National Wood Flooring Association's 2022 Field Failure Analysis."
Prevention Tips
Extend your repair’s lifespan with proactive habits:
- Install felt pads on all cabinet base feet and appliance legs—even refrigerators should sit on 1/4" rubber glides
- Use area rugs with non-staining, breathable backings (like jute or low-pile polypropylene) in high-drag zones (sink, stove, island)
- Re-acclimate new vinyl planks or sheets for 48+ hours at kitchen temperature/humidity before installing
- Test cleaners first: the U.S. EPA estimates that 14% of household water usage is from leaks—but chemical damage from improper cleaners causes nearly 22% of premature vinyl failures (Floor Covering Institute, 2023)
Can I use super glue instead of seam sealer?
No. Cyanoacrylate (super glue) becomes brittle and yellow under UV exposure and thermal cycling—kitchens experience both daily. It also lacks flexibility, so it’ll crack again within weeks. Stick with vinyl-specific seam sealers like Tarkett T-20 or Mannington Adhesive 2000.
Will a patch be visible after repair?
A well-executed patch on homogeneous sheet vinyl (solid color or subtle fleck) is nearly invisible. Patterned or luxury vinyl tile (LVT) patches are harder to hide unless you source an exact match from the original box—or use a decorative inlay (like brass or copper edging) as a design feature.
How long before I can walk on the repaired area?
Wait at least 12 hours before light foot traffic. For full adhesive cure and resistance to moisture or shifting, wait 48 hours before placing appliances or heavy furniture. Avoid mopping the seam for 72 hours.
Do I need to remove baseboards to fix a tear near the wall?
Usually not—unless the tear originates *under* the baseboard due to expansion pressure. In that case, carefully pry up only the bottom 1/2 inch with a stiff putty knife, relieve tension, and reinstall with finish nails spaced every 16 inches. Don’t force it: baseboard removal mistakes often cause drywall damage.
Can I repair vinyl over radiant heating?
Yes—but only with adhesives rated for ≥140°F continuous service (check product datasheet). Turn off heating 48 hours before repair and keep it off for 72 hours after. Vinyl expands significantly at elevated temps, so misaligned seams will reopen quickly if installed hot.
What’s the difference between peel-and-stick and glue-down vinyl tears?
Peel-and-stick tears almost always indicate poor substrate prep (dust, wax, or unevenness) or adhesive failure due to humidity swings. Glue-down tears more often reflect subfloor movement or incompatible adhesive. Repairs differ: peel-and-stick patches require aggressive surface prep and double-sided vinyl tape; glue-down needs solvent-based seam sealer and longer clamping time. See our guide on peel-and-stick vinyl repair for details.
Once you’ve sealed that tear and wiped down the counter, take a minute to check the gap between your refrigerator and the wall—tight clearance traps heat and accelerates vinyl degradation. A 2-inch buffer improves airflow and buys you years of extra life. And remember: a vinyl floor isn’t meant to last forever, but with smart fixes and consistent care, it doesn’t have to fail early either.