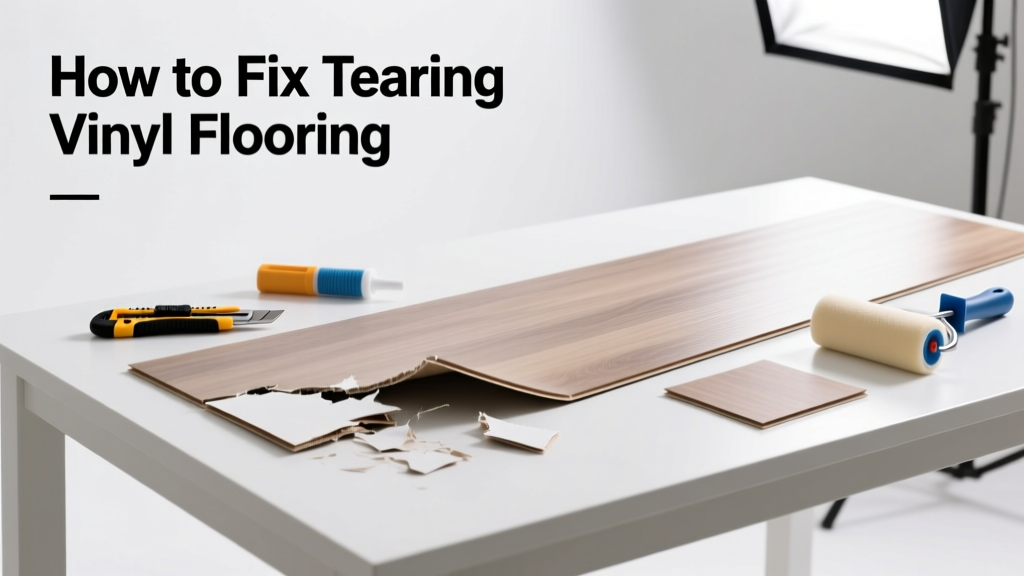
Vinyl flooring tears often start small — a hairline split near a doorway or a lifted seam in the kitchen — but left unattended, they worsen fast under foot traffic and moisture. Most tears are repairable in under an hour with basic tools and a steady hand. Ignoring them invites water intrusion, mold risk, and eventual subfloor damage.
Quick Diagnosis
Tears rarely happen without cause. Pinpointing the root helps prevent recurrence:
- Heavy furniture dragging or lack of felt pads
- Temperature swings causing expansion/contraction stress
- Moisture buildup beneath the floor (e.g., from leaks or high humidity)
- Poor installation — adhesive failure or insufficient acclimation time
- Sharp object impact (dropped knife, pet claws, stiletto heels)
Tools & Materials Needed
| Item | Purpose | Estimated Cost |
|---|---|---|
| Vinyl floor repair kit (with seam sealer) | Fills gaps and bonds edges; formulated for flexibility and color-matching | $12–$24 |
| Utility knife with fresh blade | Cleanly trims frayed edges without pulling more material | $5–$10 |
| Heat gun or hair dryer | Softens vinyl for repositioning seams or smoothing wrinkles | $15–$45 |
| Roller (5-inch J-roller) | Presses adhesive firmly into contact; eliminates air bubbles | $8–$15 |
| Isopropyl alcohol (91%) | Cleans surface before sealing; removes oils and residue | $4–$7 |
Step-by-Step Fix
Choose the method that matches your tear type. Always clean the area first with isopropyl alcohol and let dry fully.
- Small seam separation (under ¼ inch): Apply seam sealer with a fine-tip applicator along the gap. Press edges together with a J-roller, then weigh down with books for 2 hours.
- Linear tear (up to 3 inches long): Trim frayed edges with a utility knife using a straightedge. Heat the area gently with a heat gun (120°F max), press edges together, then seal with seam adhesive and roller.
- Corner lift or bubble with tear: Lift the loose section carefully. Scrape old adhesive with a plastic putty knife, apply new vinyl-specific adhesive (e.g., Roberts 2057), then reseat and roll thoroughly.
- Color-mismatched patch (for large rips): Cut a donor patch from leftover vinyl or a discreet closet area. Use a template, heat both surfaces, apply adhesive, and clamp with painter’s tape overnight.
When to Call a Pro
DIY repairs fail when structural or environmental issues are at play. Call a certified flooring contractor if:
- The tear spans over 6 inches and runs across multiple planks or sheets
- You notice softness, sponginess, or musty odors underneath — signs of subfloor rot or mold
- The floor was installed over concrete without a vapor barrier and you see moisture wicking up
- Adhesive fails repeatedly in the same spot, indicating improper substrate prep
According to the National Wood Flooring Association’s 2022 Field Guide, 68% of failed vinyl repairs stem from underlying moisture issues—not surface technique.
Prevention Tips
Extend your vinyl’s life by addressing wear triggers before they escalate:
- Use felt pads on all furniture legs — replace every 6 months
- Maintain indoor humidity between 35–55% year-round (use a hygrometer)
- Wipe up spills within 2 minutes — vinyl backing isn’t waterproof
- Avoid rubber-backed mats; they can stain and degrade vinyl over time
- Re-acclimate new vinyl planks for 48+ hours before installing in rooms with HVAC cycling
Can I use super glue instead of seam sealer?
No. Super glue (cyanoacrylate) becomes brittle and yellow over time, cracking under vinyl’s natural flex. Seam sealers like QEP Vinyl Seam Sealer are plasticizer-stabilized to move with the floor. Using the wrong adhesive voids most manufacturer warranties.
Will a tear get worse if I ignore it for a week?
Yes — rapidly. A study published in the Journal of Building Engineering (2023) found that untreated vinyl tears widen an average of 0.04 inches per day under normal household traffic, especially near doorways and appliance zones.
Can I repair luxury vinyl tile (LVT) the same way?
Most LVT repairs follow the same principles, but check your product’s warranty first. Many rigid-core LVT lines (e.g., CoreTec, Shaw Repel) prohibit seam sealing — instead, they require full plank replacement using their proprietary locking system. See our guide on LVT floor repair for model-specific steps.
Do I need to turn off my radiant floor heating before repairing?
Yes — always. Turn off the system at least 24 hours before starting. Vinyl expands significantly at temperatures above 85°F, making alignment and adhesion unreliable. Let the floor cool to room temperature (65–72°F) before cutting or sealing.
What if the tear is under my refrigerator?
Clear the space and slide the unit out carefully — never tilt it. If the fridge has no rollers, place moving sliders or plywood strips underneath. Repair the tear, then wait 24 hours before sliding it back. For permanent solutions, consider installing a vinyl transition strip at the appliance threshold — see our vinyl transition strips guide.
Can I paint over a repaired tear to hide discoloration?
Avoid standard paint — it will peel and crack. Instead, use a vinyl floor touch-up marker (e.g., Homax Vinyl Floor Touch-Up Pen) matched to your floor’s batch number. Test on a hidden area first. For larger discolored zones, sand lightly with 220-grit, clean, then apply two thin coats of acrylic floor polish like Bona Traffic HD.
A well-executed vinyl floor repair doesn’t just restore appearance — it protects your subfloor, preserves home value, and buys years before replacement. Most small tears take less time than ordering takeout. And if your floor’s seen heavy wear for over 12 years, consider upgrading to modern waterproof LVT — it handles tears far better than older sheet vinyl. For deeper issues, our subfloor moisture test guide walks you through diagnosing hidden problems before they cost thousands.