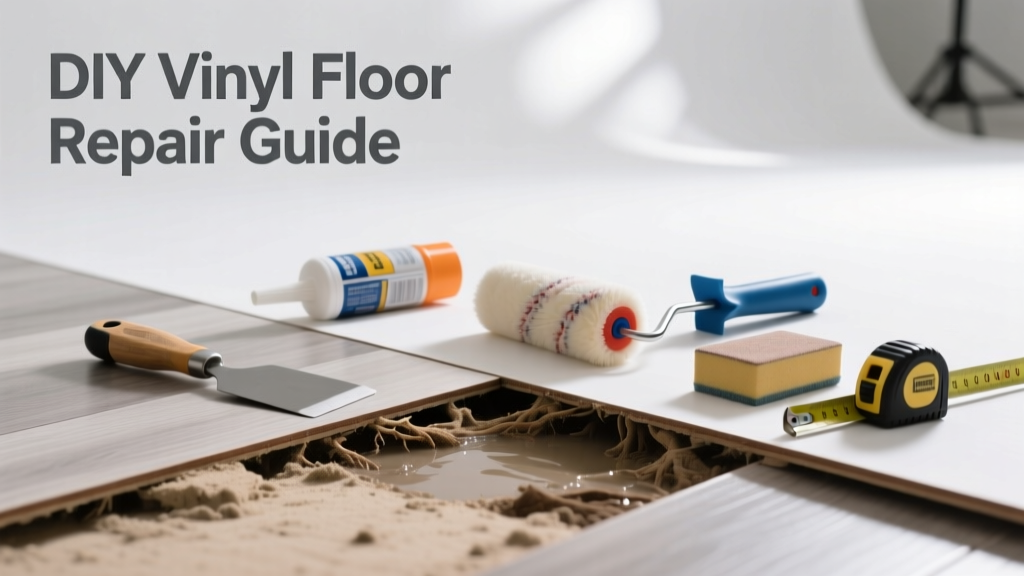
If your vinyl floor is curling, bubbling, or peeling up near baseboards or seams, it’s not just unsightly—it’s a warning sign of moisture, poor adhesion, or installation flaws. Left unaddressed, small lifts can worsen into full detachment or mold-prone gaps beneath the surface. The good news? Most cases are fixable in under two hours with basic tools and the right technique.
Quick Diagnosis
Before grabbing glue or a roller, pinpoint the root cause. Vinyl lifting rarely happens without reason—here’s what’s most likely going on:
- Moisture trapped underneath (from leaks, high humidity, or improper subfloor drying)
- Insufficient or degraded adhesive (especially in older peel-and-stick or sheet vinyl)
- Temperature or humidity swings causing expansion/contraction stress
- Poor subfloor prep—dust, debris, or unevenness preventing full contact
- Heavy furniture dragging or foot traffic near vulnerable edges
Tools & Materials Needed
| Item | Purpose | Estimated Cost |
|---|---|---|
| Utility knife with fresh blade | Cleanly score and lift damaged sections without tearing | $5–$12 |
| 3M 90 Spray Adhesive or Roberts 2057 Vinyl Flooring Adhesive | Re-bond vinyl securely; solvent-based for lasting hold | $12–$22 |
| Roller with 100-lb pressure rating | Eliminates air pockets and ensures full adhesive contact | $18–$35 |
| Painter’s tape & plastic sheeting | Protects adjacent flooring and controls adhesive overspray | $4–$9 |
| Heat gun (optional) | Softens old adhesive and makes vinyl pliable for repositioning | $35–$65 |
Step-by-Step Fix
Use these methods in order of severity—start with the least invasive and escalate only if needed:
- Surface Lift (Edge Curling Only): Clean the exposed subfloor with isopropyl alcohol. Apply a thin bead of vinyl-specific adhesive under the lifted edge using a fine-tip applicator. Press down firmly and weight with books or sandbags for 24 hours.
- Seam Re-Adhesion: Score along both sides of the seam with a utility knife. Peel back 2–3 inches, scrape off old adhesive residue with a plastic scraper, then apply fresh adhesive. Align carefully and roll from center outward.
- Bubble Removal: Pierce the bubble with a fine needle, inject adhesive via syringe, then roll flat. Place a weighted board over it for 12 hours.
According to the National Wood Flooring Association’s 2022 Installation Guidelines, 'Vinyl bubbles larger than 2 inches often indicate subfloor moisture exceeding 75% RH—test before resealing.'
- Full Section Replacement (if torn or discolored): Cut out the damaged area with straight edges, trace onto new vinyl, cut to match, and bond with seam sealer. Use a seam roller for invisible joins.
When to Call a Pro
Some situations demand expert intervention—not because they’re hard, but because missteps risk structural damage or health hazards:
- Lifting covers more than 15% of the room (sign of systemic moisture or subfloor failure)
- You detect musty odors or dark staining underneath—possible mold growth behind the vinyl
- The subfloor feels spongy or flexes when stepped on (rot or delamination)
- Under-slab plumbing leaks are suspected (e.g., consistent dampness near slab penetrations)
Companies like water damage repair specialists can run moisture scans and replace compromised subfloor layers before reinstalling vinyl.
Prevention Tips
Long-term stability starts with environmental control and smart maintenance:
- Maintain indoor humidity between 35–55% year-round using a dehumidifier or HVAC humidistat
- Install transition strips at doorways to absorb expansion stress between rooms
- Never use steam mops—heat and moisture degrade adhesive bonds over time
- Place felt pads under all furniture legs and avoid dragging heavy items across the floor
- Inspect baseboard gaps annually; caulk with silicone-based sealant to block vapor migration
Can I use regular wood glue to fix lifted vinyl?
No—wood glue dries rigid and lacks flexibility, causing cracking or re-lifting as vinyl expands. Always use adhesives rated specifically for resilient flooring, like Roberts 2057 or Bostik’s Best. These remain slightly elastic to accommodate thermal movement.
How long does vinyl adhesive take to cure fully?
Most solvent-based vinyl adhesives reach handling strength in 2–4 hours but need 72 hours for full chemical cure. Avoid washing or placing heavy loads on repaired areas during this window. Water-based adhesives may require up to 7 days—check the manufacturer’s data sheet.
Will heat from a hair dryer work instead of a heat gun?
A hair dryer can soften small areas temporarily, but its low BTU output and inconsistent airflow make it unreliable for large lifts or stubborn adhesive. A dedicated heat gun (set to 150–200°F) gives precise, even heating without scorching the vinyl surface.
Can I install new vinyl over existing lifting flooring?
Only if the current layer is fully bonded, flat, and free of moisture. The U.S. EPA estimates that 14% of household water usage is from leaks—many hidden under floors. Always test subfloor moisture with a calcium chloride test or digital meter before overlaying. Otherwise, you’ll trap problems beneath the new layer.
Why does my luxury vinyl plank (LVP) lift only in winter?
Cold temperatures reduce adhesive tack and shrink vinyl slightly, widening gaps at seams and edges. This is especially common with floating LVP where expansion gaps are undersized or baseboard trim isn’t undercut properly. Adding quarter-round molding with flexible caulk behind it helps absorb seasonal movement.
Do I need to remove baseboards to fix lifting near walls?
Not always—but if lifting extends more than 1 inch under the baseboard, removal is necessary. Pry gently with a stiff putty knife and finish nails; label each piece with painter’s tape so reinstallation matches original alignment. This lets you clean the entire perimeter and reapply adhesive flush to the wall.
Vinyl floor lifting isn’t a death sentence for your flooring—it’s a signal that something’s out of balance, whether moisture, temperature, or mechanical stress. Address the symptom with care, but never skip diagnosing the cause. For persistent issues, consider consulting a certified installer through the local flooring contractor directory, or cross-check your subfloor with a moisture meter before investing in another repair cycle.