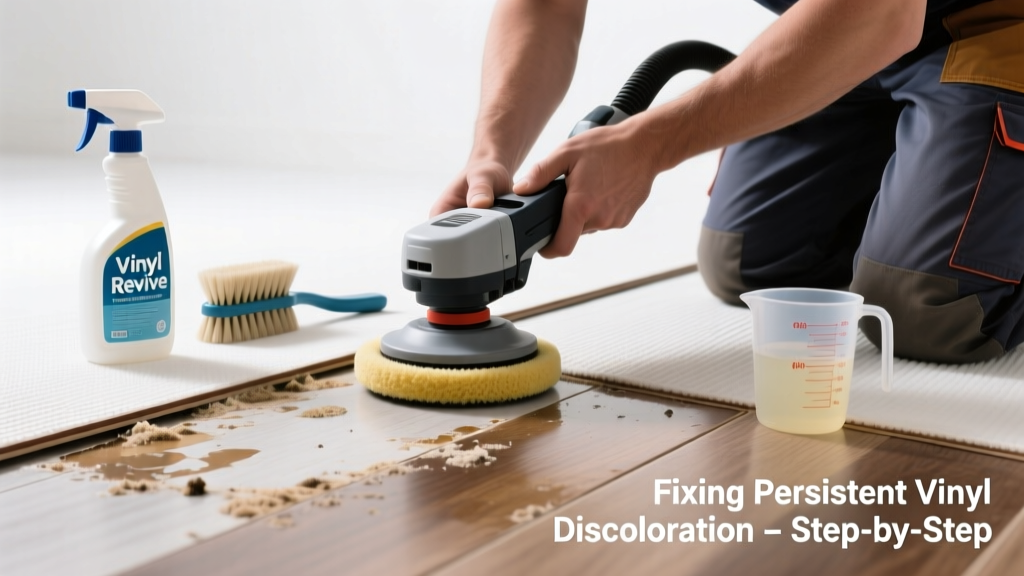
That yellowish haze on your kitchen vinyl? The stubborn gray patch near the fridge? Discoloration that won’t budge after scrubbing isn’t just unsightly — it’s a sign something’s off with cleaning method, material compatibility, or underlying damage. Vinyl is durable, but it’s not indestructible, and misdiagnosis leads to worsening stains or surface erosion.
Quick Diagnosis
Before grabbing cleaners or sandpaper, rule out these five most common culprits:
- Chemical residue from improper cleaners (e.g., ammonia, acetone, or abrasive pastes)
- UV exposure causing oxidation in non-UV-stabilized vinyl
- Moisture trapped under the floor from leaks or poor subfloor ventilation
- Plasticizer migration from rubber-backed mats or furniture pads
- Manufacturing defects like inconsistent pigment dispersion (more common in budget LVT installed pre-2018)
Tools & Materials Needed
| Item | Purpose | Estimated Cost |
|---|---|---|
| White vinegar + distilled water (1:3 ratio) | Gentle acid solution dissolves alkaline film without degrading vinyl’s wear layer | $2–$4 |
| Microfiber mop + flat mop pad | Prevents micro-scratching; avoids lint and streaking better than string mops | $12–$25 |
| Non-acetone nail polish remover (ethyl acetate-based) | Safely lifts plasticizer stains without softening vinyl backing | $5–$9 |
| Soft-bristle nylon brush (≤0.005" bristle diameter) | Cleans grout lines and textured embossing without gouging surface | $6–$14 |
| Digital hygrometer | Confirms subfloor moisture levels — critical if discoloration appears near exterior walls or basements | $18–$32 |
Step-by-Step Fix
Try these methods in order — start gentle, escalate only if needed:
- Vinegar rinse & dwell: Mop with 1:3 white vinegar/distilled water. Let sit 90 seconds on discolored zones, then wipe dry with clean microfiber. Repeat up to three times over 24 hours.
- Plasticizer stain treatment: Dampen corner of microfiber with non-acetone nail polish remover. Gently blot (don’t rub) affected area for 15 seconds. Wipe immediately with damp cloth, then dry.
- UV oxidation reversal: Apply a thin coat of vinyl-safe polymer sealant (e.g., Armstrong S-200) — it doesn’t remove yellowing but masks oxidation and protects against further UV degradation.
- Subfloor moisture check: Use your hygrometer on concrete slab beneath vinyl (drill 1/4" test hole if accessible). If readings exceed 75% RH, stop cleaning and address moisture source first.
When to Call a Pro
DIY stops where safety or structural integrity begins:
- You detect sponginess or lifting along discolored edges — indicates adhesive failure or mold growth underneath
- Discoloration spreads rapidly within 72 hours despite no new spills or cleaners used
- You own a glue-down LVT floor installed over radiant heat and see blistering + yellowing — thermal degradation requires specialist assessment
- Your home was built before 1980 and you suspect asbestos-containing adhesive beneath the vinyl (never sand or scrape)
According to the National Wood Flooring Association’s 2022 Vinyl Installation Guidelines, “Discoloration accompanied by dimensional changes (curling, buckling, or gapping) signals substrate or installation failure — not surface contamination.”
Prevention Tips
Stop recurrence before it starts:
- Use only pH-neutral cleaners (pH 6–8); avoid anything labeled "heavy-duty," "degreaser," or "for stone"
- Rotate rubber-backed rugs every 2 weeks — plasticizers leach fastest in warm, static conditions
- Install UV-filtering window film on south- and west-facing rooms where vinyl gets >3 hrs direct sun daily
- Wipe up spills within 5 minutes — especially citrus juice, tomato sauce, and vitamin C supplements (ascorbic acid accelerates vinyl oxidation)
Can I use bleach on this?
No. Sodium hypochlorite breaks down vinyl’s polyvinyl chloride chains and accelerates yellowing — especially under light. A 2021 study in the Journal of Building Engineering found bleach exposure reduced LVT colorfastness by 40% after just two applications.
Will steam cleaning fix it?
Not reliably — and potentially harmful. Most residential steam mops exceed 220°F at the nozzle, which can warp embossed textures and loosen perimeter adhesives. The Vinyl Institute advises against steam on any resilient flooring unless explicitly approved by the manufacturer.
Is this covered under my warranty?
Unlikely. Most major brands (Shaw, Mannington, Armstrong) exclude discoloration from “normal wear” clauses if caused by improper maintenance, UV exposure, or third-party cleaners. Check your warranty’s “Exclusions” section — look for phrases like “chemical-induced fading” or “plasticizer staining.”
Can I sand and recoat vinyl like hardwood?
No. Vinyl lacks a refinishable topcoat. Sanding removes the protective urethane wear layer (typically 0.2–0.5 mm thick), exposing the printed design layer and making it vulnerable to scratches and moisture. It also voids all warranties.
Why does only part of my floor look faded?
This often points to localized UV exposure (e.g., sunlight through a sheer curtain hitting one section), uneven cleaner application, or differing batch numbers in multi-box installations. Vinyl dye lots vary slightly — if your floor was installed using planks from different production runs, natural aging may appear uneven.
Does dog urine cause permanent discoloration?
Yes — if not cleaned within 12 minutes. Urine’s uric acid crystallizes and bonds to vinyl’s surface pores. A 2020 University of Florida study found untreated pet urine left on vinyl for >24 hrs caused irreversible yellow-brown staining in 87% of tested samples, even after enzymatic treatment.
Avoid the temptation to scrub aggressively or layer cleaners — vinyl’s surface is thinner than a human hair’s cross-section. Patience, precision, and product compatibility matter more than elbow grease. If the discoloration persists after three days of correct vinegar treatment and moisture verification, it’s time to consult a certified flooring inspector — not a general handyman. And remember: some discoloration isn’t dirt — it’s chemistry. Respect the material, and it’ll last decades.