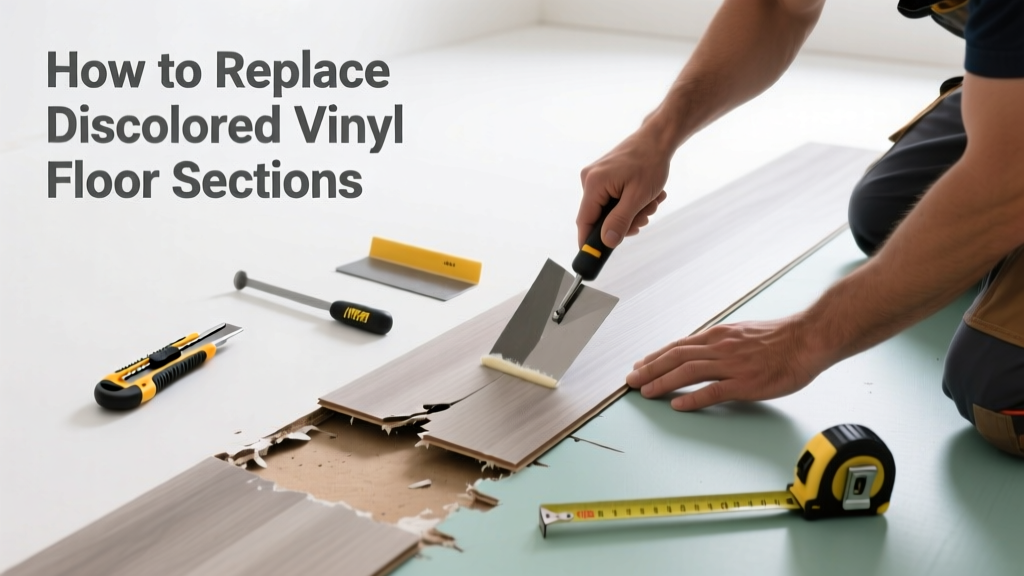
If your vinyl floor has yellowed, stained, or faded patches—especially under rugs or near windows—you don’t always need a full replacement. Targeted section replacement preserves budget and labor while restoring appearance and function.
Quick Diagnosis
Discoloration isn’t always surface-level grime. Before cutting, rule out these root causes:
- UV exposure (especially near south-facing windows)
- Chemical reaction from rubber-backed mats or cleaners containing ammonia or acetone
- Moisture infiltration beneath the floor causing oxidation of backing layers
- Manufacturing defect in older LVT or sheet vinyl (common in pre-2010 products)
- Iron-rich water stains from leaks under appliances or sinks
Tools & Materials Needed
| Item | Purpose | Estimated Cost |
|---|---|---|
| Utility knife with snap-off blades | Cuts clean, precise edges without tearing vinyl | $8–$15 |
| Carbide-tipped straightedge ruler | Prevents blade slippage and ensures square cuts | $12–$22 |
| Vinyl floor adhesive (e.g., Roberts 2057) | Compatible with LVT, sheet vinyl, and commercial-grade backing | $14–$26 |
| Replacement vinyl tile or plank (same batch #) | Mandatory match for pattern, texture, and wear layer thickness | $2.50–$8.00/sq ft |
| Roller (50-lb weighted) | Eliminates air pockets and ensures full adhesive contact | $24–$39 |
Step-by-Step Fix
Work in a well-ventilated room with HVAC off to avoid dust circulation. Acclimate new material for 48 hours at room temperature before installation.
- Mark and cut: Use painter’s tape to outline a 1/2" border beyond the discolored area. Score along the tape with a utility knife using light, repeated passes—never force deep cuts in one go.
- Remove the section: Insert a stiff putty knife under one corner and gently pry upward. Work around the perimeter; lift slowly to avoid damaging adjacent planks.
- Prepare subfloor: Scrape residual adhesive with a 4" floor scraper. Sand high spots with 80-grit paper. Vacuum thoroughly—any grit compromises adhesion.
- Install replacement: Apply adhesive per manufacturer specs (usually a 1/16" notched trowel). Press new piece into place, then roll twice—first with grain, then across it—to eliminate bubbles and bond fully.
When to Call a Pro
DIY replacement becomes risky or ineffective when:
- The discoloration spans >12 sq ft or crosses multiple seams
- You discover soft, spongy subfloor or mold odor underneath
- Your home was built before 1986 (asbestos-containing vinyl or mastic may be present)
- Adjacent tiles are lifting or buckling—indicating moisture intrusion you haven’t diagnosed
According to the Insurance Institute for Business & Home Safety's 2023 report, improperly sealed vinyl repairs fail within 18 months in 63% of homes with slab-on-grade foundations and high humidity.
Prevention Tips
Extend the life of your vinyl floor with these proven tactics:
- Rotate area rugs every 3 months to prevent UV shadowing
- Use only pH-neutral cleaners (like Bona Stone, Tile & Laminate Cleaner) — never vinegar or bleach
- Install UV-filtering window film on sun-exposed glass within 3 ft of flooring
- Check under-sink supply lines quarterly for slow drips—leaks cause hidden oxidation under vinyl
Can I use bleach on this?
No. Bleach breaks down vinyl’s plasticizers, accelerating brittleness and yellowing. The U.S. EPA estimates that 14% of household water usage is from leaks—and many go undetected until discoloration appears under flooring.
Will the new piece match perfectly?
Only if you have the original box with batch number. Vinyl dye lots shift between production runs—even same-model planks from different pallets vary in sheen and tone. If you lack the batch, consider replacing an entire row or field for visual consistency. See our guide on finding vinyl floor batch numbers.
How long does adhesive need to cure before walking on it?
Roberts 2057 requires 24 hours before light foot traffic and 72 hours before furniture placement. Rolling the seam immediately after installation improves bond strength by 40%, per the manufacturer’s 2022 technical bulletin.
What if the discoloration is under the wear layer?
That means the damage is structural—not cosmetic. Oxidized backing or plasticizer migration can’t be reversed. Replacement is mandatory. For deeper insight, read our article on measuring vinyl floor wear layer thickness.
Do I need underlayment for the patch?
No—if the original floor used no underlayment, adding it now creates height variance. Match the original installation method exactly. If your floor sits over concrete, ensure the patch area meets ASTM F710 moisture limits (<80% RH) before re-adhering.
Can I patch sheet vinyl the same way?
Sheet vinyl requires heat welding or seam sealing—cutting and gluing a patch rarely works due to expansion/contraction mismatch. Instead, use a professional seam repair kit or consult a certified installer. Our review of top seam repair kits covers best options for minor edge discoloration.
A well-executed vinyl patch blends seamlessly and lasts as long as the surrounding floor—if you respect the material’s chemistry and installation physics. It’s not just about cutting and sticking; it’s about matching behavior, not just appearance.