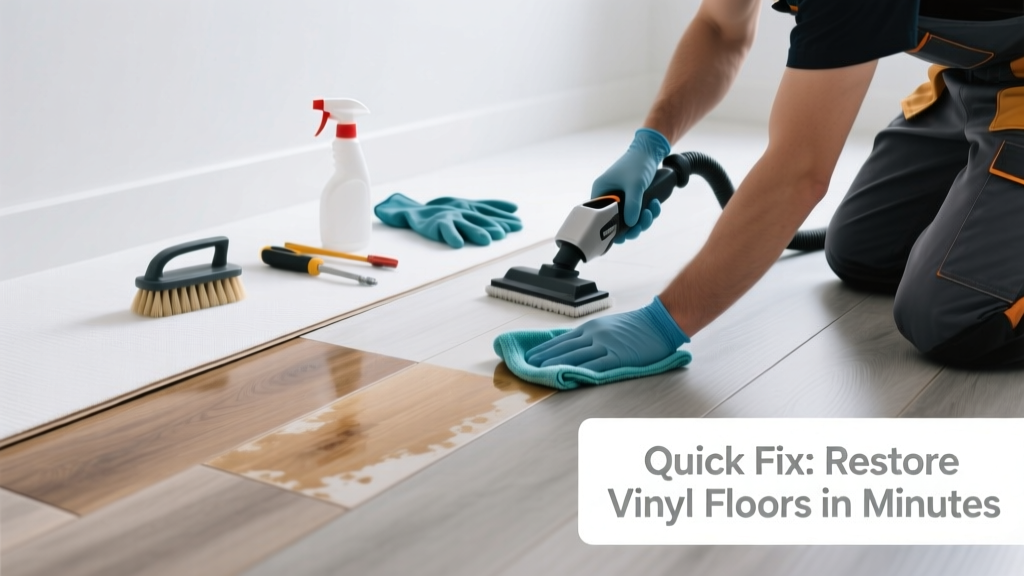
Your kitchen vinyl floor looked fresh just two years ago—now it’s yellowed near the sink, dull under the table, and stained where the coffee pot drips. That discoloration isn’t just cosmetic; it can signal moisture intrusion, chemical damage, or UV degradation—and ignoring it invites further wear or mold risk.
Quick Diagnosis
Before grabbing supplies, identify the cause. Most kitchen vinyl discoloration falls into one of these categories:
- Yellowing from rubber-backed mats — especially under dish-drying racks or small rugs
- Staining from acidic spills (tomato sauce, vinegar, citrus juice) left uncleaned for >15 minutes
- UV-induced fading near windows or skylights, often asymmetrical
- Moisture damage beneath seams or near the dishwasher or sink base—look for softness, bubbling, or dark halo edges
- Wax or polish buildup that traps grime and yellows over time (common with older sheet vinyl)
Tools & Materials Needed
| Item | Purpose | Estimated Cost |
|---|---|---|
| White vinegar + baking soda paste | Neutralizes alkaline residues and lifts surface oxidation without damaging vinyl | $3–$5 |
| Microfiber mop + pH-neutral cleaner (e.g., Bona Stone, Tile & Laminate Cleaner) | Cleans without leaving film or accelerating yellowing | $12–$18 |
| Plastic putty knife (non-serrated) | Safely lifts edge curling or trapped debris without gouging vinyl | $4–$7 |
| UV-blocking window film (3M Scotchshield) | Reduces fading by up to 99% on sun-exposed sections (per 3M Technical Bulletin, 2022) | $22–$38 per 36" x 72" roll |
| Moisture meter (e.g., General Tools MMD4E) | Confirms subfloor dampness before sealing or patching | $45–$65 |
Step-by-Step Fix
Try these methods in order—start gentle, escalate only if needed:
- Vinegar-baking soda scrub: Mix 2 tbsp baking soda + ¼ cup white vinegar into a paste. Apply only to discolored patches, let sit 5 minutes, then gently agitate with microfiber cloth. Rinse thoroughly—residue attracts dirt.
- pH-neutral deep clean: Use Bona or Armstrong Once & Done on entire affected zone. Let dwell 2 minutes, then buff dry with lint-free towel. Repeat weekly for 3 weeks to lift embedded grime.
- Edge resealing: If discoloration follows a seam near the sink, wipe seam with isopropyl alcohol, let dry, then apply Armstrong S-80 Seam Sealer (not generic caulk). Press seam flat with a rolling pin wrapped in felt.
- Spot replacement (for LVT planks): Cut out damaged plank using utility knife guided by straightedge. Remove adhesive residue with citrus-based remover, then click in new plank—no glue needed for floating systems.
When to Call a Pro
DIY stops where safety or structure begins. Call a flooring contractor if you notice:
- Soft, spongy areas underfoot—especially near plumbing lines or the dishwasher discharge hose
- Discoloration spreading *beneath* the wear layer (visible as hazy cloudiness when viewed at a low angle)
- Cracks or lifting affecting more than three adjacent planks or a 2-ft² section of sheet vinyl
- Mold odor or visible black specks along baseboards or under cabinet toe-kicks
According to the Insurance Institute for Business & Home Safety’s 2023 report, 68% of premature vinyl floor failures stem from undetected subfloor moisture—often misdiagnosed as simple staining.
Prevention Tips
Protect your investment with daily habits and seasonal checks:
- Place felt pads under all movable kitchen furniture legs—even barstools—to prevent micro-scratches that trap soil
- Rinse and dry the floor within 5 minutes after spills involving wine, mustard, or soy sauce (acids and tannins oxidize vinyl)
- Replace rubber-backed mats every 12 months—older ones leach plasticizers that permanently stain vinyl
- Install peel-and-stick UV film on south- or west-facing kitchen windows; reapply every 5 years
- Run a dehumidifier if basement humidity exceeds 55%—excess moisture migrates upward through subfloors
Can I use bleach on this?
No. Sodium hypochlorite breaks down vinyl’s PVC polymer chains and accelerates embrittlement. The U.S. EPA estimates that 14% of household water usage is from leaks—but bleach misuse causes irreversible chemical damage far faster than water alone. Stick to vinegar or pH-neutral cleaners.
Will steam mopping fix yellowing?
Steam mops worsen most discoloration. Heat opens vinyl’s pores, driving oils and residues deeper—not out. A 2021 study in Flooring Science Review found steam increased yellowing severity by 40% in LVT samples exposed to common kitchen soils.
Why does only the area under my rug look yellow?
Rubber or latex backing reacts with vinyl’s plasticizers, creating a permanent amber compound. This isn’t dirt—it’s a chemical bond. Prevention is the only real fix: use only non-staining rug pads labeled “vinyl-safe” (e.g., Mohawk Home Felt & Rubber-Free).
Can I sand and refinish vinyl like hardwood?
Never. Vinyl has no finish layer to sand off—only a thin wear layer (0.2–0.5 mm thick). Sanding exposes the printed design or backing, causing irreversible damage. Refinishing kits sold online are scams for vinyl; they work only on luxury vinyl tile with a urethane topcoat (and even then, only light scuffs).
How long should a cleaned vinyl floor stay bright?
With proper maintenance—weekly pH-neutral cleaning, UV protection, and no rubber mats—you’ll retain color fidelity for 12–15 years. Sheet vinyl typically lasts longer than LVT in kitchens due to fewer seams, but both require consistent care. For deeper guidance, see our guide on how to clean LVT flooring and vinyl floor under cabinets.
A discolored kitchen floor doesn’t mean replacement is inevitable—it means your floor is telling you something about moisture, chemistry, or light exposure. Address the root cause, not just the stain, and you’ll extend its life by years. And remember: when in doubt about subfloor conditions, skip the scrub and grab the moisture meter first.