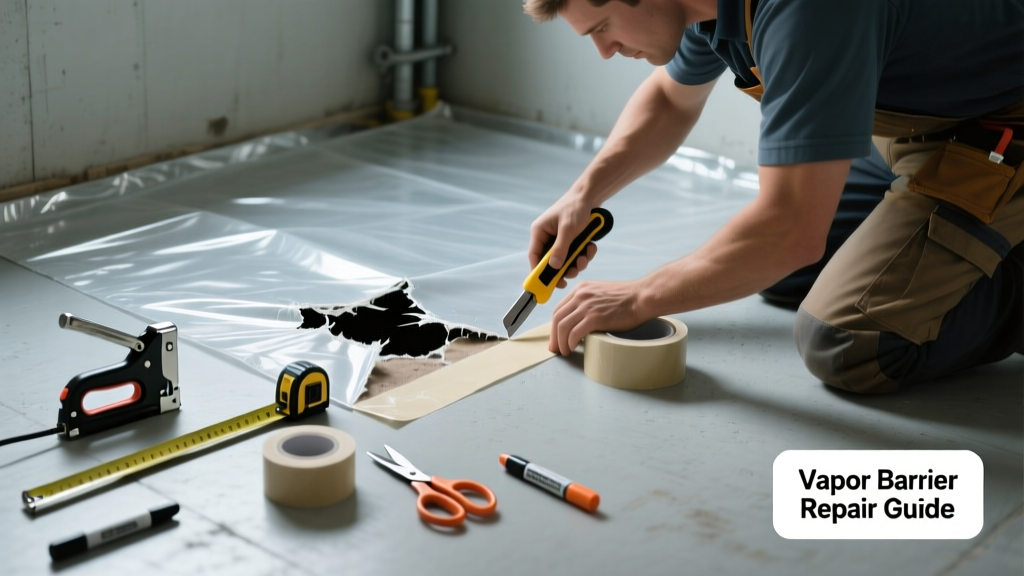
A torn vapor barrier compromises your home’s moisture control—leading to condensation, mold growth, and reduced insulation performance. Whether it’s a gash in crawl space polyethylene or a puncture behind drywall, quick action prevents long-term damage. Most small tears can be fixed in under an hour with basic tools and the right tape.
Quick Diagnosis
Vapor barriers tear for predictable reasons—here are the most common culprits:
- Accidental punctures during insulation installation or electrical work
- Settling or shifting of framing that stretches or snags the membrane
- UV degradation if exposed to sunlight (e.g., in unfinished attics)
- Rodent activity—mice and rats chew through polyethylene for nesting material
- Poor initial installation using non-permanent tape or insufficient overlap
Tools & Materials Needed
| Item | Purpose | Estimated Cost |
|---|---|---|
| 30-mil polyethylene sheeting (6 mil minimum) | Replacement patch material; thicker mils resist future tears | $0.15–$0.40 per sq ft |
| Acrylic-coated butyl tape (e.g., Siga Wigluv or Pro Clima Tescon Vana) | Bonds permanently to poly and concrete; approved for vapor barrier continuity | $8–$15 per 2.75" x 165 ft roll |
| Utility knife with fresh blades | Clean cuts without fraying edges | $3–$12 |
| Staple gun + ¼" galvanized staples | Secures patches in crawl spaces or rim joists where tape alone won’t hold | $15–$40 |
| Isopropyl alcohol & lint-free cloth | Cleans surface oils/dust so tape adheres properly | $4–$8 |
Step-by-Step Fix
Choose the method based on location, size, and accessibility:
- Small tear (<2 inches) in accessible area: Clean the area with isopropyl alcohol. Apply butyl tape directly over the tear, extending 3 inches beyond each edge. Press firmly with a roller or spoon handle.
- Medium tear (2–12 inches) or near seams: Cut a patch from new 6-mil or thicker poly, sized to extend 6 inches past all tear edges. Clean substrate, apply tape to patch backside, then press into place. Seal all perimeter edges with additional tape.
- Torn barrier behind drywall: If the tear is behind finished wall and inaccessible, cut a 12"×12" access panel in drywall below the tear. Patch the barrier, reseal seams, then patch drywall using drywall hole repair techniques.
- Crawl space floor tears: Overlap new 10-mil poly over damaged area by 12 inches on all sides. Tape seams with butyl tape and secure edges with sandbags or gravel—not staples—to avoid future punctures.
When to Call a Pro
Don’t risk health or structural integrity—call a licensed insulation contractor or building envelope specialist if:
- The tear exceeds 24 inches and spans multiple joist bays or foundation walls
- You see active mold growth (black, fuzzy, or musty-smelling) on or behind the barrier
- The tear occurred after recent flooding or persistent high humidity (>70% RH for >48 hours)
- You’re in a cold climate (Zone 6 or higher) and the barrier is part of a complex wall assembly with exterior rigid foam
"A single 1-square-inch vapor barrier breach can allow up to 0.3 pints of water vapor per day into wall cavities—enough to support mold growth within weeks." — Building Science Corporation's Moisture Control Handbook, 2022 edition
Prevention Tips
Extend the life of your vapor barrier with these field-tested habits:
- Always use 10-mil poly in crawl spaces—6-mil fails under foot traffic and rodent pressure
- Overlap seams by at least 12 inches and seal every seam with approved butyl tape, not duct tape
- Install protective wood lath or scrap plywood over crawl space poly where access is frequent
- Inspect annually during HVAC maintenance—look for wrinkles, blisters, or loose edges near rim joists
- Seal all penetrations (wires, pipes, vents) with liquid-applied membranes like Red Guard or flexible caulk
Can I use duct tape to fix a vapor barrier tear?
No. Duct tape dries out, loses adhesion in cool or humid conditions, and its fabric backing wicks moisture. It fails within months—and violates ASTM E1745 vapor barrier standards. Use only acrylic-coated butyl or rubberized asphalt tape rated for continuous vapor barrier use.
Does a torn vapor barrier always cause mold?
Not immediately—but it significantly increases risk. According to the U.S. EPA, homes with compromised vapor retarders are 3.2× more likely to develop hidden mold in wall cavities within 18 months (EPA Indoor Air Quality Tools for Schools, 2021). The real danger is trapped moisture meeting cold surfaces inside walls.
Can I patch a vapor barrier on a concrete slab?
Yes—but only with tape designed for alkaline surfaces. Standard butyl tape degrades on fresh concrete. Use products labeled for direct-to-concrete application (e.g., Siga Majpell or Henry 109) and verify pH compatibility. Always test adhesion on a small area first.
How do I know if my vapor barrier is installed correctly?
Correct placement depends on climate: interior side in cold climates (Zones 5–8), exterior side in hot-humid zones (Zones 1–3), and sometimes omitted entirely in mixed-dry climates. Check local IRC Table R702.7 or consult a building envelope inspection before assuming orientation is right.
Will sealing the tear stop condensation on my windows?
Unlikely. Window condensation usually stems from high indoor humidity or inadequate window insulation—not vapor barrier gaps. However, fixing the tear helps prevent interstitial condensation inside walls, which is harder to detect and more damaging long-term.
Do I need a permit to repair a vapor barrier?
Generally no—for simple patching. But if repairs involve removing drywall, altering insulation depth, or modifying foundation drainage, check with your local building department. Some jurisdictions require permits for any crawl space encapsulation work.
A well-executed vapor barrier repair buys you years of moisture control—no need to replace entire sheets unless damage is widespread. Keep spare poly and tape in your garage, inspect twice yearly, and treat every tear like a small leak in your roof: fix it fast, seal it right, and document the location for future reference. For deeper issues like chronic dampness or insulation compression, consider pairing this fix with a crawl space dehumidifier installation or professional air sealing.