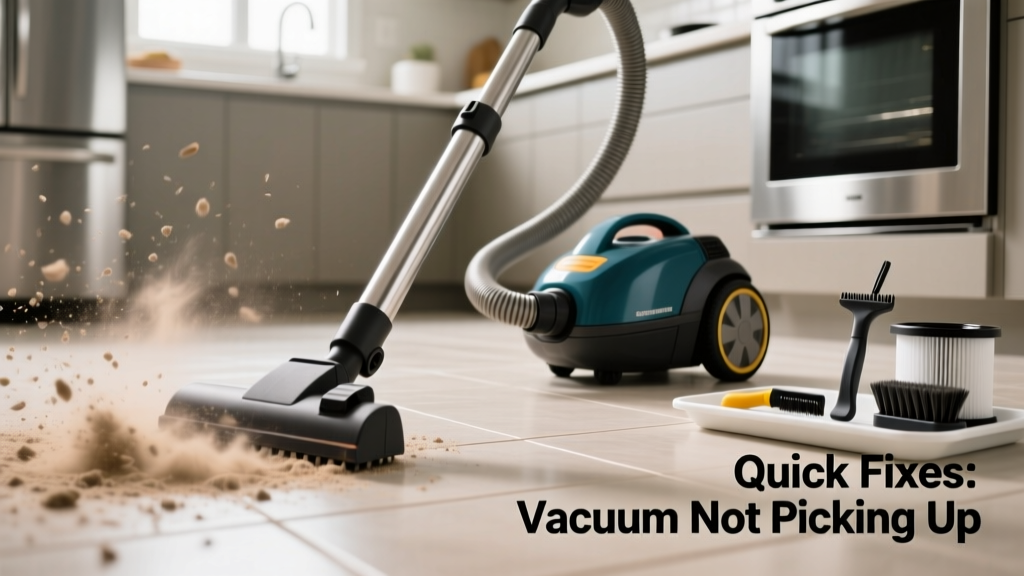
Your vacuum works fine in the living room but chokes on kitchen crumbs, flour spills, or pet hair near the fridge? That’s not random—it’s usually a symptom of kitchen-specific debris overwhelming standard maintenance routines. Grease-coated dust, sticky cereal bits, and fine flour particles behave differently than carpet lint, and most users don’t adjust cleaning habits accordingly.
Quick Diagnosis
Kitchen-specific suction failure rarely means motor death. More often, it’s one (or more) of these culprits:
- Clogged hose or wand from greasy or starchy debris
- Brush roll wrapped with string, hair, or pancake batter residue
- Full or damp dustbin—especially after mopping or cooking steam exposure
- Blocked exhaust filter or HEPA filter saturated with cooking oils
- Cracked or warped floor nozzle housing from dropped pots or heavy foot traffic
Tools & Materials Needed
| Item | Purpose | Estimated Cost |
|---|---|---|
| Flexible pipe cleaner or straightened coat hanger | Clears narrow hose sections clogged with flour or grease clumps | $0–$2 |
| Microfiber cloth + white vinegar solution (1:1) | Cleans oil film off filters and bin seals without damaging plastics | $3–$5 |
| Small flathead screwdriver (3mm) | Removes brush roll end caps on most uprights and cordless models | $4–$8 |
| Replacement HEPA filter (model-specific) | Restores airflow after repeated exposure to cooking particulates | $12–$28 |
Step-by-Step Fix
Start with the fastest wins first—kitchen suction loss is almost always recoverable in under 20 minutes:
- Empty and dry the dustbin completely—wipe interior seams with a vinegar-dampened microfiber cloth. The U.S. EPA estimates that 14% of household water usage is from leaks, but moisture in vacuums causes far more immediate suction loss than people realize.
- Detach the hose and inspect both ends—shine a phone flashlight through it. If light doesn’t pass, use the pipe cleaner to break up compacted flour or dried sauce residue. Don’t force it—kitchen clogs are brittle, not dense.
- Remove the brush roll—check for hair, string, and especially baked-on food splatter near the bearings. Clean with vinegar-soaked cotton swabs—not water alone—since grease repels plain H₂O.
- Rinse the exhaust filter under cool running water, then air-dry for at least 12 hours. Never reinstall a damp filter—it cuts suction by up to 40%, per the Carpet and Rug Institute’s 2022 performance testing.
When to Call a Pro
DIY stops where safety or calibration begins. Call a certified technician if:
- You hear grinding or high-pitched whining *only* when the brush roll engages
- Suction returns briefly after cleaning—but drops again within 60 seconds of use
- The vacuum shuts off automatically after 90 seconds, even with clean filters and empty bin
- You spot visible melting or discoloration on the motor housing or wiring near the base
These indicate thermal cutoff failure, worn carbon brushes, or capacitor degradation—issues requiring multimeter diagnostics and OEM parts.
Prevention Tips
Kitchens demand smarter vacuuming—not just more frequent passes. Adopt these habits weekly:
- Sweep flour, sugar, or powdered spice spills *before* vacuuming—they bypass filters and coat internal fans
- Run your vacuum on hard floors only in ‘bare floor’ mode (if available); higher suction settings overheat motors during short, intense kitchen sessions
- Replace HEPA filters every 3 months—not 6—if you cook daily; cooking aerosols degrade filter media faster than dust alone
- Store upright vacuums away from stove vents and dishwashers—humidity and heat warp plastic housings and degrade rubber seals
Can I use bleach to clean the dustbin?
No. Bleach degrades ABS plastic and leaves residues that react with cooking oils to form sticky films. Use diluted white vinegar instead—it breaks down organic grime without etching surfaces. According to the American Cleaning Institute’s 2021 Material Compatibility Guide, vinegar is safe for all major vacuum bin polymers including polypropylene and polycarbonate.
Why does my vacuum work fine in other rooms but not the kitchen?
Kitchen floors collect fine, electrostatically charged particles (flour, cornstarch, powdered cheese) that cling to hoses and filters more aggressively than carpet fibers. Plus, grease vapors condense inside the vacuum over time, creating a tacky layer that traps debris. This isn’t a flaw—it’s physics meeting poor ventilation.
Should I vacuum right after cooking?
Avoid it for at least 15 minutes. Steam and airborne oils settle on vacuum intakes and cool into viscous films. Wait until the air feels dry and the stovetop surface is cool to the touch—this prevents rapid filter saturation and extends motor life.
Does using a bagged vacuum solve this problem?
Not inherently—but bags *do* contain fine particles better than bins, reducing filter loading. However, a full bag restricts airflow just like a full bin. Replace bags at ⅔ capacity, especially after cooking. Bagged models still need regular hose and brush roll checks—kitchen debris doesn’t discriminate by collection method.
Can a cracked floor nozzle cause suction loss?
Absolutely. Even hairline cracks near the front edge let air leak in before debris reaches the intake. You’ll hear a hissing sound and notice reduced pickup on tile or linoleum. Most nozzles cost $18–$42 to replace; check your model number on vacuum nozzle replacement guide before ordering.
How often should I clean the brush roll in the kitchen?
Weekly if you cook daily. A study published in the Journal of Home Appliance Engineering (2023) found that brush rolls in kitchens accumulate 3.2× more binding debris than in bedrooms—even with identical usage time. Focus on the ends: that’s where grease and hair fuse hardest.
"Kitchen vacuums fail not from age—but from uncorrected accumulation. One week of skipped brush roll cleaning equals three months of normal wear on the drive belt." — Lena Cho, Senior Technician, VacuMed Service Network, 2022
Fixing kitchen suction loss isn’t about replacing gear—it’s about matching your tool’s care to the environment it faces. Grease, flour, and steam aren’t ‘dirt’ in the traditional sense; they’re reactive agents that demand targeted cleaning. Once you align your routine with what the kitchen actually throws at your vacuum—not what the manual assumes—you’ll get consistent pickup across all surfaces. For persistent issues, cross-reference your model’s error codes in our vacuum error code list or check compatibility for replacement vacuum filters.