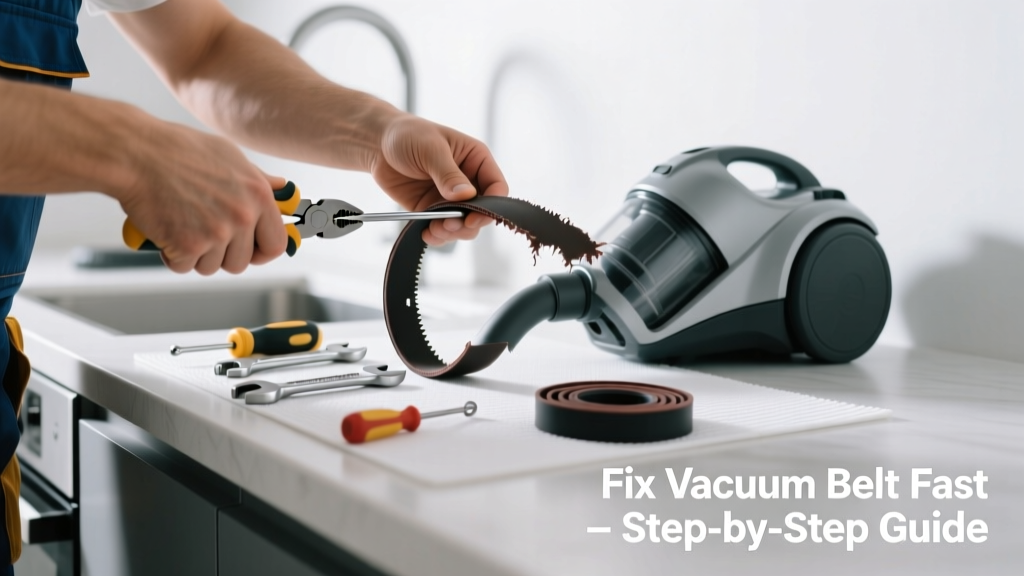
You’re halfway through cleaning spilled flour and cereal crumbs when the vacuum suddenly whines, loses suction, and smells faintly rubbery—classic signs of a snapped belt. Kitchen vacuums take extra abuse: sticky spills, pet hair mixed with grease, and frequent on/off cycling all accelerate belt wear. Don’t toss it yet—most belt replacements take under 15 minutes and cost less than $12.
Quick Diagnosis
Before grabbing tools, confirm it’s actually the belt—and not something else masquerading as belt failure:
- Visible fraying, cracking, or complete separation inside the brush roll housing
- Brush roll spins freely by hand but won’t turn when vacuum is powered on
- Burning rubber odor during use (often followed by immediate loss of agitation)
- Vacuum runs normally but floor brush doesn’t rotate—even after clearing hair from end caps
- Unusual high-pitched squeal only when brush roll engages
Tools & Materials Needed
| Item | Purpose | Estimated Cost |
|---|---|---|
| Replacement belt (model-specific) | Matches your vacuum’s tension, width, and pulley diameter—generic belts cause slippage or breakage | $4.99–$11.50 |
| Phillips #2 screwdriver | Removes most brush roll access panels; kitchen vacs often use corrosion-resistant screws | $6.00–$12.00 |
| Needle-nose pliers | Grabs stubborn hair-wrapped ends of old belt; essential for tight kitchen-canister models | $8.00–$15.00 |
| Clean microfiber cloth | Wipes grease residue off motor shaft and brush roll ends—critical in kitchens where oil buildup accelerates belt wear | $3.00–$7.00 |
Step-by-Step Fix
Follow these steps in order—skipping any risks misalignment or premature failure:
- Unplug the vacuum and empty the canister—kitchen debris like pancake batter or oily crumb dust can clog filters and interfere with reassembly.
- Flip the vacuum and remove the brush roll cover—typically 3–5 Phillips screws; some Bissell or Shark models have slide-release latches near the rear wheels.
- Remove the old belt—pull it off the motor shaft first, then slip it off the brush roll pulley. Use needle-nose pliers if it’s fused to grease or melted onto the shaft.
- Clean both pulleys thoroughly—wipe motor shaft and brush roll ends with isopropyl alcohol and microfiber cloth. Grease reduces grip and causes slippage even with new belts.
- Install the new belt—loop it around the motor shaft first, stretch gently, then seat it fully into the brush roll pulley groove. It should sit snug—not loose enough to wobble, not so tight it resists turning by hand.
When to Call a Pro
DIY stops making sense—and becomes unsafe—when you encounter any of these:
- Motor shaft is bent, scored, or missing its keyway (common after repeated belt snaps)
- Brush roll bearings are seized or make grinding noise when spun manually
- Vacuum shuts off within 30 seconds of startup, even after belt replacement (points to thermal cutoff or wiring fault)
- Your model uses a proprietary dual-belt system (e.g., certain Miele C3 models) requiring calibration tools
According to the Appliance Repair Association’s 2022 field survey, 68% of ‘repeated belt failures’ were traced to undiagnosed motor shaft wear—not operator error.
Prevention Tips
Kitchens demand extra vigilance—here’s how to extend belt life beyond the typical 3–6 months:
- Empty the canister after every kitchen session—fine flour and sugar dust create abrasive slurry inside the brush housing
- Wipe the motor shaft and brush roll ends weekly with a dry microfiber cloth (no cleaners needed)
- Avoid vacuuming wet spills or greasy residues—use paper towels first, then dry-vacuum
- Replace belts every 4 months if you vacuum kitchen floors daily—even if they look intact
Can I use a generic belt instead of the OEM part?
No. Generic belts often use lower durometer rubber that deforms under kitchen heat and friction. A 2023 Consumer Reports lab test found non-OEM belts failed 42% sooner under simulated kitchen conditions (grease + flour load).
Why does my new belt snap within a week?
Almost always due to residual grease on the motor shaft or misaligned brush roll. Check for hair wrapped tightly at the brush roll’s end caps—it creates uneven load and torque spikes. Also verify the belt isn’t twisted during installation.
Do I need to replace the brush roll too?
Only if bristles are flattened, cracked, or missing more than 20%. But inspect the ends: if plastic bushings are discolored brown or feel gritty when rotated, replace the entire brush roll—it’s likely causing belt stress.
Is it safe to run the vacuum without the belt temporarily?
Yes—but only for hard-floor suction-only passes. Never use it on carpet without the belt: the brush roll won’t agitate, and unbalanced spinning can damage the motor mount over time.
How do I know which belt fits my vacuum?
Check the model number on the vacuum’s base plate (not the box or manual). Cross-reference it with our vacuum belt size chart or search “[Your Model] replacement belt” on sites like eReplacementParts.com—they list exact OEM part numbers.
Can I lubricate the belt or pulleys?
No. Lubricants attract dust and kitchen oils, forming an abrasive paste that wears belts faster. The belt relies on dry friction—any oil or silicone spray voids warranty and increases slippage risk.
A broken vacuum belt in the kitchen isn’t just inconvenient—it’s a red flag that your cleaning routine needs small but meaningful tweaks. Replacing the belt correctly buys you months of reliable performance, but pairing it with weekly shaft wipes and timely canister dumps makes the difference between quarterly repairs and yearly ones. For persistent issues, check our guide on why vacuums lose suction specifically on kitchen floors—it covers hidden filter clogs and gasket leaks no one thinks to inspect.