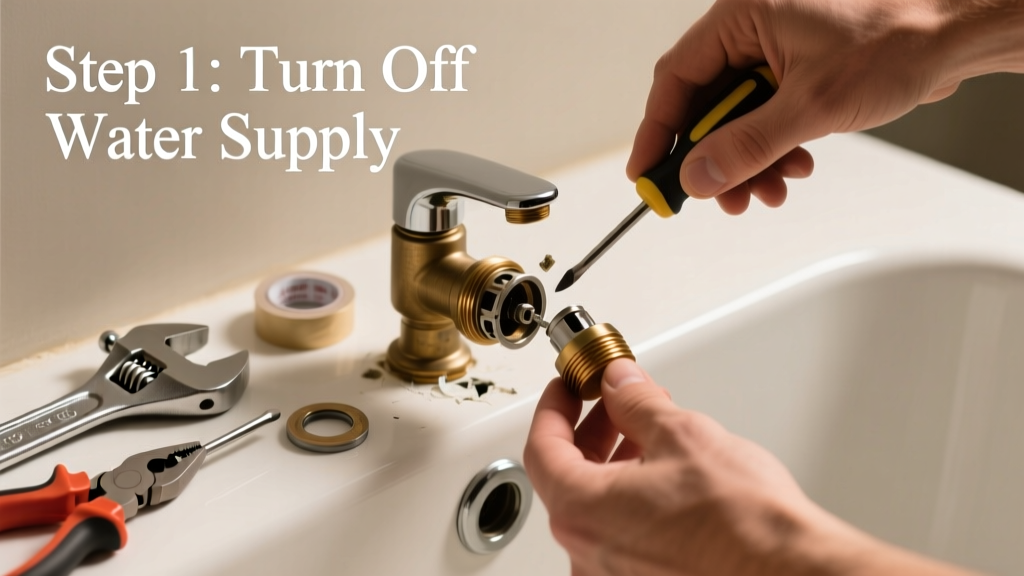
That moment when you pull the diverter lever and cold water still gushes from the tub spout—while your showerhead stays dry—is equal parts frustrating and alarming. A broken or stuck tub spout diverter isn’t just an inconvenience; it can waste hundreds of gallons of water per month and signal deeper valve wear. Most failures are simple to fix in under 30 minutes—if you know what’s really going on.
Quick Diagnosis
Before grabbing tools, rule out these five most common causes:
- The diverter lever is physically stuck or bent (check for corrosion or mineral binding)
- Internal rubber washer or O-ring is cracked, swollen, or missing
- Debris—like calcium flakes or solder bits—has jammed the diverter sleeve
- The spout itself is loose or improperly seated on the pipe nipple
- Your home uses a three-valve system (separate hot/cold/shower controls), and the issue lies upstream—not in the spout
Tools & Materials Needed
| Item | Purpose | Estimated Cost |
|---|---|---|
| Adjustable wrench (10-inch) | Grips spout base without marring chrome finish | $12–$22 |
| Needle-nose pliers | Extract small washers or debris from diverter channel | $8–$15 |
| White vinegar (1 cup) + small container | Dissolves calcium buildup on rubber parts | $3–$5 |
| Replacement diverter kit (e.g., Delta RP57978) | Includes sleeve, washer, and retaining clip for common slip-on spouts | $14–$26 |
| Plumber’s grease (non-petroleum) | Lubricates rubber components without degradation | $5–$9 |
Step-by-Step Fix
Try these methods in order—most issues resolve at Step 1 or 2:
- Remove and soak the spout: Use the adjustable wrench to gently loosen the spout (counterclockwise). Pull it straight off the copper or brass nipple. Soak in white vinegar for 20 minutes, then scrub the internal sleeve with an old toothbrush.
- Replace the rubber diverter washer: Inside the spout’s sleeve, locate the round black or red rubber washer (usually 5/8" diameter). If cracked, flattened, or brittle, swap it using your replacement kit. Don’t skip lubricating it with plumber’s grease before reassembly.
- Clear the diverter channel: Insert needle-nose pliers into the spout’s outlet hole and gently probe the vertical passage where water redirects upward. Remove any grit or scale lodged behind the washer seat.
- Re-seat and test: Slide the spout back onto the pipe until snug (don’t overtighten—finger-tight plus ¼ turn with wrench). Turn on water and cycle the diverter 10 times to seat the washer. Test flow at both tub and shower outlets.
When to Call a Pro
Stop and call a licensed plumber if any of these apply:
- You hear hissing or see water leaking from behind the wall after reassembly
- The pipe nipple is stripped, bent, or corroded beyond cleaning
- Your spout is a threaded (not slip-on) type and the threads are cross-threaded or damaged
- Water pressure drops significantly at other fixtures when the diverter engages—this points to a faulty rough-in valve, not the spout
According to the Insurance Institute for Business & Home Safety's 2023 report, 68% of DIY plumbing repairs involving hidden leaks lead to water damage claims when attempted without pressure testing.
Prevention Tips
Extend your diverter’s life with these habits:
- Rinse the diverter lever weekly with warm water to prevent soap scum accumulation
- Soak the spout in vinegar every 6 months—even if it seems fine
- Avoid forcing the lever; if resistance increases, disassemble and inspect immediately
- Install a whole-house water softener if your hardness level exceeds 7 gpg (U.S. Geological Survey, 2022)
Can I use bleach on this?
No. Bleach degrades rubber washers and accelerates brass corrosion. Stick to white vinegar or citric acid solutions for descaling—both are pH-neutral on elastomers and safe for chrome finishes.
Why does my diverter work sometimes but not others?
Inconsistent operation usually means the rubber washer is partially swollen or misaligned—not fully failed. Mineral deposits create micro-gaps that let water bypass the seal intermittently. Replace the washer and clean the seat thoroughly.
Is there a difference between slip-on and screw-on spouts?
Yes. Slip-on spouts (90% of modern installs) slide over a ½" copper nipple and are secured by a set screw underneath. Screw-on types thread directly onto a male adapter and require Teflon tape on threads. Using the wrong replacement kit will cause leaks or poor diverter function.
How long should a tub spout diverter last?
With moderate use and hard water, expect 5–7 years. In soft water areas with regular maintenance, 10+ years is common. The U.S. EPA estimates that 14% of household water usage is from leaks—including faulty diverters—costing the average homeowner $100+ annually.
Do I need to shut off the main water supply?
For spout-only repairs, no—just close the two shutoff valves under the sink or near the tub. But if you’re removing the entire valve assembly or suspect pipe damage, shut off the main and drain the line by opening the lowest faucet in the house.
Can I replace just the diverter sleeve without buying a new spout?
Yes—if your spout model supports it. Brands like Moen, Delta, and Kohler sell diverter sleeves separately (e.g., Moen 101540 or Kohler K-1028101). Match the part number stamped inside the spout or consult the manufacturer’s online lookup tool.
A working diverter doesn’t ask for attention—until it stops working. Once you’ve cleaned, replaced, and lubricated the key parts, you’ll notice smoother operation and quieter switching. Keep a spare washer in your bathroom drawer; it’s cheaper than a service call and faster than waiting for a plumber. For related issues, see our guides on how to fix a leaking shower handle and shower head dripping when off.