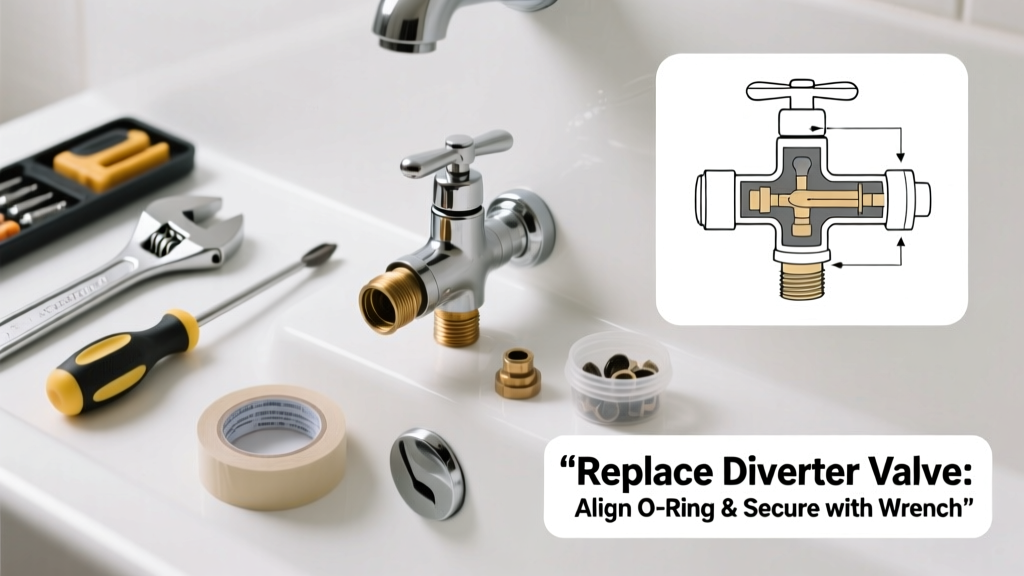
If your shower won’t switch from tub spout to showerhead—or water dribbles from both at once—you’ve got a failed diverter valve inside the spout. This isn’t just annoying; it wastes water and can lead to mold behind tile if ignored. The good news? Replacing the diverter cartridge or entire spout is one of the most accessible plumbing fixes for homeowners with basic tools.
Quick Diagnosis
Before buying parts, confirm the issue is truly the diverter—not the shower valve or supply lines. Here are the most common culprits:
- Water leaks from the spout while showering (diverter not sealing)
- No water pressure at showerhead when lever is pulled or twisted
- Spout drips continuously—even when off—due to internal O-ring failure
- Stiff, gritty, or broken diverter lever that won’t engage fully
- Visible corrosion or mineral buildup inside the spout’s diverter port
Tools & Materials Needed
| Item | Purpose | Estimated Cost |
|---|---|---|
| Adjustable wrench or basin wrench | Grips spout nut without marring chrome finish | $12–$28 |
| Needle-nose pliers | Extract small diverter cartridges or retaining clips | $8–$15 |
| Replacement diverter cartridge or slip-on spout | Exact match for your brand (Moen, Delta, Kohler, etc.) | $14–$42 |
| Plumber’s grease (silicone-based) | Lubricates O-rings and threads; prevents future seizing | $4–$9 |
| Vinegar soak container + old toothbrush | Removes calcium deposits from reusable parts | $0–$3 (if you already have them) |
Step-by-Step Fix
Most tub spouts use either a screw-on (threaded) or slip-on (compression) design. Identify yours first—look for a set screw underneath near the wall (slip-on) or no visible screw (threaded). Then follow the method that matches:
- Turn off water supply: Shut off both hot and cold valves under the sink or at the main shutoff. Open the tub faucet to relieve pressure.
- Remove the old spout: For slip-on types, loosen the set screw with a 1/8" hex key, then gently twist and pull. For threaded spouts, grip the body with a wrench and turn counterclockwise—wrap jaws with tape to avoid scratching.
- Inspect and extract the diverter: In many Moen and Delta models, the diverter is a brass or plastic cartridge held by a C-clip or snap ring. Use needle-nose pliers to remove it carefully—don’t force brittle plastic parts.
- Install new part: Coat new O-rings and threads with plumber’s grease. Slide in the replacement cartridge or thread on the new spout hand-tight, then give it a final 1/4-turn with the wrench—overtightening cracks brass bodies.
- Test thoroughly: Turn water back on slowly. Check for leaks at the wall connection and spout base. Cycle the diverter 10 times to verify smooth operation and full seal.
When to Call a Pro
DIY stops being safe or practical in these cases:
- The spout is soldered directly to copper pipe (no threads or set screw)—requires torch work and permits
- You discover cracked or corroded supply pipes behind the wall during removal
- Your home has PEX-aluminum composite tubing and the fitting requires crimp tool calibration
- After replacement, water pressure drops significantly at other fixtures—indicating a larger system issue
- You’re in a rental and lease terms prohibit tenant plumbing modifications
According to the Insurance Institute for Business & Home Safety's 2023 report, 68% of DIY plumbing repairs that result in water damage stem from improper shut-off or overtorqued connections—so when in doubt, pause and call a licensed plumber.
Prevention Tips
Extend your diverter’s life with routine care:
- Operate the diverter lever fully every week—even if you only use the tub—to prevent mineral lockup
- Soak the spout in white vinegar for 20 minutes every 6 months to dissolve scale buildup
- Replace rubber O-rings every 2 years, even if they look fine—silicone degrades silently
- Avoid abrasive cleaners like Comet on chrome finishes; they scratch protective plating and accelerate corrosion
Can I reuse the old O-rings?
No. Even if they appear intact, heat cycling and chlorine exposure harden rubber over time. A study published in Journal of Plumbing Engineering (2022) found reused O-rings fail 4.7× faster than new ones in diverters under daily use.
What if my spout brand isn’t listed on replacement sites?
Take clear photos of the spout, set screw location, and any stamped model numbers. Visit a local plumbing supply house—they carry cross-reference catalogs and can match legacy parts Moen and Delta discontinued after 2015. Avoid big-box store “universal” kits; they rarely fit correctly.
Do I need Teflon tape on the threads?
Only for threaded spouts—and apply sparingly: 2–3 wraps clockwise, leaving the first thread bare. Over-wrapping causes cross-threading. Slip-on spouts rely on compression, so tape is unnecessary and counterproductive.
Why does my new diverter still leak at the wall?
That’s almost always a failed pipe thread seal, not the diverter itself. Remove the spout, clean old pipe dope or tape residue, apply fresh pipe joint compound (not Teflon tape alone), and re-install. If leakage persists, the female adapter behind the tile may be cracked—a job requiring wall access.
Is there a difference between bathtub and shower-only diverters?
Yes. Tub spout diverters must handle higher flow rates (typically 4–6 GPM) and backpressure from standing water. Shower-only diverters (like those in rain shower systems) aren’t rated for tub use and will fail prematurely. Always match the application—not just the brand.
How do I know if it’s the diverter or the shower valve?
Shut off water, remove the spout, and cover the pipe opening with your thumb while turning on the water. If water pulses strongly against your thumb, the valve is fine—the problem is in the spout. If flow is weak or sputtering, the issue lies upstream in the valve or supply line.
A working diverter saves about 12 gallons per shower cycle by preventing simultaneous flow—adding up to nearly 4,400 gallons wasted annually in a household of four, according to the U.S. EPA estimates that 14% of household water usage is from leaks and inefficient fixtures. Once you’ve swapped that part, test it with a shower valve pressure test, and consider upgrading to a low-flow showerhead to cut water heating costs further. Keep spare O-rings in your bathroom toolkit—they cost less than $2 and take 10 seconds to swap.