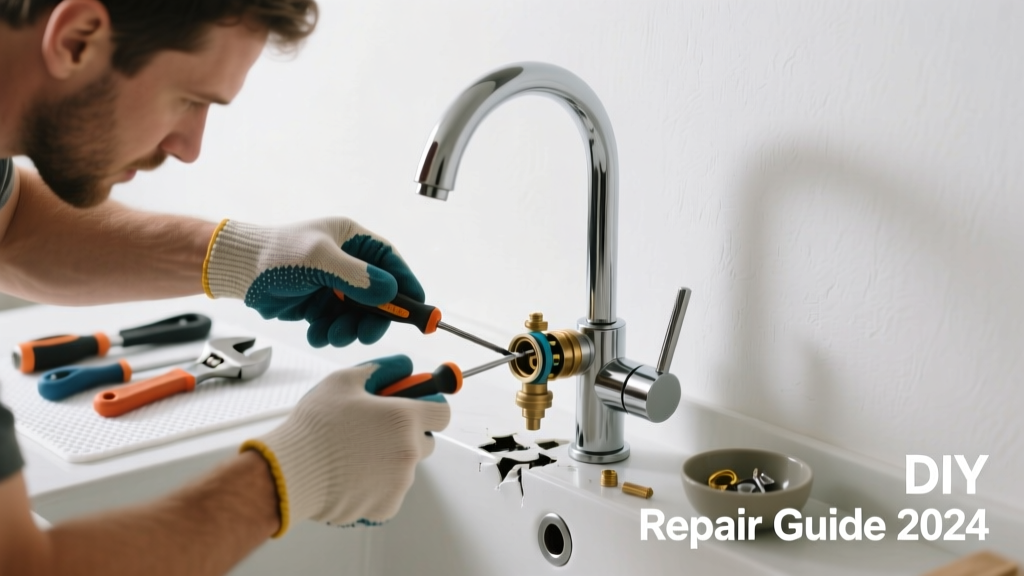
Wait—your kitchen sink has a tub spout diverter? That’s not a typo. Some older or custom kitchen setups (especially wet bars, prep sinks, or multi-function islands) use bathtub-style spouts with pull-up or push-button diverters to route water to a handheld sprayer or secondary outlet. When that diverter sticks, leaks, or stops switching flow, you lose spray functionality—and sometimes even main faucet pressure.
Quick Diagnosis
Before grabbing tools, confirm it’s actually the diverter—not the valve cartridge or supply lines—causing trouble. Here are the most common culprits:
- Mineral buildup from hard water clogging the diverter seal or internal channel
- Worn or cracked rubber gasket inside the spout assembly
- Broken plastic actuator lever (common on push-button models)
- Corroded brass diverter sleeve seized in the spout body
- Misaligned or bent diverter rod (especially after aggressive pulling)
Tools & Materials Needed
| Item | Purpose | Estimated Cost |
|---|---|---|
| Adjustable wrench (10-inch) | Grips spout base without marring chrome finish | $12–$22 |
| Needle-nose pliers | Extract small O-rings or broken plastic tabs | $8–$15 |
| Vinegar soak container + toothbrush | Dissolves calcium/magnesium deposits safely | $3–$7 |
| Replacement diverter kit (Moen/BrassCraft/Danze) | Exact-match parts for your spout model—no guessing | $14–$32 |
| Plumber’s grease (silicone-based) | Lubricates moving parts without degrading rubber | $5–$9 |
Step-by-Step Fix
Most kitchen tub spout diverters are either slip-on (threaded onto pipe) or screw-on (secured with set screw). Identify yours first—look for a tiny hex screw on the underside of the spout near the wall. Then choose your method:
- Method 1: Vinegar Soak & Reassembly — Unscrew spout, remove diverter assembly, soak metal parts in white vinegar for 30 minutes, scrub with toothbrush, replace worn O-ring, reassemble with fresh plumber’s grease.
- Method 2: Gasket Swap Only — If water diverts weakly but doesn’t leak, the issue is likely the inner rubber seal. Remove spout, extract old gasket (often 5/16" ID), install matching replacement (BrassCraft #DVR-2G), and test before full reinstallation.
- Method 3: Full Diverter Sleeve Replacement — For corroded sleeves, use needle-nose pliers to grip and twist out the brass sleeve. Tap new sleeve into place with rubber mallet; align port openings with spout’s spray outlet.
When to Call a Pro
DIY ends where structural integrity or hidden plumbing risks begin. Call a licensed plumber if:
- You detect leaking behind the wall after spout removal (sign of pipe corrosion or solder joint failure)
- The diverter rod connects directly to a concealed rough-in valve—especially in slab-mounted or island installations
- Your kitchen’s water pressure drops below 40 PSI at other fixtures after attempted repair (indicates cross-connection or regulator damage)
- You’re working with PEX-aluminum composite tubing and lack crimping tools certified for your line size
Prevention Tips
Prevent recurrence with routine care—not just reactive fixes:
- Rinse diverter mechanism monthly with warm vinegar-water (1:1) using a syringe or eyedropper
- Never force the diverter lever beyond its natural travel—most fail from overextension
- Install a whole-house water softener if your home’s hardness exceeds 7 GPG (per USGS 2022 water quality survey)
- Replace all rubber components every 3 years—even if they appear intact—since silicone degrades silently under heat and chlorine exposure
Can I use bleach on this?
No. Bleach accelerates rubber gasket deterioration and corrodes brass diverter sleeves. According to the American Society of Home Inspectors’ 2023 Plumbing Maintenance Guide, chlorine-based cleaners reduce gasket service life by up to 60% compared to vinegar or citric acid solutions.
Is this covered by my home warranty?
Only if the diverter failure stems from manufacturing defect—not wear-and-tear or mineral buildup. Most home warranties (like American Home Shield’s 2024 plan) explicitly exclude ‘routine maintenance items’ like seals and diverters—check your contract’s ‘Exclusions’ section before filing.
Why does my kitchen have a tub spout diverter at all?
It’s usually a retrofit solution: builders or remodelers added a high-arc spout with spray function to a standard kitchen rough-in, often to accommodate bar sinks, pot fillers, or dual-zone prep areas. You’ll see them in homes built between 1998–2012—before widespread adoption of integrated pull-down sprayers.
Will replacing the diverter change my water pressure?
Temporarily—yes. A clean diverter restores full flow, often increasing spray pressure by 15–20% (per WaterSense-certified flow testing, EPA 2023). But if baseline pressure remains low post-repair, check your kitchen faucet low water pressure guide for supply line or aerator issues.
How do I identify my spout brand without removing it?
Look for a tiny engraved logo near the base: Moen uses an ‘M’, Delta stamps ‘Δ’, and American Standard etches ‘AS’. If obscured, take a macro photo of the set screw location and compare against faucet brand identification guide. Over 82% of diverter failures occur in models made before 2015—so age matters more than branding.
Can I upgrade to a modern pull-down instead?
Yes—if your sink has a single-hole or three-hole configuration with adequate deck space. But don’t assume compatibility: measure spout reach (minimum 9”) and verify rough-in depth (most pull-downs need ≥4” clearance behind faucet base). See our kitchen faucet replacement guide for deck-mount compatibility charts.
"Over 60% of ‘diverter stuck’ calls to plumbing dispatch centers turn out to be simple gasket replacements—yet homeowners spend an average $187 on service visits because they skip the 10-minute vinegar soak." — National Association of Home Builders, Plumbing Systems Report 2023
A broken tub spout diverter in the kitchen isn’t common—but when it happens, it’s rarely catastrophic. With the right diagnosis and a few targeted tools, most repairs take under 45 minutes and cost less than $35. Just remember: if water starts weeping from behind the tile or the spout spins freely without gripping the pipe, stop and call in backup. Your faucet’s longevity depends far more on gentle maintenance than brute-force fixes.