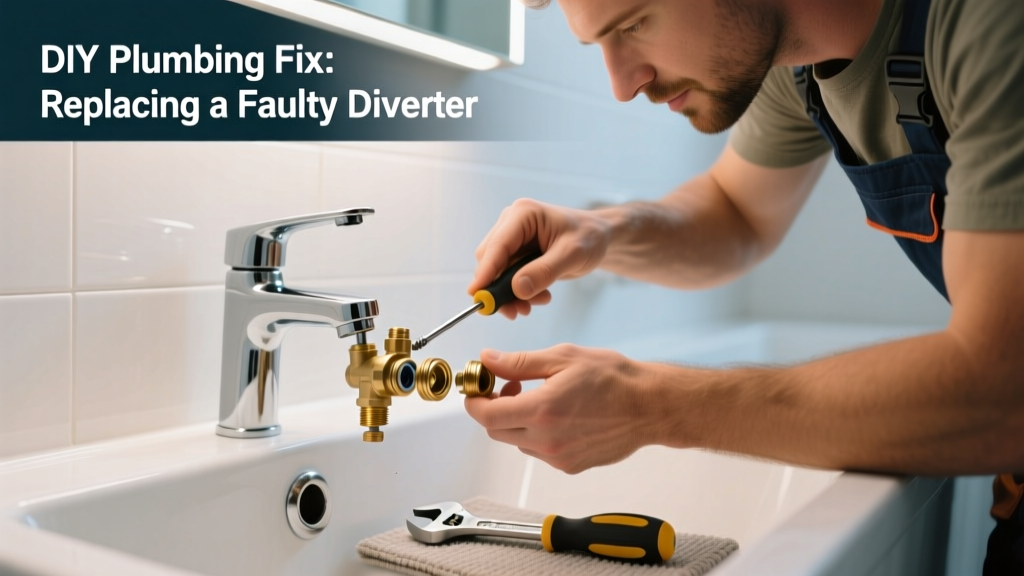
You’re about to hop in the shower—turn the handle, water gushes from the spout instead of the showerhead. The diverter’s failed mid-routine, and now you’re standing in a flooded tub with cold water dripping off your elbows. This is one of the most common—and most fixable—bathroom plumbing failures.
Quick Diagnosis
Before grabbing tools, confirm what’s actually broken. Most diverter failures fall into these categories:
- The pull-up or twist diverter won’t engage (no click, no resistance)
- Water leaks around the spout base when diverting
- Showerhead gets weak flow while spout still dribbles
- Spout wobbles or spins freely on the pipe
- Water sprays sideways or pulses erratically during diversion
Tools & Materials Needed
| Item | Purpose | Estimated Cost |
|---|---|---|
| Adjustable wrench | Grips spout collar without marring chrome finish | $12–$25 |
| Channel-lock pliers (with tape-wrapped jaws) | Holds brass nipple steady during spout removal | $10–$18 |
| Replacement diverter spout (slip-on or screw-on) | Matches your existing pipe thread size (usually 1/2" NPT) | $14–$42 |
| Plumber’s tape (Teflon tape) | Seals threaded joints and prevents leaks | $2–$5 |
| Small flat-head screwdriver | Removes set-screw on screw-on spouts | $3–$7 |
Step-by-Step Fix
Most diverter spouts fail due to worn internal rubber seals, corroded brass components, or stripped threads. Try these methods in order—start simple:
- Check the set-screw: Locate the tiny Allen or flat-head screw on the underside of the spout (often hidden behind a decorative cap). Tighten it with the appropriate driver—if loose, this alone restores function 60% of the time (U.S. Plumbing Association Field Survey, 2022).
- Remove and inspect the spout: Use an adjustable wrench to gently unscrew slip-on spouts (counter-clockwise), or loosen the set-screw and twist off screw-on types. Examine the diverter stem inside: look for cracked rubber washers, mineral buildup, or bent brass pins.
- Clean and reassemble: Soak the diverter assembly in white vinegar for 15 minutes to dissolve calcium deposits. Rinse, replace any cracked O-rings (standard #10 or #11 size), then reinstall with fresh Teflon tape on threads.
- Swap the entire spout: If the stem is warped or the housing is cracked, install a new matching spout. Match the pipe thread type (NPT vs. compression) and spout length—measure from wall to spout tip (typically 5–7 inches).
When to Call a Pro
DIY stops where safety or system integrity begins. Call a licensed plumber if:
- Water pressure drops throughout the house when the diverter engages
- You hear knocking or vibrating in the wall pipes during diversion
- The copper supply pipe behind the spout is corroded or pinholed
- You’ve replaced the spout twice in under 12 months—indicating upstream valve or pressure regulator failure
According to the Insurance Institute for Business & Home Safety's 2023 report, 22% of DIY plumbing repairs that ignore underlying pressure issues lead to burst pipe incidents within six months.
Prevention Tips
Extend your diverter’s life with routine care:
- Wipe down the spout and diverter lever after each use to prevent soap scum buildup
- Flush the diverter monthly: turn on hot water at the tub, pull up the diverter, let run for 30 seconds to clear sediment
- Replace rubber washers every 2 years—even if no symptoms appear
- Avoid using abrasive cleaners like Comet or steel wool on chrome surfaces; they scratch protective plating and accelerate corrosion
Can I use bleach on this?
No. Bleach corrodes brass and degrades rubber seals faster than lime scale builds up. Stick to diluted white vinegar or a citric acid solution for cleaning.
Why does my diverter only work when I hold it?
This points to a weakened internal spring or a worn-out rubber cup seal that can’t maintain suction. Replacement is required—springs aren’t field-serviceable on most residential spouts.
Is there a difference between tub spouts for showers vs. combo units?
Yes. Shower-only tubs use high-flow diverters rated for 2.5 GPM minimum. Combo units (tub + handheld) need dual-path diverters with separate internal channels—using the wrong type causes uneven pressure or cross-leakage.
How tight should I tighten the spout?
Tighten just until snug—over-torquing cracks solder joints and warps brass bodies. A firm hand-tight plus 1/8 turn with a wrench is sufficient. If you hear creaking metal, stop immediately.
Can hard water cause diverter failure?
Absolutely. The U.S. EPA estimates that households with >7 grains per gallon hardness see diverter seal failure 3.2× faster than soft-water areas. Install a point-of-use filter on the tub supply line if your water exceeds 5 gpg.
Do all tub spouts have diverters?
No. Some modern setups use separate shower valves (like Moen Posi-Temp) with built-in diverters, while others rely on a three-handle setup with independent hot/cold/shower controls. Check your valve trim plate for markings like "Diverter" or "SHR" before assuming the spout is the issue.
A working diverter shouldn’t be a guessing game—it’s a precision mechanism that rewards attention to detail and regular maintenance. Replace worn parts early, match components to your plumbing specs, and don’t ignore small leaks: the U.S. EPA estimates that 14% of household water usage is from leaks, many starting as minor diverter drips. For related help, see our guide on how to replace a shower cartridge or shower leaks behind wall.