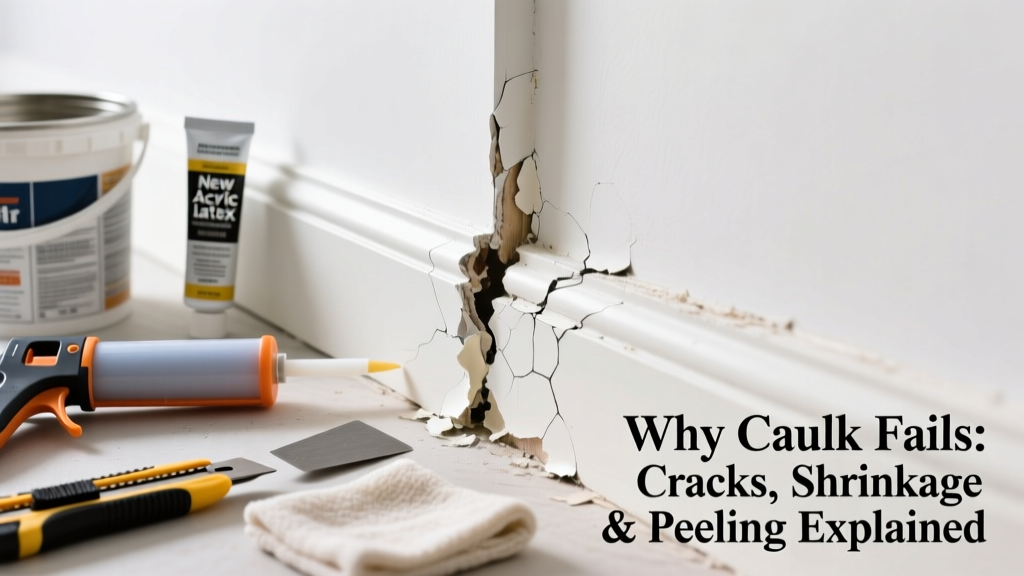
That hairline crack where your baseboard meets the wall? The beige gloop that pulled away from your window casing last winter? Failed trim caulk isn’t just ugly—it’s a moisture gateway. Left unaddressed, it invites rot, mold, and energy loss through gaps as wide as 1/8 inch.
Quick Diagnosis
Before grabbing tools, identify what went wrong. Most failed caulk falls into one of these categories:
- Cured but shrank or pulled away (often due to over-application or wrong caulk type)
- Never fully cured—remains tacky or strings when touched (common with expired or damp-surface applications)
- Cracked or split along the bead (usually from substrate movement or poor surface prep)
- Mold or discoloration beneath the bead (sign of trapped moisture or using non-mildew-resistant caulk in bathrooms)
- Peeling at edges while center remains intact (indicates inadequate cleaning or priming)
Tools & Materials Needed
| Item | Purpose | Estimated Cost |
|---|---|---|
| Caulk removal tool (e.g., Malco CT-1) | Removes old caulk cleanly without gouging wood or drywall | $12–$18 |
| Isopropyl alcohol (91%) | Dissolves silicone residue and sanitizes surface before recaulking | $5–$8 |
| Painter’s tape (3M Blue 2090) | Creates crisp lines; critical for clean edges on stained or delicate trim | $7–$12 |
| 100% silicone or paintable acrylic latex caulk | Choose based on location: silicone for tub surrounds, acrylic for painted trim | $4–$11 |
| Caulk smoothing tool (e.g., DAP Foam Smoothie) | Creates consistent, professional-grade finish without finger-smearing | $6–$9 |
Step-by-Step Fix
There’s no universal fix—but there are three proven methods depending on failure type and location:
- Full Removal & Reapplication: Best for cracked, peeling, or moldy caulk. Use the caulk removal tool to scrape out every remnant. Wipe with alcohol, let dry 2 hours, apply painter’s tape 1/16" from joint, then run a 1/8" bead. Smooth immediately with damp tool.
- Spot Repair + Overlap: Only for isolated cracks under 2" long. Cut away damaged section with utility knife, clean, and apply fresh caulk overlapping 1/2" onto intact areas. Blend carefully—this works only if surrounding caulk is still well-adhered.
- Surface Prep Upgrade: If caulk failed repeatedly in same spot, suspect hidden moisture or contamination. Check for leaks behind trim (especially near sinks or windows), sand glossy paint edges lightly, and prime bare wood with Zinsser Bulls Eye 1-2-3 before recaulking.
When to Call a Pro
DIY stops being safe or effective in these situations:
- You find wet, spongy drywall or soft wood behind the trim—this signals active water intrusion needing structural assessment
- The gap exceeds 3/8 inch and won’t compress with light pressure (indicating framing shift or settlement)
- Failed caulk appears alongside buckling flooring or cracking sheetrock—possible foundation movement
- You’re working above second-story windows or on steep exterior trim without fall protection
According to the Insurance Institute for Business & Home Safety's 2023 report, 68% of moisture-related interior damage begins at poorly sealed trim joints—making timely, correct repair critical.
Prevention Tips
Long-term success hinges on material choice and technique—not just application:
- Use paintable acrylic latex caulk (like Big Stretch or DAP Alex Plus) for interior painted trim—it moves with seasonal wood expansion better than pure silicone
- Always cut the nozzle at a 45° angle and hold the caulk gun at 30° to the seam—not perpendicular—for even extrusion
- Apply caulk when indoor temps are between 40°F and 90°F and humidity is below 80%
- Remove painter’s tape within 5 minutes of smoothing—waiting longer risks pulling fresh caulk
Can I use bleach to clean mold under old caulk?
No. Bleach doesn’t penetrate porous surfaces and leaves mold roots intact. Instead, scrub with a 3:1 vinegar-water solution, rinse, then let air-dry 48 hours before recaulking. For heavy growth, use Concrobium Mold Control per EPA guidelines (2022).
Why did my caulk shrink after drying?
Most often, it’s due to applying too thick a bead—caulk cures from the outside in, and thick sections contract as solvents evaporate. Always aim for a 1/8" bead and smooth it flat. According to the U.S. EPA estimates that 14% of household water usage is from leaks—including those enabled by failed sealants like caulk.
Can I caulk over old caulk?
Only if the existing bead is fully adhered, flexible, and clean. Test with a fingernail—if it lifts or crumbles, full removal is required. Over-caulking weakens bond integrity and hides underlying issues.
What’s the best caulk for bathroom trim?
100% silicone with mildew resistance (like GE Advanced Silicone II) is ideal for tub/shower surrounds. Avoid acrylics here—they degrade faster in constant humidity. For vanity or door trim outside the splash zone, use mildew-resistant acrylic latex.
How long does caulk need to cure before painting?
Paintable acrylic latex caulk dries to the touch in 1–2 hours but needs 7–10 days to fully cure before painting. Rushing this causes wrinkling or poor adhesion. Check manufacturer specs—Big Stretch requires 14 days for full flexibility.
Does temperature affect caulk performance?
Absolutely. Cold temps slow curing and reduce adhesion; heat accelerates skin formation but can cause bubbling. Never apply caulk below 40°F or above 90°F. Store tubes at room temp for 24 hours before use.
Fixing failed trim caulk isn’t about speed—it’s about precision and patience. A properly sealed joint should last 5–7 years indoors and up to 10 years in stable conditions. If you’ve tackled cracked caulk before, you know the difference a tight, clean line makes—not just in appearance, but in protecting your home’s envelope. For related help, see our guides on gaps between floor and baseboard and best caulk for windows.