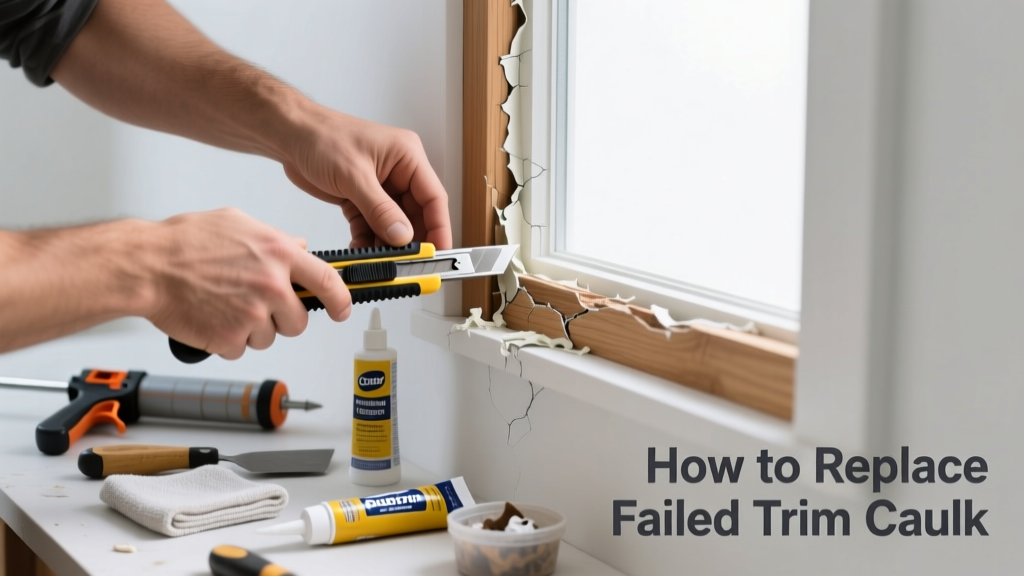
That cracked, peeling, or discolored caulk around your window or door trim isn’t just ugly—it’s a silent invitation for moisture, air leaks, and eventual wood rot. When caulk fails in one section but the rest holds, you don’t need to redo the entire joint—just the compromised part. This targeted fix saves time, material, and avoids unnecessary disturbance to surrounding paint or finish.
Quick Diagnosis
Before grabbing tools, confirm it’s truly localized caulk failure—not underlying decay or movement. Look for these telltale signs:
- Visible cracks or gaps wider than 1/16 inch along the caulk line
- Shrinkage pulling away from one or both surfaces (especially at corners or vertical seams)
- Black mold or dark staining beneath the caulk, indicating trapped moisture
- Soft or spongy wood adjacent to the caulk line—test with a screwdriver tip
- Caulk that crumbles or smears when lightly scraped with a fingernail
Tools & Materials Needed
| Item | Purpose | Estimated Cost |
|---|---|---|
| Utility knife with snap-off blades | Cleanly slices through old caulk without gouging wood or drywall | $5–$12 |
| Caulk removal tool (e.g., caulk chisel or 3-in-1 painter’s tool) | Lifts stubborn caulk residue from tight corners and grain | $8–$15 |
| Isopropyl alcohol (91%) or denatured alcohol | Dissolves silicone or acrylic residue; safer than acetone on painted surfaces | $4–$8 |
| Painter’s tape (1.5" blue masking tape) | Creates clean edges and prevents over-caulking onto trim or wall | $3–$7 |
| 100% silicone or paintable acrylic latex caulk (e.g., GE Silicone II or DAP Alex Plus) | Flexible, UV-resistant, and compatible with your surface—avoid cheap all-purpose caulk | $3–$6 per tube |
Step-by-Step Fix
Work in sections no longer than 24 inches at a time to maintain control and consistency. Always prep before applying new caulk—skipping cleaning guarantees early re-failure.
- Cut and remove the failed section: Score both edges of the bad caulk with a utility knife angled slightly toward the gap. Use the caulk chisel to lift and peel out the strip. Don’t force it—if resistance is high, re-score deeper.
- Clean the joint thoroughly: Wipe with alcohol-dampened rag. Let dry completely—moisture under new caulk causes adhesion failure. For moldy areas, scrub with diluted vinegar (1:1), then rinse and dry 2+ hours.
- Mask for precision: Apply painter’s tape 1/8" from each side of the joint. Press edges firmly—especially at corners—to prevent bleed-through.
- Apply new caulk: Cut nozzle at 45°, size opening to match joint width (usually 1/8"–3/16"). Hold gun at 45°, apply steady pressure while moving at consistent speed. Stop before reaching the end—don’t “feather” off.
- Tool and cure: Smooth with a damp fingertip or caulk tool dipped in soapy water (1 tsp dish soap per cup). Remove tape immediately after smoothing. Allow full cure: acrylic latex (72 hrs), silicone (24 hrs minimum, 7 days for full bond).
When to Call a Pro
DIY works only if the substrate is sound and movement is minimal. Call a licensed contractor or carpenter if you observe any of these:
- More than 3 inches of continuous wood rot or delamination behind the trim
- Trim that shifts or rattles when tapped—suggesting loose fasteners or structural settling
- Recurring failure in the same spot across three or more seasons (points to thermal expansion mismatch or framing movement)
- Failure occurring where dissimilar materials meet (e.g., brick veneer to wood trim) without proper backer rod or movement accommodation
Prevention Tips
Long-term success hinges on material choice and installation discipline—not just technique. Follow these proven practices:
- Always prime bare wood trim before caulking; unprimed pine absorbs moisture and breaks caulk adhesion
- Use backer rod for joints wider than 1/4"—caulk alone will crack under movement
- Choose paintable acrylic latex for interior trim and 100% silicone or hybrid polymer for exterior (per ASTM C920 standards)
- Re-caulk every 5 years on sun-exposed exteriors—even if it looks fine—since UV degrades elasticity silently
Can I reuse the old caulk tube after cutting the tip?
No—once exposed to air, most acrylic and silicone formulations begin skinning and losing tack within 24–48 hours. Even with the nozzle covered, internal moisture loss compromises performance. Discard partially used tubes older than 6 months.
What’s the best caulk for painted MDF trim?
Use a high-quality paintable acrylic latex caulk like Big Stretch or DAP Dynaflex 230. MDF swells if exposed to moisture, and silicone doesn’t adhere reliably to its resin-rich surface. Acrylics bond well, sand smoothly, and accept paint without yellowing.
Why does caulk fail faster on south-facing windows?
UV exposure degrades polymers and accelerates drying. The U.S. EPA estimates that south- and west-facing exterior caulk fails up to 40% sooner than north-facing applications due to thermal cycling and UV intensity (EPA Energy Star Guide, 2022). Use UV-stabilized products labeled for exterior use.
Can I caulk over old caulk?
Only if the existing bead is fully intact, flexible, and contaminant-free—rare in practice.
"Over-caulking is the #1 cause of premature failure in DIY repairs. Adhesion to old caulk is never as strong as adhesion to clean substrate." — Mike O’Leary, Certified Master Remodeler, NAHB Remodeling Council, 2023
How do I fix caulk that dried with bubbles or voids?
Don’t try to patch it. Bubbling means trapped air or moisture—or applying too thick a bead. Slice out the defective section, clean the joint, and reapply using slower, steady pressure. Keep nozzle submerged in the joint during application to displace air.
Do I need different caulk for interior vs. exterior trim?
Yes—interior acrylics lack UV inhibitors and mildewcides; exterior silicones resist paint and can’t be topcoated. Using interior caulk outside leads to chalky degradation in under 18 months. Stick to ASTM C834 (interior) or C920 (exterior) certified products.
A properly repaired trim caulk joint should last 5–7 years indoors and 3–5 years outdoors—assuming routine inspection and maintenance. Replacing just the failed portion respects the integrity of surrounding finishes while delivering real protection against infiltration. If you’ve tackled similar jobs like repairing window sill rot or fixing gaps around door frames, this method fits neatly into your home maintenance rhythm—and keeps energy bills and moisture problems in check.