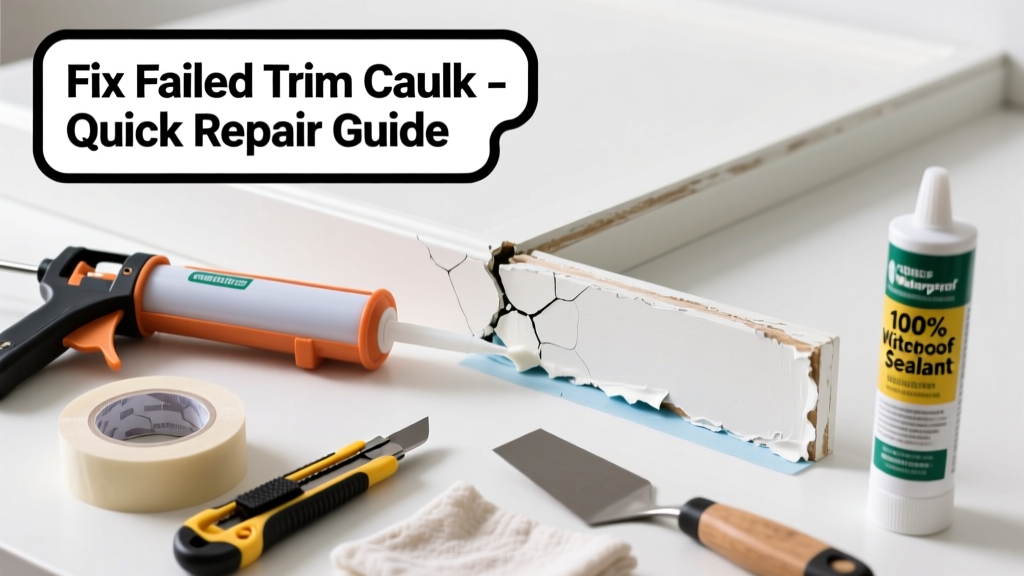
That chalky, cracked, or black-streaked caulk along your kitchen baseboard or cabinet trim isn’t just ugly—it’s a red flag for moisture intrusion and potential rot. In kitchens, where steam, spills, and frequent cleaning create constant humidity swings, caulk failure happens faster than in other rooms. Ignoring it invites mold growth behind trim and warping of subflooring or drywall.
Quick Diagnosis
Before grabbing tools, identify the root cause—this determines whether you’re patching or rebuilding:
- Cracking or shrinking: Usually low-quality acrylic or expired caulk, or applied too thinly
- Peeling at edges: Poor surface prep (grease, dust, or old residue left on trim)
- Black discoloration: Mold growth due to chronic moisture exposure behind trim
- Gapping near sink or dishwasher: Repeated vibration + thermal expansion/contraction stressing the seal
- Soft, gooey texture: Silicone caulk exposed to harsh cleaners (e.g., ammonia-based degreasers)
Tools & Materials Needed
| Item | Purpose | Estimated Cost |
|---|---|---|
| Caulk removal tool (e.g., Malco CT-1) | Cuts out old caulk cleanly without gouging wood or tile | $12–$18 |
| Isopropyl alcohol (91%) | Removes silicone residue and kills surface mold spores | $5–$8 |
| 100% silicone caulk (kitchen/bath rated) | Resists heat, steam, and mild cleaners; stays flexible for 10+ years | $3–$7 per tube |
| Caulk smoothing tool (e.g., DAP Smooth Finish) | Creates consistent, concave bead without fingerprints or smearing | $4–$6 |
| Painter’s tape (1.5" blue) | Defines clean edges and prevents caulk from sticking to adjacent surfaces | $3–$5 per roll |
Step-by-Step Fix
Follow these methods in order—most failures need full removal and recaulking, but minor issues can be spot-treated:
- Remove all failed caulk: Use a caulk removal tool at a 30° angle to lift and scrape. Don’t use utility knives—they dig into MDF or soft pine trim. Wipe residue with isopropyl alcohol on a microfiber cloth.
- Inspect substrate: Check for soft spots in drywall or subfloor behind trim. If damp or spongy, stop and assess for hidden leaks (see “When to Call a Pro”).
- Prime if needed: For bare wood or stained MDF, apply one coat of Zinsser Bulls Eye 1-2-3 primer (dries in 1 hour) to seal and improve adhesion.
- Apply new caulk: Load 100% silicone caulk into a caulk gun. Cut nozzle at 45°, hole size = gap width. Apply steady pressure while moving at 3–4 inches/second. Tool immediately with damp finger or smoothing tool.
- Wait before wetting: Let cure 24 hours before wiping down or running the dishwasher—silicone needs full cross-linking to resist moisture.
When to Call a Pro
DIY stops where safety or structural integrity begins:
- You find >2 inches of rotted subfloor or crumbling drywall behind the trim
- Mold covers more than 10 square feet or extends inside wall cavities (per EPA guidelines, that requires containment and certified remediation)
- Water stains on ceiling below the kitchen—could indicate leaky supply lines or drain pipe failure above
- Trim is warped or pulling away from wall consistently—even after recaulking—suggesting foundation settlement or framing movement
Prevention Tips
Kitchen caulk fails faster than elsewhere—not because of poor technique, but because of environmental stress. Extend life with these habits:
- Caulk only when ambient temperature is between 40°F–90°F and humidity is under 80%
- Replace caulk every 5 years—even if it looks fine—since UV exposure and cleaning agents degrade elasticity over time
- Wipe trim weekly with vinegar-water (1:1) instead of bleach or ammonia, which break down silicone bonds
- Install exhaust fan timers set for 20 minutes post-cooking to reduce steam buildup near cabinets and walls
Can I use bleach to clean moldy caulk before recaulking?
No. Bleach only kills surface mold and doesn’t penetrate porous caulk or underlying wood. Worse, it leaves behind salts that feed regrowth. The U.S. EPA recommends using undiluted white vinegar or hydrogen peroxide (3%) for non-porous surfaces—and replacing moldy caulk entirely.
"Bleach is ineffective against mold on porous materials and poses inhalation risks in confined kitchen spaces," says the CDC’s 2022 Mold Remediation Guidelines.
Why does my caulk crack within 3 months?
Most often, it’s either low-VOC acrylic caulk used in a high-moisture zone (it shrinks as it cures), or application over a dirty or waxy surface. Kitchen trim collects cooking oil film that repels caulk adhesion—even invisible residue defeats bonding. Always clean with TSP substitute or denatured alcohol before priming.
Can I caulk over old caulk?
Only if the existing bead is fully intact, flexible, and firmly bonded. Most failed caulk is compromised at the substrate interface—even if it looks okay on top. According to the National Association of the Remodeling Industry’s 2023 Field Manual, >92% of re-caulk failures stem from incomplete removal of degraded material.
What’s the best caulk color for white kitchen trim?
Match your trim’s exact finish—not just its hue. Semi-gloss trim needs satin-finish caulk like GE Advanced Silicone II in Bright White; flat-paint trim works best with Sherwin-Williams Sealants’ Ultra White Matte. Avoid off-white tubes labeled "white"—they yellow faster under kitchen lighting.
Do I need to remove painter’s tape before caulk dries?
Yes—pull tape at a 45° angle while caulk is still tacky but not wet (about 5–8 minutes after application). Waiting until full cure causes tearing and ragged edges. Test a small section first: if caulk strings, wait 2 minutes; if it indents easily, pull now.
How do I fix caulk that’s oozed into grout lines?
Don’t scrape. Use a grout haze remover like Aqua Mix Grout Clean-Up on a cotton swab, applied gently. Let sit 60 seconds, then wipe with damp microfiber. For stubborn silicone, dip a toothpick in mineral spirits and lightly trace the edge—then rinse thoroughly before sealing.
A properly repaired caulk line doesn’t just look clean—it acts as your kitchen’s first defense against moisture migration. Replacing failed caulk isn’t glamorous work, but doing it right means no surprise rot repairs next year. Keep a spare tube of 100% silicone in your pantry (not the garage—temperature swings ruin it), and inspect trim every time you deep-clean the fridge. For related fixes, see our guide on fix leaky kitchen faucet and repair warped cabinet door.