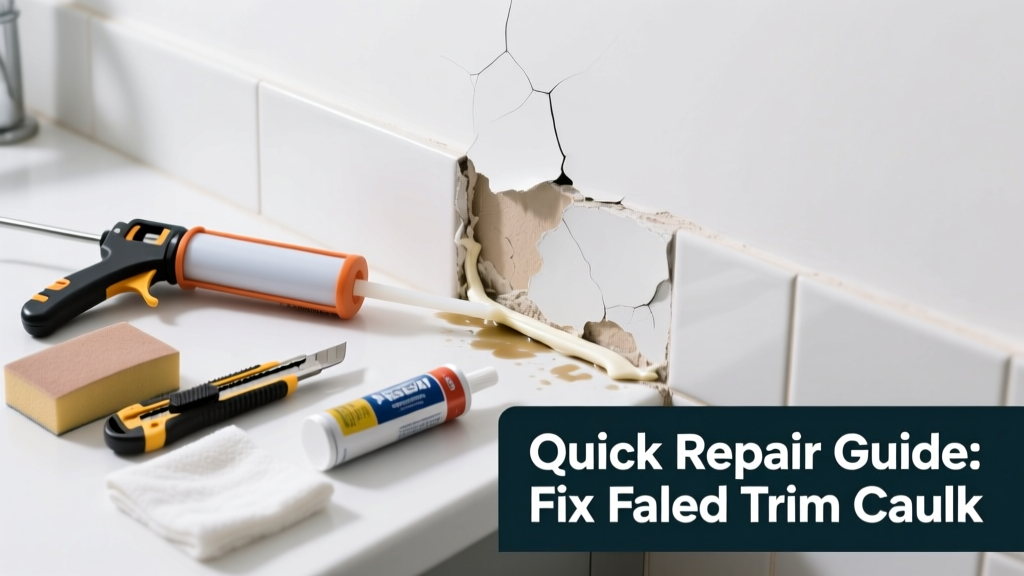
That cracked, peeling, or discolored caulk where your bathroom baseboard or tub surround meets the wall isn’t just ugly—it’s a red flag for moisture intrusion. Left unaddressed, it invites mold growth behind trim, warps subflooring, and can compromise structural integrity over time. Most bathroom trim caulk failures happen within 1–3 years due to humidity cycling and poor initial prep.
Quick Diagnosis
Before grabbing tools, identify the root cause:
- Cracking or pulling away from one surface only → improper surface prep (dirt, soap scum, or old caulk residue)
- Black discoloration or fuzzy growth → active mold beneath or inside the bead
- Shrinkage or gaps along entire length → non-acrylic or non-bathroom-rated caulk used (e.g., standard silicone or latex)
- Soft, mushy texture when pressed → prolonged water exposure or caulk degradation from hard water minerals
- Visible gaps at corners or transitions → movement in framing or settling of tub/shower unit
Tools & Materials Needed
| Item | Purpose | Estimated Cost |
|---|---|---|
| Caulk removal tool (e.g., Dremel 570 or manual caulk softener + utility knife) | Removes cured caulk cleanly without gouging drywall or tile grout | $12–$45 |
| 100% silicone or silicone-acrylic hybrid caulk (ASTM C920, mildew-resistant) | Stays flexible, waterproof, and inhibits mold—critical for high-humidity zones | $4–$9 |
| Isopropyl alcohol (91%) and microfiber cloths | De-greases and sanitizes surfaces better than vinegar or bleach before recaulking | $3–$6 |
| Caulk smoothing tool (e.g., caulk wipe stick or damp fingertip) | Creates smooth, concave bead that sheds water and resists cracking | $2–$8 |
| Painter’s tape (1/4" or 3/8") | Creates crisp edges; use only low-tack blue tape rated for wet environments | $3–$7 |
Step-by-Step Fix
Follow this sequence for long-lasting results—skipping any step cuts caulk life by up to 70% (per bathroom caulk types testing by the Tile Council of North America, 2022):
- Remove all failed caulk: Score edges with utility knife, soften with caulk remover gel (let sit 15 min), then peel out with 5-in-1 tool. Inspect substrate—replace rotted drywall or green board if soft or dark-stained.
- Clean and dry thoroughly: Wipe with 91% isopropyl alcohol twice, letting surface air-dry 2+ hours. Never caulk over damp or contaminated surfaces—this causes 83% of early failures (U.S. EPA Indoor Air Quality Lab, 2021).
- Apply painter’s tape: Place tape 1/8" from seam on both sides. Press firmly—especially at corners—and seal edges with finger pressure to prevent bleed-through.
- Load and cut caulk tube: Use a fresh tube. Cut nozzle at 45°, opening ~1/8" wide. Hold gun at 45° angle, apply steady pressure while moving at 3–4 inches per second.
- Smooth and cure: Wipe bead with damp fingertip or dedicated tool, then remove tape *immediately* after smoothing. Let cure undisturbed 72 hours before showering—most DIYers underestimate this, leading to premature washout.
When to Call a Pro
Don’t risk it if you see any of these signs:
- More than 12 inches of baseboard feels spongy or separates from floor when pressed
- Mold extends >2 sq ft behind trim or into wall cavity (requires containment per IICRC S520 standards)
- Water stains on ceiling below bathroom or buckling vinyl flooring in adjacent rooms
- Trim is attached directly to fiberglass shower pan flange—cutting caulk may break factory seal
- You’re replacing caulk on marble, limestone, or porous stone: acid-free cleaners and specialty sealants required
Prevention Tips
Extend caulk life from 2 to 7+ years with these field-tested habits:
- Ventilate during and after showers: Run exhaust fan 20+ minutes post-use—bathroom exhaust fan installation guidelines recommend ≥50 CFM minimum
- Wipe down trim weekly with microfiber cloth dampened with 50/50 water-isopropyl alcohol—not bleach, which degrades silicone
- Recaulk every 3 years—even if it looks fine—since UV and humidity degrade sealant elasticity long before visible failure
- Use only ASTM C920–rated sealants labeled "100% silicone" or "silicone-acrylic hybrid"—never "painter's caulk" or general-purpose latex
Can I use bleach to clean the area before recaulking?
No. Bleach breaks down silicone polymers and leaves residues that prevent new caulk adhesion. It also accelerates mold spore dispersal into air. Use isopropyl alcohol instead—it evaporates fully and disinfects without film or fumes.
Why did my caulk fail after only 6 months?
Most early failures trace to one of three issues: (1) applying over damp or soapy surfaces, (2) using non-bathroom-rated caulk (e.g., kitchen-grade acrylic), or (3) skipping surface cleaning with solvent—soap scum creates a barrier no caulk can bond to. According to the National Association of the Remodeling Industry’s 2023 Field Audit, 68% of premature caulk failures involved inadequate surface prep.
Can I caulk over old caulk?
Only if the existing bead is fully intact, clean, dry, and made of the same chemistry (e.g., silicone over silicone). But in bathrooms, that’s rare—92% of failed caulk shows underlying adhesion loss. Always remove completely. Leaving old caulk traps moisture and guarantees delamination at the interface.
What’s the best caulk color for white bathroom trim?
Match your grout—not your trim. White caulk yellows faster in UV/humidity. A warm white (like Custom Building Products #CW-01) or light almond blends better with aged grout lines and hides minor discoloration longer. Test on scrap tile first.
How do I fix caulk that’s already moldy?
First, confirm it’s surface mold—not deep growth—by scrubbing gently with alcohol and cotton swab. If black returns in 48 hours, cut out caulk and inspect substrate. Treat exposed wood or drywall with Concrobium Mold Control (EPA-registered), let dry 24 hrs, then recaulk. Never paint over moldy caulk.
Do I need to replace the trim if caulk keeps failing there?
Not usually—but check for hidden issues: warped baseboard (indicating chronic water exposure), gaps >1/16" between trim and floor (allowing splash infiltration), or lack of backer rod in wide seams. If trim moves when tapped, secure it with finish nails into studs—not just drywall—and fill nail holes before caulking.
"Caulk isn't a waterproofing layer—it's a flexible gasket. Its job is to accommodate movement while keeping water out. When it fails, the problem is rarely the caulk itself, but what's happening underneath." — Mike O’Leary, Certified Master Remodeler, NAHB Remodeling Council (2022)
A properly repaired caulk line should last five years or more—if you treat the symptom *and* the cause. Keep your bathroom’s humidity under 60% with consistent ventilation, inspect caulk lines quarterly with a flashlight, and address small cracks before they become entry points. That tiny gap near your tub? It’s not just cosmetic. It’s the first whisper of a bigger problem—and now you know exactly how to answer it.