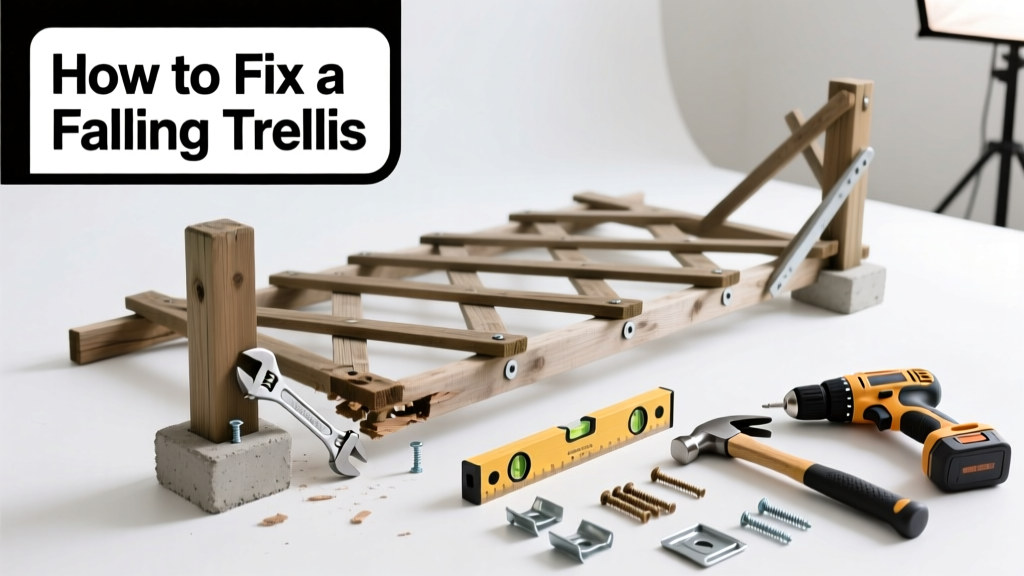
A trellis leaning at a 15-degree angle isn’t just unsightly—it’s a liability. Wind gusts over 25 mph can snap weakened anchors, and a collapsing trellis has injured homeowners during routine gardening (National Safety Council, 2022). Don’t wait for the crash; catch it early and stabilize it right.
Quick Diagnosis
Before grabbing tools, identify the root cause. Most failing trellises share one or more of these issues:
- Rotting wood posts buried in damp soil or mulch
- Loose or corroded lag screws connecting trellis to wall or post
- Concrete footings cracked or heaved by frost or tree roots
- Overgrown vines adding 40–60 lbs of lateral weight (University of California Cooperative Extension, 2021)
- Missing or undersized bracing—especially on freestanding units taller than 6 feet
Tools & Materials Needed
| Item | Purpose | Estimated Cost |
|---|---|---|
| 36-in. level | Verifies plumb before and after adjustments | $12–$25 |
| 1/4-in. masonry bit + drill | Drills pilot holes into brick or concrete anchors | $8–$15 |
| Galvanized 6-in. lag screws (1/4" dia) | Re-secures trellis to wall or post without rusting | $4–$9 per pack of 6 |
| Pressure-treated 4×4 post (8 ft) | Replacement for rotted support post | $22–$34 |
| Post anchor bracket (e.g., Simpson ABU66Z) | Securely ties new post to existing concrete footing | $14–$21 |
Step-by-Step Fix
Choose the method that matches your diagnosis. Most cases require only one approach—but combine methods if both wall-mount and ground-support issues exist.
- For wall-mounted trellises with loose anchors: Remove old screws, fill holes with epoxy filler, redrill with a 1/4-in. masonry bit, and install new lag screws with washers. Tighten until the washer bites slightly into the trellis frame—not so much that wood splits.
- For freestanding trellises with leaning posts: Dig down 12 inches beside the post, brace with 2×4s, then pour quick-set concrete around a new pressure-treated 4×4 set in a Simpson ABU66Z bracket anchored to the original footing.
- For vine overload: Prune back all growth to within 6 inches of the frame using bypass loppers. Wait 2 weeks for stress relief, then re-level and reinforce.
- For missing diagonal bracing: Cut two 2×2 cedar braces at 45° angles. Screw them from top corners to mid-height opposite posts using stainless steel deck screws.
When to Call a Pro
Some situations demand licensed expertise—not just extra hands. Call a contractor if:
- The trellis is attached to a stucco or stone veneer wall (risk of structural cracking)
- It’s integrated into a deck ledger board or roof eave (load-bearing concerns)
- You discover termite damage extending beyond visible rot into adjacent framing
- The unit is taller than 10 feet and leans more than 3 inches at the top (requires engineered bracing)
"A trellis that shifts more than 1/4 inch under hand pressure likely has compromised anchorage—don't delay repair." — ASCE 7-22 Wind Load Guidelines, Section 2.4.3
Prevention Tips
Extend your trellis’s life with simple habits. Inspect every spring and fall—especially after heavy rain or wind events. Keep mulch pulled back 6 inches from all wooden posts to reduce moisture trapping. Replace galvanized fasteners with stainless steel every 7–10 years, particularly in coastal or high-humidity zones. For climbing roses or wisteria, prune twice yearly to limit vine mass—and never let vines wrap fully around posts, which accelerates rot.
Can I reuse the old lag screws?
No—corroded or stripped screws lose up to 70% of their holding power (Fastener Technology Magazine, 2020). Always replace with new, hot-dip galvanized or stainless steel screws sized for your substrate.
How deep should a freestanding trellis post be buried?
In most USDA Zones 4–7, bury at least 36 inches—or one-third the above-ground height, whichever is deeper. Use gravel base and quick-set concrete for drainage and frost resistance. See our post depth chart for zone-specific guidance.
Will painting the trellis prevent rot?
Only if you use exterior-grade acrylic latex paint *after* sealing end grain with wood preservative. Paint alone traps moisture inside untreated cuts—accelerating decay. For best results, apply copper naphthenate before priming. Learn more in our wood rot prevention guide.
Can I attach a trellis to vinyl siding?
Yes—but only through furring strips screwed into wall studs, never directly into the siding. Vinyl expands and contracts; direct fastening causes buckling and voids warranties. Use a stud finder and mount brackets every 16 inches. Our vinyl siding repair guide walks through safe mounting techniques.
What’s the weight limit for a typical 6-ft trellis?
Most off-the-shelf cedar or pine trellises are rated for 50–75 lbs of live load—including vines, pots, and wind pressure. Exceeding this triggers gradual sagging, especially at top corners. Reinforce with steel corner brackets if adding hanging planters or solar lights.
Do I need a permit to replace a trellis?
Generally no—for detached, ground-level trellises under 120 sq ft and 7 feet tall. But check local codes if attaching to a house, modifying a fence line, or building near property lines. Many municipalities require permits for structures within 5 feet of easements.
A properly secured trellis shouldn’t move—not even in a summer thunderstorm. The work takes a Saturday morning, but the peace of mind lasts seasons. If your trellis sways when you tap it, or if you hear creaking when wind hits, treat it like a leaky faucet: small now, expensive later. And remember—when in doubt about load paths or foundation integrity, a $150 site visit from a licensed contractor beats a $3,000 insurance claim after collapse.