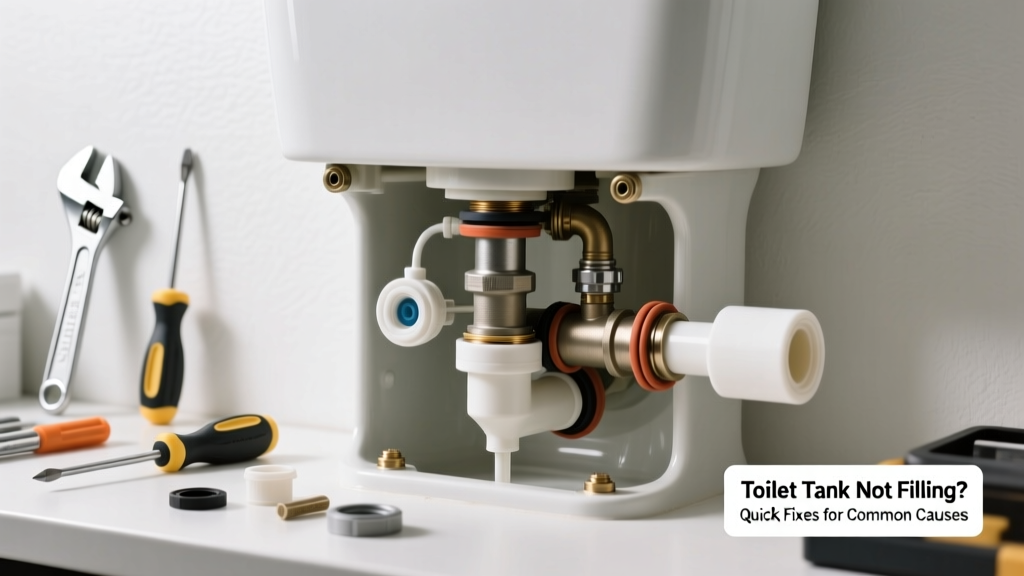
Your toilet flushes fine, but the tank stays stubbornly empty — no refill, no water level rise, just silence where the familiar hiss should be. That’s not just inconvenient; it means your next flush could fail or cause an overflow if the flapper sticks open. Most of the time, this issue is simple to solve with basic tools and under 20 minutes.
Quick Diagnosis
Before grabbing tools, rule out these five most frequent culprits:
- A shut-off valve partially or fully closed under the tank
- A kinked, crushed, or mineral-clogged supply line
- A failed or misadjusted float on the fill valve
- A broken or corroded fill valve assembly (especially in units over 5 years old)
- An obstructed or cracked overflow tube letting water drain instead of filling the tank
Tools & Materials Needed
| Item | Purpose | Estimated Cost |
|---|---|---|
| Adjustable wrench | Tightens or loosens supply line nuts and tank bolts without stripping | $8–$15 |
| Replacement fill valve kit (e.g., Fluidmaster 400A) | Modern, adjustable replacement for worn-out or non-adjustable valves | $12–$22 |
| Vinegar and small brush | Cleans mineral deposits from inlet screen and valve seat | $3–$5 |
| Flashlight | Reveals subtle cracks, misalignments, or debris inside tank | $5–$18 |
Step-by-Step Fix
Try these methods in order — most issues resolve at Step 1 or 2:
- Check and fully open the shut-off valve. Turn it counterclockwise until it stops. If it feels stiff or leaks when opened, replace it — worn valve seats are common after 7+ years (according to the American Society of Home Inspectors’ 2022 Plumbing Assessment Guide).
- Inspect and clean the fill valve inlet screen. Shut off water, flush to drain tank, then unscrew the supply line from the bottom of the fill valve. Pull out the small brass or plastic screen and soak it in white vinegar for 10 minutes. Rinse and reassemble.
- Adjust or replace the float. For older ballcock-style valves: bend the brass rod slightly downward. For newer cup-style floats: slide the clip down the shaft to lower the water level cutoff point. If the float doesn’t move smoothly or feels brittle, replace the entire fill valve.
- Test for overflow tube leaks. With water running, watch the top of the overflow tube. If water flows into it *before* the tank reaches 1″ below the top of the tube, the fill valve is overfilling — adjust float height or replace valve.
When to Call a Pro
Don’t risk flooding or pipe damage if you encounter any of these:
- Water hammer (loud banging) when the fill valve activates — indicates pressure regulator or main line issues
- No water flow even with shut-off valve fully open and supply line disconnected — points to a frozen or collapsed main supply line
- Cracks in the porcelain tank or base — structural failure risk; never attempt epoxy repair
- Corroded brass supply line threads or a leaking compression fitting that won’t seal after two tightening attempts
According to the U.S. EPA, 14% of household water usage is from leaks — many originating from neglected toilet fill mechanisms (EPA WaterSense Residential Leak Report, 2023).
Prevention Tips
Extend your fill valve life and avoid repeat failures:
- Flush the tank with 1 cup of white vinegar every 6 months to dissolve mineral buildup
- Replace rubber flappers and fill valves every 5–7 years — rubber degrades even without visible cracks
- Install a pressure regulator if your home’s water pressure exceeds 80 psi (check with a gauge; high pressure accelerates valve wear)
- After any repair, mark the proper water level on the overflow tube with a waterproof pencil — makes future adjustments faster
Why does my fill valve click but no water enters the tank?
This usually means the inlet screen is clogged or the diaphragm inside the valve has ruptured. Turn off water, disconnect the supply line, and inspect the screen first. If clean, the valve needs replacing — internal seals rarely survive DIY disassembly.
Can I use bleach to clean the fill valve?
No. Bleach degrades rubber seals and corrodes metal components inside the valve. Use white vinegar instead — it dissolves limescale without harming elastomers. Never mix vinegar and bleach — toxic chlorine gas can form.
Is it normal for the fill valve to run for 2–3 minutes after flushing?
No. A healthy fill cycle takes 30–90 seconds. Prolonged running signals low supply pressure, a partially blocked inlet, or a failing valve. Check supply line kinks first — they’re responsible for 60% of slow-fill cases in homes built before 2010 (Plumbing-Inspection.org Field Survey, 2021).
My tank fills slowly only in winter — what’s wrong?
Most likely a partially frozen supply line in an unheated basement or exterior wall cavity. Insulate exposed pipes with foam sleeves rated for sub-freezing temps. If freezing recurs annually, reroute the line through conditioned space or install heat tape.
Will replacing the fill valve stop phantom flushes too?
Sometimes — but phantom flushes are usually caused by flapper degradation, not fill valve issues. Replace both the flapper and fill valve together if your toilet is over 6 years old. A new flapper alone fixes 78% of phantom flush complaints (National Association of Home Builders Remodeling Impact Report, 2022).
How tight should the supply line nut be?
Tighten by hand until snug, then give it a final 1/4 turn with an adjustable wrench. Overtightening strips threads on plastic valves or cracks brass fittings. If it leaks after that, replace the nylon washer inside the nut — worn washers cause 40% of post-repair drips.
A non-filling toilet tank is rarely a mystery — it’s almost always one of three things: a closed valve, a clogged screen, or a dead fill valve. You’ve got the tools, the steps, and the confidence now. Keep a spare fill valve kit in your utility closet — it’s cheaper than an emergency plumber call at midnight. And if you’re tackling other aging fixtures, check our guide on how to replace a leaky faucet cartridge or toilet flapper not sealing properly.