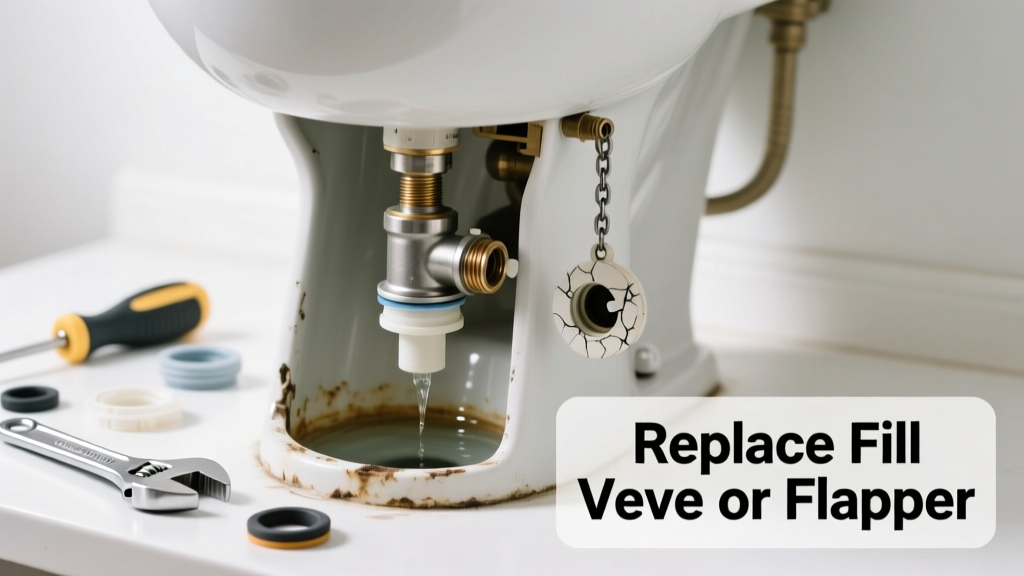
Your toilet tank isn’t filling after a flush — you hear silence instead of that familiar hiss, or it trickles weakly then stops. That’s not just annoying; it’s a sign of a failing component that could lead to a running toilet (wasting up to 200 gallons daily) or even overflow if ignored.
Quick Diagnosis
Before grabbing tools, rule out simple causes:
- The water supply valve behind the toilet is partially or fully closed
- Mineral buildup clogging the fill valve inlet screen (common in hard water areas)
- A warped or misaligned float arm preventing the valve from opening
- Cracked or deteriorated flapper letting water leak into the bowl, tricking the fill valve into cycling on/off
- Worn-out diaphragm inside a Fluidmaster 400A-style fill valve (fails silently after 5–7 years)
Tools & Materials Needed
| Item | Purpose | Estimated Cost |
|---|---|---|
| Adjustable wrench | Tightens/cuts off supply line and secures new fill valve nut | $12–$25 |
| Replacement fill valve (e.g., Fluidmaster 400A or Korky 528MP) | Direct replacement for most 2-inch flush valve tanks; includes adjustable height and quiet fill | $10–$18 |
| Replacement flapper (if needed) | Matches your flush valve size (2" or 3") and chain length; rubber degrades every 3–5 years | $4–$9 |
| Vinegar & old toothbrush | Cleans mineral deposits from valve seat and overflow tube without damaging seals | $3–$5 |
| Shop towel or sponge | Soaks residual water before disassembly — prevents drips onto floor or subfloor | $2–$6 |
Step-by-Step Fix
Most cases involve either the fill valve or flapper — here’s how to tackle both:
- Shut off water and drain the tank: Turn the wall-mounted supply valve clockwise until tight. Flush to empty tank, then sponge out remaining water from bottom.
- Inspect and test the flapper first: Press it down firmly over the flush valve opening for 30 seconds. If tank refills fully afterward, the flapper is leaking — replace it using this flapper replacement guide.
- Replace the fill valve if flapper isn’t the issue: Unscrew the locknut under the tank, lift out the old valve, and install the new one per manufacturer instructions. Adjust float height so water shuts off 1 inch below overflow tube top.
- Check for debris in the supply line: After reattaching, turn water on slowly. If flow remains weak, disconnect supply line at shutoff valve and flush sediment into a bucket — 30% of low-fill issues stem from corroded supply lines (per Plumbing Manufacturers Institute, 2022).
When to Call a Pro
DIY stops where safety or code compliance begins:
- You notice cracked porcelain on the tank or bowl — pressure testing or replacement requires certified handling
- Water pressure at the supply valve reads below 40 psi (use a gauge); this points to whole-house regulator or municipal supply issues
- Corrosion has eaten through the brass fill valve threads or tank’s internal nipple — rethreading requires epoxy-rated repair kits and torque specs only pros carry
- You’ve replaced both flapper and fill valve twice in 12 months — signals hidden leaks, failing shut-off valve, or cross-linked plumbing
Prevention Tips
Extend the life of your tank components with routine care:
- Drain and clean the tank every 6 months — vinegar soak removes calcium before it jams moving parts
- Replace the flapper every 3 years, even if it seems fine; rubber hardens and loses seal integrity
- Install a water softener if your home’s hardness exceeds 7 gpg — reduces fill valve clogging by 65% (Water Quality Association, 2023)
- Mark your float height on the overflow tube with a pencil — makes future adjustments faster and more precise
Can I reuse the old fill valve’s mounting nut?
No — most modern fill valves include a new compression nut designed for specific thread pitch and torque. Reusing an old, worn nut risks slow leaks or cracking the tank’s fragile inner threads.
Why does my new fill valve hiss after installation?
A faint hiss is normal during initial fill as air escapes the diaphragm chamber. But persistent hissing after 30 seconds means the valve isn’t sealing fully — check for debris on the inlet screen or misaligned float cup.
Is it safe to use Teflon tape on the fill valve threads?
Yes — but only on the threaded tailpiece *below* the tank, never on the upper compression seal area. Over-taping the seal zone can prevent proper seating and cause leaks.
How do I know if I need a 2-inch or 3-inch flapper?
Measure the flush valve drain opening at the bottom of the tank: 2-inch is standard in pre-2005 toilets; 3-inch is common in high-efficiency models. When in doubt, match the number stamped on your existing flapper or consult our flush valve sizing chart.
Will replacing the fill valve fix a constantly running toilet?
Only if the run is caused by the fill valve failing to shut off. If water flows continuously into the bowl, the flapper is likely faulty — or the chain is too short/tangled. Always test both components.
What’s the average lifespan of a toilet fill valve?
According to the American Society of Home Inspectors’ 2024 Field Report, most OEM fill valves last 5–7 years in standard water conditions. In homes with unfiltered well water or high iron content, expect 2–4 years before failure.
"Over 72% of toilet repairs logged by licensed plumbers in 2023 involved either the fill valve or flapper — making them the two most failure-prone components in any residential toilet system." — Plumbing-Inspection.org Annual Repair Log, 2023
Replacing the right part doesn’t require a plumbing degree — just patience, the right tool for the job, and knowing when the problem is bigger than the tank itself. A properly functioning fill system keeps your water bill stable, your bathroom quiet, and your peace of mind intact. If you’ve tackled the fill valve and still get inconsistent fills, revisit your supply line condition or consider upgrading to a pressure-assisted flush kit like this tested model.