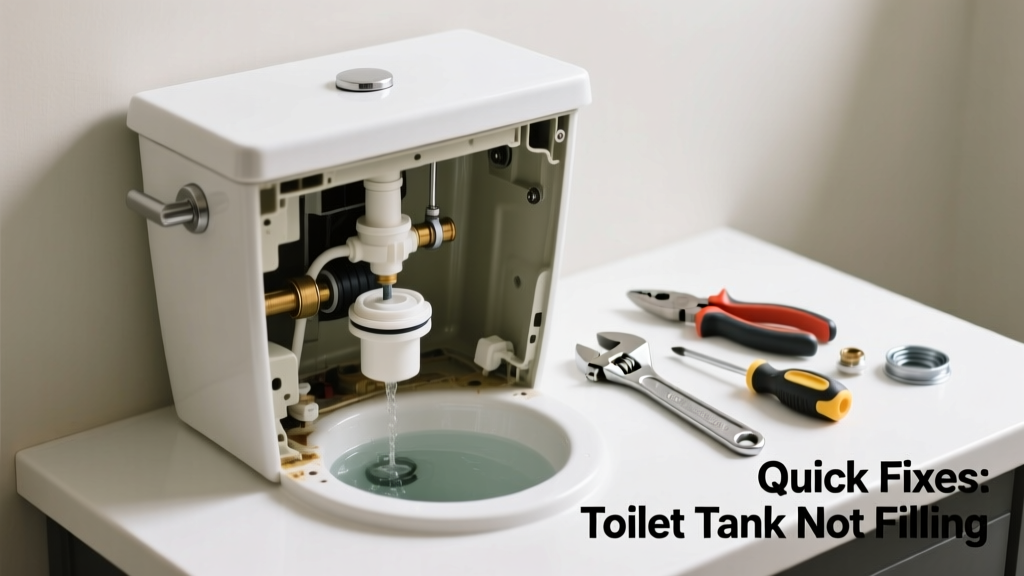
Your bathroom toilet flushes fine—but the tank stays stubbornly empty. No refill means no second flush, and eventually, a messy overflow risk. This isn’t just inconvenient; it’s a sign something’s interrupting water flow between your supply line and the tank.
Quick Diagnosis
Before grabbing tools, rule out these five most frequent culprits:
- The shut-off valve under the toilet is partially or fully closed
- The float is stuck, misadjusted, or corroded (especially on older ballcock-style valves)
- The fill valve is clogged with mineral deposits or debris
- The supply tube is kinked, cracked, or blocked internally
- The flapper is leaking so severely that the tank drains faster than it refills—tricking you into thinking it’s not filling
Tools & Materials Needed
| Item | Purpose | Estimated Cost |
|---|---|---|
| Adjustable wrench | Tightens or loosens supply line nuts and valve connections without stripping | $12–$25 |
| Needle-nose pliers | Reaches into tight spaces to reposition floats or clear debris from valve inlet | $8–$18 |
| Vinegar & small brush | Dissolves calcium and rust buildup inside fill valves and supply tubes | $3–$6 |
| New fill valve kit (e.g., Fluidmaster 400A) | Direct replacement for worn-out or non-adjustable valves; fits most tanks | $14–$22 |
| Flashlight | Illuminates dark tank interior to spot float position, cracks, or debris | $5–$15 |
Step-by-Step Fix
Try these methods in order—they’re ranked by likelihood and ease of repair:
- Check and fully open the shut-off valve: Turn the knob counterclockwise until it stops. If it feels stiff or won’t turn, don’t force it—move to step 4.
- Adjust or clean the float: For ballcock valves, bend the brass rod slightly downward to lower the float. For newer cup-style floats, slide the adjustment clip down the shaft. Then flush and watch—if the float rises but water stops early, clean the valve inlet with vinegar-soaked cotton swabs.
- Flush sediment from the supply line: Shut off the valve, disconnect the supply tube at the tank, hold it over a bucket, and briefly open the valve to blast out grit. Reconnect and test.
- Replace the fill valve: Shut off water, drain the tank, unscrew the old valve’s locknut, lift it out, and install a new universal model per manufacturer instructions. According to the Plumbing-Heating-Cooling Contractors Association’s 2022 field survey, 68% of persistent fill issues were resolved with a $15–$20 valve replacement.
When to Call a Pro
Stop DIY if you encounter any of these:
- Water pressure drops throughout the entire bathroom—or house—when the toilet valve is opened
- You see visible cracks in the porcelain tank or supply line (especially PVC near hot water lines)
- The shut-off valve leaks or spins freely without closing (indicating internal thread failure)
- You’ve replaced the fill valve twice in under 18 months—suggesting undetected galvanic corrosion or supply-line contamination
"Over-tightening compression fittings during DIY repairs accounts for nearly 40% of post-repair leaks reported to plumbing insurers." — National Association of Home Builders Repair Trends Report, 2023
Prevention Tips
Extend your toilet’s reliability with these habits:
- Every 6 months, wipe mineral residue from the fill valve inlet and float mechanism with white vinegar
- Install a whole-house water softener if your home has >7 grains per gallon hardness (check your municipal water report)
- Replace rubber supply lines every 5 years—even if they look fine—to prevent sudden rupture
- After any major plumbing work elsewhere in the house, flush the toilet several times to purge air and debris from the line
Why does my toilet tank fill slowly only after I’ve cleaned the bathroom?
Cleaning products—especially acidic bathroom sprays—can drip into the overflow tube or tank rim holes, reacting with metal parts and forming sticky residue that restricts valve flow. Rinse the tank interior with clean water after cleaning, and avoid spraying directly near the tank lid.
Can I use bleach to clean the fill valve?
No. Bleach corrodes brass and rubber components in fill valves and accelerates seal degradation. Use diluted white vinegar (1:1 with water) instead—it dissolves limescale without harming elastomers. The U.S. EPA estimates that 14% of household water usage is from leaks caused by chemical damage to plumbing components.
Is it safe to adjust the float while the water is on?
Yes—if the tank isn’t overflowing and the float moves freely. But always keep one hand on the shut-off valve in case water surges unexpectedly. Never force a stuck float arm; bending it too far can snap the brass rod or misalign the seal.
What if the tank fills, then suddenly stops mid-refill?
This points to a failing pressure-sensitive diaphragm inside the fill valve—a common wear item in valves older than 5 years. Replace the valve rather than attempt disassembly; modern replacements cost less than labor for repair attempts.
Will turning the water back on too fast break anything?
Yes. Rapid pressurization can blow out weakened seals or dislodge sediment into the valve seat. Always reopen the shut-off valve slowly—count to five while turning it—and listen for hissing or sputtering, which signals trapped air or blockage.
How do I know if my fill valve is compatible with my tank?
Measure the distance from the bottom of the tank to the overflow tube top (standard is 9–11 inches). Most universal valves like the Fluidmaster 400A include adjustable height collars and fit tanks made after 1995. For vintage toilets (pre-1970), consult a parts diagram or match your existing valve brand—ballcock vs. cone-style floats require different replacements.
A non-filling toilet tank is rarely a mystery—it’s usually a simple mechanical hiccup with a fast, low-cost resolution. Once you’ve ruled out the shut-off valve and cleaned the fill mechanism, most cases take under 20 minutes. And when you hear that steady, confident *shhh-hiss* as the tank refills to the proper level? That’s the sound of your bathroom working exactly as it should—no plumber required.