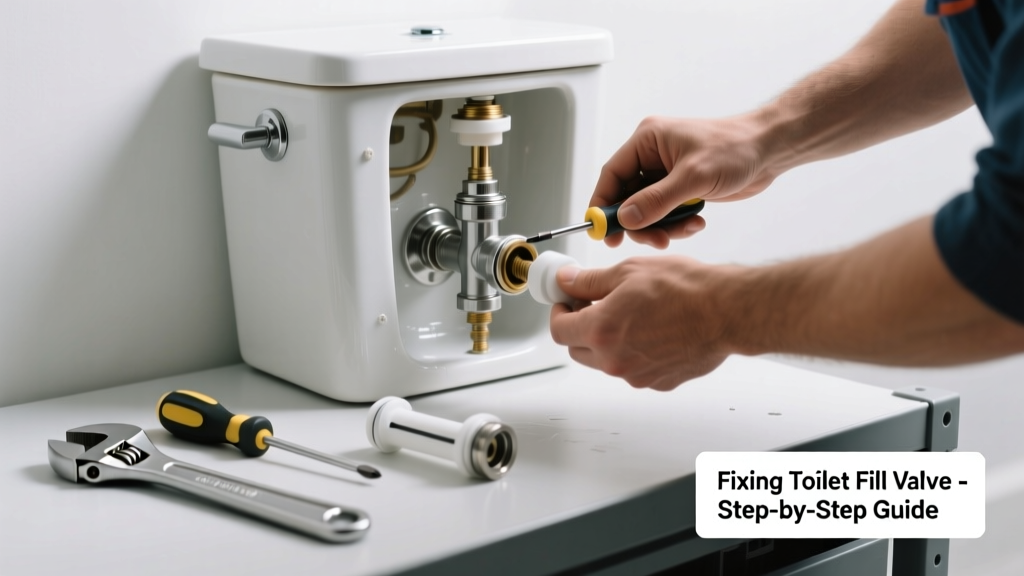
Your toilet tank isn’t filling after a flush? You’re not alone—this is one of the top three most common toilet issues reported to plumbers nationwide. A silent tank means no flush, potential overflow risk, and daily frustration. The good news: in over 80% of cases, it’s a simple, $5–$20 fix you can do in under 30 minutes.
Quick Diagnosis
Before grabbing tools, rule out these five frequent culprits:
- Water supply valve fully or partially shut off (most common)
- Float ball or cup stuck, misadjusted, or corroded
- Fill valve clogged or worn out (especially in units older than 5 years)
- Cracked or kinked fill tube preventing water flow
- Sediment buildup in the shut-off valve or supply line
Tools & Materials Needed
| Item | Purpose | Estimated Cost |
|---|---|---|
| Adjustable wrench | Tightens/loosens supply line nuts and valve connections | $8–$15 |
| Replacement fill valve kit (e.g., Fluidmaster 400A) | Modern, reliable replacement for aging or faulty valves | $12–$22 |
| Small towel or rag | Catches drips and protects tank surfaces during work | $0–$3 |
| Vinegar and soft brush | Cleans mineral deposits from float and valve components | $2–$5 |
Step-by-Step Fix
Work methodically—start simple, escalate only if needed:
- Check and fully open the water supply valve: Locate the shut-off valve behind the toilet (usually brass or plastic). Turn it counterclockwise until it stops. If it feels stiff or leaks, don’t force it—move to Step 4.
- Inspect and adjust the float: For ballcock-style tanks, gently bend the brass rod down slightly to lower the float. For newer cup-style floats, slide the clip down the shaft to lower the fill level. Test by flushing and watching fill height—it should stop 1 inch below the top of the overflow tube.
- Clean or replace the fill valve: Shut off water, flush to drain tank, sponge out remaining water. Unscrew the supply line, then remove the old fill valve. Soak parts in white vinegar for 15 minutes if scale is visible. Reassemble—or better yet, install a new Fluidmaster 400A (recommended for reliability).
- Verify fill tube placement: The small rubber tube from the fill valve must be clipped securely to the top of the overflow pipe—not shoved inside it. If it’s submerged, siphoning can prevent refilling.
When to Call a Pro
Don’t risk flooding or pipe damage—call a licensed plumber if:
- The shut-off valve won’t turn or leaks heavily when opened/closed
- You notice cracked porcelain on the tank or supply line corrosion beyond surface rust
- Water pressure drops throughout the house when the toilet runs (indicates main line or regulator issue)
- You’ve replaced the fill valve twice in under 12 months—points to sediment in your home’s supply lines
"Over 60% of premature fill valve failures are caused by unfiltered sediment in municipal or well water systems." — Plumbing Standards Institute Handbook, 2022 Edition
Prevention Tips
Maintain your toilet like any other appliance:
- Flush the tank annually: Turn off water, drain, then pour 1 quart of white vinegar into the tank. Let sit 30 minutes before refilling and flushing 2–3 times.
- Replace fill valves every 5–7 years—even if they seem fine. Rubber seals degrade silently.
- Install a whole-house water filter if you have hard water (measured at >7 grains per gallon) or well water.
- Check float position every 6 months—especially after seasonal temperature shifts that affect plastic components.
Why does my toilet tank fill slowly but never stop?
This usually signals a partially obstructed fill valve or debris caught in the diaphragm. Try shutting off water, removing the valve cap, and rinsing the internal seal with clean water. If the slow fill persists, replace the valve—don’t waste time cleaning repeatedly. For help choosing the right replacement, see our toilet fill valve replacement guide.
Can I use bleach to clean the fill valve?
No—bleach degrades rubber washers and O-rings inside modern fill valves. Stick to white vinegar or citric acid solutions. Chlorine-based cleaners also accelerate corrosion in brass and galvanized supply lines. See our toilet tank cleaning safety tips for safe alternatives.
My tank fills, then suddenly drains itself—what’s wrong?
This is almost always a flapper that’s warped, coated in mineral film, or improperly seated. Lift the flapper manually after a full tank fill—if water rushes into the bowl, the flapper isn’t sealing. Replace it with a universal silicone flapper (not rubber) for longer life and better seal integrity.
Is low water pressure causing my tank not to fill?
Yes—but only if pressure is consistently below 40 psi. Test with a pressure gauge screwed onto an outdoor spigot. If readings dip below 40 psi, the issue lies upstream—possibly a clogged pressure regulator or main shutoff. This requires professional assessment; DIY adjustment risks bursting pipes.
Do all toilets use the same fill valve?
No. While many use standard 1/2-inch threaded connections, tank depth, flush valve size, and mounting style vary. Measure your existing valve height and note whether your tank uses a 2-inch or 3-inch flush valve before ordering. Confused? Our toilet parts compatibility guide breaks down exact fitment by model and year.
How long should a toilet tank take to refill?
A healthy system refills in 30–60 seconds. If it takes longer than 90 seconds, inspect for sediment in the supply line or a failing fill valve. According to the U.S. EPA, 14% of household water usage is from leaks—including slow-filling tanks that cycle intermittently due to faulty sensors or valves.
A non-filling toilet tank isn’t just inconvenient—it’s a small leak waiting to become a big bill. Most fixes cost less than a service call and take less time than waiting for a plumber’s slot. But if you hear hissing, see pooling water near the base, or smell mildew behind the tank, pause and reach out to a pro. Your patience now saves stress—and dollars—later.