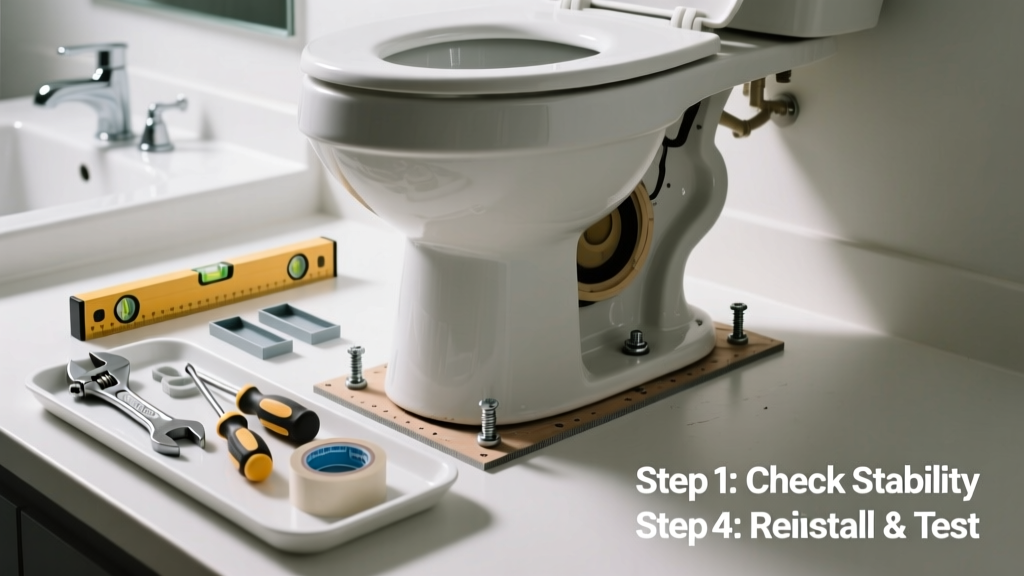
A rocking toilet isn’t just annoying—it’s a sign of structural compromise that can crack your floor, leak water into subflooring, and even loosen the wax seal, risking sewer gas entry. If your toilet wobbles side-to-side or lifts at the front, don’t ignore it: 68% of premature wax ring failures start with unaddressed movement (Plumbing Manufacturers International, 2022). This guide walks you through diagnosis, repair, and prevention—no guesswork.
Quick Diagnosis
Before grabbing tools, identify the root cause. Most rocking stems from one or more of these issues:
- Loose or corroded closet bolts anchoring the toilet to the flange
- Cracked, warped, or improperly seated toilet flange
- Uneven or damaged subfloor beneath the toilet
- Missing or compressed shims under the base
- Worn or degraded wax ring allowing lateral shift
Tools & Materials Needed
| Item | Purpose | Estimated Cost |
|---|---|---|
| Adjustable wrench | Tightens or removes closet bolts without stripping | $12–$25 |
| Wood shims (tapered, 1/8" thick) | Fills gaps between toilet base and floor without over-torquing | $3–$8 |
| New wax ring with flange | Replaces degraded seal; flange version adds stability | $4–$9 |
| Level (6-inch torpedo) | Verifies even contact across all four corners of base | $7–$15 |
| Putty knife & rag | Cleans old wax residue and debris from flange and base | $2–$6 |
Step-by-Step Fix
Follow these methods in order—start simple, escalate only if needed:
- Retighten closet bolts: Gently tighten each bolt (front and rear) in alternating half-turns until resistance increases. Stop when the base contacts the floor evenly—overtightening cracks porcelain.
- Add shims: With toilet level, slide tapered wood shims under low spots. Trim excess with utility knife, then seal shim edges with silicone caulk (not plumber’s putty—it degrades).
- Replace wax ring and inspect flange: If rocking persists, shut off water, drain tank/bowl, unbolt toilet, and lift. Check flange for cracks or rust. Replace wax ring and, if flange is damaged, install a stainless steel repair ring.
- Re-level and reseat: Press toilet straight down onto new wax ring while rocking gently front-to-back to seat fully. Reinstall bolts finger-tight, then alternate tightening to 75 in-lbs max (use torque wrench if available).
When to Call a Pro
DIY stops where safety or code compliance begins. Call a licensed plumber if:
- The flange is broken, bent downward, or set more than 1/4" below finished floor
- You find rot, mold, or soft spots in the subfloor under the toilet
- The toilet rocks after multiple wax ring replacements and shim adjustments
- Your home has cast iron or older ABS waste lines that may shift during reseating
"Over 40% of toilet-related water damage claims involve undiagnosed rocking that compromised the wax seal for 6+ months before failure." — Insurance Institute for Business & Home Safety, 2023 Residential Plumbing Risk Report
Prevention Tips
Extend your repair’s lifespan with these habits:
- Check for movement every 6 months—press down on tank lid and front rim
- Never use caulk alone to stabilize a rocking toilet; it hides underlying issues and traps moisture
- Replace wax rings every 5–7 years—even if no visible leak—since they compress and harden over time
- Install a reinforced flange spacer if your floor was raised during remodeling (e.g., new tile over plywood)
Can I use plastic shims instead of wood?
Yes—but only if they’re specifically rated for plumbing use (e.g., PVC or composite shims). Standard plastic shims can deform under pressure or degrade from moisture exposure. Wood shims are preferred because they compress predictably and hold caulk well. If using plastic, choose ones with beveled edges and test for slippage before final tightening.
Why does my toilet rock only when I sit down?
This points to localized flex—not full instability. It usually means the front two feet aren’t bearing weight due to a slight dip in flooring or a worn-out front wax ridge. Try adding a single 1/16" wood shim at the front corners, then recheck with a level. If it resolves only when seated, the issue is likely floor deflection, not flange failure.
Do I need to replace the entire flange if one bolt hole is stripped?
Not necessarily. A flange repair kit with oversized stainless steel bolts and a reinforcing plate often restores holding power without cutting into flooring. These kits work best when the flange is intact but the bolt holes are enlarged or corroded. Full replacement is needed only if the flange is cracked, detached, or sitting too low.
Is it safe to caulk around the base after fixing the rock?
Yes—but only after confirming zero movement and a fully sealed wax ring. Use 100% silicone caulk (not acrylic), applied in a thin, continuous bead. Leave a 2-inch gap at the back to allow moisture escape and early leak detection. Caulking seals aesthetics—not function—and should never substitute for mechanical stability.
How tight should closet bolts really be?
Target 70–75 inch-pounds—enough to compress the wax ring and eliminate play, but below the 90 in-lb threshold where most toilets crack. Use a torque wrench if possible. If not, tighten until the bolt head stops turning freely *and* the base feels solid—but stop before the porcelain groans or the tank shifts. A faint 'click' from the bolt washer seating is a good indicator.
What if the rocking returns within a month?
That signals an unresolved root cause—most commonly subfloor sag, flange movement, or improper wax ring compression. Re-check floor flatness with a straightedge across the flange area. If you detect >1/8" variance, consult a flooring contractor. Also verify the wax ring wasn’t over-compressed (causing uneven base contact) or installed crooked. A second failure almost always means structural support—not hardware—is the issue.
A stable toilet isn’t just about comfort—it’s about protecting your home’s integrity. Every millimeter of movement stresses the wax seal, loosens bolts, and invites moisture where it shouldn’t go. Do the fix right the first time: level it, shim it, seal it, and check it twice. And if your floor feels spongy or your flange wobbles independently, skip the DIY and call someone who carries liability insurance and knows local code requirements for waste line connections.