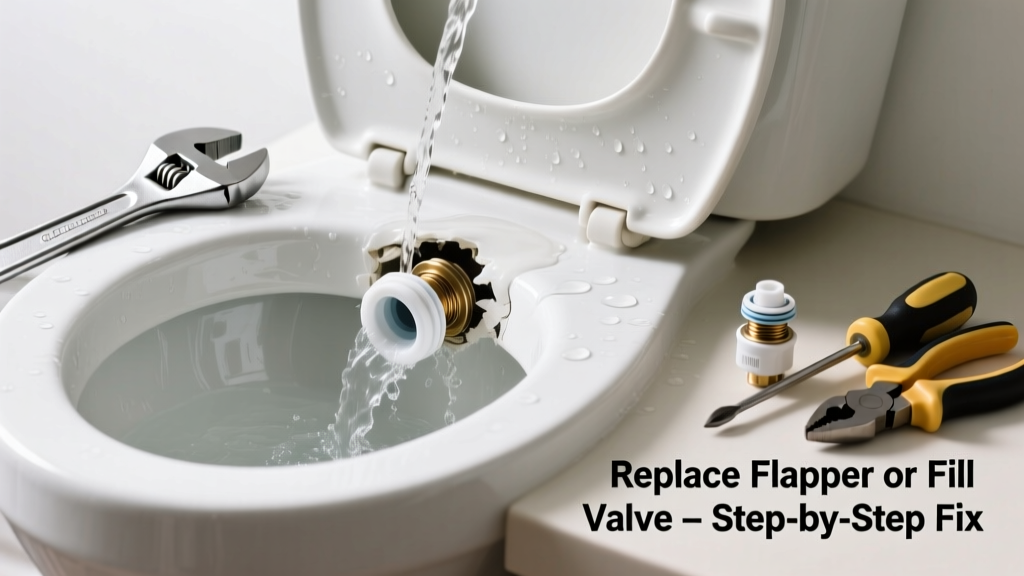
A toilet overflowing mid-flush isn’t just messy—it’s a red flag that a critical internal component has failed. Most often, it’s not the tank itself but a worn flapper, misadjusted float, or corroded fill valve letting water run unchecked into the bowl. Fixing it yourself takes under 30 minutes and costs less than $20—if you know which part is failing.
Quick Diagnosis
Before grabbing tools, isolate the culprit:
- Water running constantly into the bowl after flushing → likely a degraded flapper not sealing
- Tank refills endlessly without stopping → fill valve stuck open or float set too high
- Water rises rapidly in the bowl and overflows during flush → clogged drain or failing flush valve seat (less common but serious)
- Gurgling or slow drain after flush → partial blockage, not a replacement-part issue
Tools & Materials Needed
| Item | Purpose | Estimated Cost |
|---|---|---|
| Adjustable wrench | Tightens/loosens tank bolts and supply line connections without stripping | $8–$15 |
| Replacement flapper (universal or model-specific) | Seals the flush valve opening; most common failure point | $3–$8 |
| New fill valve kit (e.g., Fluidmaster 400A) | Replaces corroded or inaccurate valves; includes float, shutoff, and gaskets | $12–$22 |
| Sponge and towels | Soak up residual tank water and prevent floor damage during work | $2–$5 |
| White vinegar and soft brush | Cleans mineral buildup on flapper seat and valve surfaces—critical for seal integrity | $4–$6 |
Step-by-Step Fix
Follow these methods in order of likelihood and simplicity:
- Replace the flapper: Shut off water at the wall valve, flush to empty tank, unhook old flapper chain, remove flapper from overflow tube, clean seat with vinegar and brush, install new flapper, adjust chain so it’s taut but not lifting the flapper when seated.
- Reset or replace the fill valve: If water doesn’t shut off after flushing, turn off supply, drain tank, unscrew old valve from bottom of tank, install new valve per manufacturer instructions (cut overflow tube if needed), set float height so water stops 1 inch below top of overflow tube.
- Inspect the flush valve seat: Shine a flashlight into the tank drain opening. If cracked, pitted, or covered in limescale, a new flush valve (requires tank removal) or professional help may be needed—don’t force a flapper to seal over damage.
When to Call a Pro
DIY stops where safety or structural integrity begins:
- You detect black water backing up from the sewer line—not just overflow, but sewage contamination
- The tank itself is cracked (especially near the mounting bolts or overflow tube base)
- Replacing the flush valve requires removing the entire tank—and you’re unsure about resealing the tank-to-bowl connection
- After replacing both flapper and fill valve, the overflow persists, indicating a hidden drain line obstruction or main sewer issue
"Over 70% of toilet overflows linked to internal part failure are resolved by replacing the flapper or fill valve—no plumber required." — Home Repair Safety Council Annual Report, 2023
Prevention Tips
Extend the life of your toilet’s internals:
- Flush only toilet paper and human waste—never wipes, cotton balls, or feminine products
- Check flapper seal every 6 months: add food coloring to tank water; if color appears in bowl within 15 minutes without flushing, the flapper leaks
- Use white vinegar to descale the tank twice yearly—mineral deposits accelerate flapper wear and jam fill valves
- Install a quiet-fill fill valve with adjustable float; older brass floats corrode and stick
Can I reuse the old flapper chain?
Only if it’s stainless steel or coated nylon with no kinks, stretch, or fraying. Most plastic chains degrade faster than the flapper itself—replace it with the new kit. A stretched chain prevents full flapper closure, causing silent leaks and eventual overflow.
Why does my new fill valve still run after installation?
Most often, the float is set too high—water spills into the overflow tube before the valve shuts off. Lower the float by adjusting the screw or clip until water shuts off 1 inch below the tube’s top edge. Also verify the valve’s inlet screen isn’t clogged with debris from your supply line.
Is it safe to turn off water for several hours while repairing?
Yes—most homes have enough pressure reserve for sinks and showers to function briefly without the toilet supply. Just ensure the main shutoff is accessible and functional before starting. Keep a bucket and portable toilet handy if working longer than 2 hours.
Do I need to replace the entire toilet if the overflow keeps happening?
No—not unless the porcelain is cracked or the flush valve is fused to the tank. According to the U.S. EPA, 92% of recurring overflow issues stem from misdiagnosis or incomplete part replacement—not aging toilets. Focus first on flapper seal integrity and fill valve calibration.
Can hard water cause premature flapper failure?
Absolutely. Calcium and magnesium deposits build up on the flapper’s rubber surface and the flush valve seat, preventing a tight seal. The Water Quality Association reports homes with >10 grains per gallon hardness see flapper lifespan drop from 5 years to under 2—making vinegar flushes and annual replacements essential.
What’s the difference between a fill valve and a flush valve?
The fill valve brings fresh water into the tank after each flush (it’s the tall assembly connected to the supply line). The flush valve is the large opening at the tank’s bottom that releases water into the bowl—sealed by the flapper. Confusing them leads to buying the wrong part. If water runs continuously, it’s usually the fill valve; if water leaks silently into the bowl, it’s the flapper or flush valve seat.
A properly repaired toilet should hold water quietly in the tank, refill fully in under 60 seconds, and flush cleanly without rising toward the rim. If yours still behaves unpredictably after replacing both the flapper and fill valve, check the toilet drain clog diagnosis guide or consider sediment buildup in your home’s main supply line—especially if other fixtures sputter or run slow. For persistent issues with older toilets (pre-1994), upgrading to a WaterSense-certified model can cut water use by 20% and eliminate many legacy part failures.