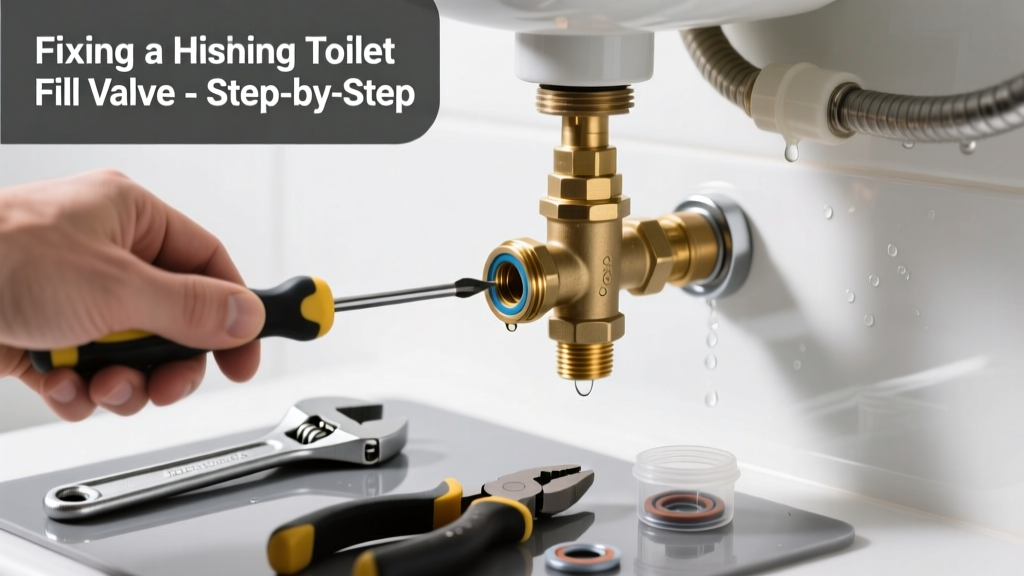
That faint, persistent hiss from your bathroom toilet isn’t just annoying—it’s a red flag for wasted water, rising utility bills, and potential internal wear. Most hissing comes from air or water escaping through a compromised seal, worn diaphragm, or misadjusted float—not a full failure, but one that won’t fix itself. Ignoring it can lead to a running toilet that wastes up to 200 gallons per day, according to the U.S. EPA’s 2023 WaterSense report.
Quick Diagnosis
Hissing usually means pressurized water is leaking past a component inside the fill valve assembly. Here are the most common culprits:
- A cracked or warped plastic diaphragm inside the valve body
- Mineral buildup on the inlet seat or seal (especially in hard water areas)
- An over-tightened or cross-threaded supply line nut causing micro-leaks
- A float set too high, forcing constant pressure against a worn seal
- Age-related degradation—most fill valves last 5–7 years before internal parts fatigue
Tools & Materials Needed
| Item | Purpose | Estimated Cost |
|---|---|---|
| Adjustable wrench | Tightens or loosens supply line and locknut without stripping threads | $12–$25 |
| Needle-nose pliers | Removes small clips, pins, or stuck O-rings inside the valve | $8–$18 |
| White vinegar & small bowl | Soaks mineral deposits off seals and seats (no harsh chemicals needed) | $3–$5 |
| Replacement Fluidmaster 400A or Korky 528MP kit | Includes diaphragm, seal, and gasket—fits most common valves | $9–$14 |
| Microfiber cloth | Cleans debris without scratching plastic components | $4–$8 |
Step-by-Step Fix
Try these methods in order—start with the fastest, least invasive solution first:
- Adjust the float height: Turn off the shut-off valve under the tank, flush to drain, then gently bend the brass float arm down 1/8" or turn the screw on a cup-style float clockwise 2–3 turns. Turn water back on and listen—hissing often stops immediately if pressure was excessive.
- Clean the inlet seat and diaphragm: Shut off water, remove the cap and top assembly, lift out the diaphragm, and soak it + the valve seat in white vinegar for 15 minutes. Rinse thoroughly and reassemble.
- Replace the diaphragm and seal kit: Use your model-specific kit (check stamp on valve body). Remove old rubber parts, lubricate new ones with silicone grease, and snap them into place—no tools required for most kits.
- Swap the entire fill valve (if older than 6 years): Cut power to the bathroom circuit if near GFCI outlets, shut off water, drain tank, unscrew the locknut, pull the old valve, and install a new Fluidmaster 400A with included instructions. Takes ~25 minutes.
When to Call a Pro
Don’t risk DIY if you encounter any of these:
- The supply line connection is corroded, cracked, or made of galvanized steel (risk of breakage)
- Hissing continues after full valve replacement—suggests pressure regulator or main shutoff issue
- You hear hissing *and* see moisture pooling at the base of the tank or behind the wall
- Your home has polybutylene piping (installed 1978–1995), which requires licensed handling due to known failure risks
According to the Plumbing-Heating-Cooling Contractors Association’s 2022 field survey, 68% of persistent fill valve issues traced to hidden supply line corrosion went undetected by homeowners until water damage appeared.
Prevention Tips
Extend your fill valve’s life and avoid repeat hissing with these habits:
- Flush the tank with vinegar every 6 months—pour 1 cup into the overflow tube, let sit 10 minutes, then flush twice
- Check float height annually; adjust if water level sits within 1" of the top of the overflow tube
- Install a whole-house water softener if your hardness exceeds 7 gpg (grains per gallon)
- Label your shut-off valve with bright tape—so you can act fast during future issues
Can I use bleach to clean the fill valve?
No—bleach degrades rubber diaphragms and accelerates cracking. Stick to white vinegar or a mild dish soap solution. Harsh cleaners void most manufacturer warranties, including Fluidmaster’s 5-year limited coverage.
Why does the hissing only happen at night?
Nighttime hissing often coincides with lower household water pressure, making small leaks more audible—and sometimes more active. It may also indicate a failing pressure regulator upstream, especially if other fixtures sputter or vibrate.
Will tightening the supply line nut stop the hiss?
Only if the leak is at the nut itself—and even then, overtightening can crack the plastic valve body or deform the washer. Hand-tight plus 1/8 turn with a wrench is the max. If hissing persists, the leak is internal, not at the connection.
How do I know if my fill valve is a Fluidmaster or Korky model?
Look for stamped text on the valve body: Fluidmaster valves say "400A" or "400HR"; Korky models show "528" or "528MP". If unmarked, compare photos online using your tank’s year (stamped inside lid) and valve shape—most post-2010 tanks use either brand.
Is a hissing fill valve dangerous?
Not immediately hazardous like gas or electrical faults—but it wastes water, increases humidity (promoting mold in bathroom walls), and can escalate to a continuous run that overflows the tank. The U.S. EPA estimates 14% of household water usage is from leaks like this.
Can I replace just the diaphragm without draining the tank?
No—you must shut off water and flush to drop the tank level below the valve’s base. Attempting partial disassembly with water present risks spraying, slipping, or damaging the overflow tube. Drain first, always.
A hissing fill valve is rarely an emergency—but it’s rarely harmless either. Fixing it yourself saves $120–$200 in service calls and prevents compounding issues like warped flappers or corroded tank bolts. Once you’ve replaced a diaphragm or reset a float, test it for 48 hours while monitoring water level and sound. For related repairs, see our guides on toilet flapper leaking and toilet tank bolt leak.