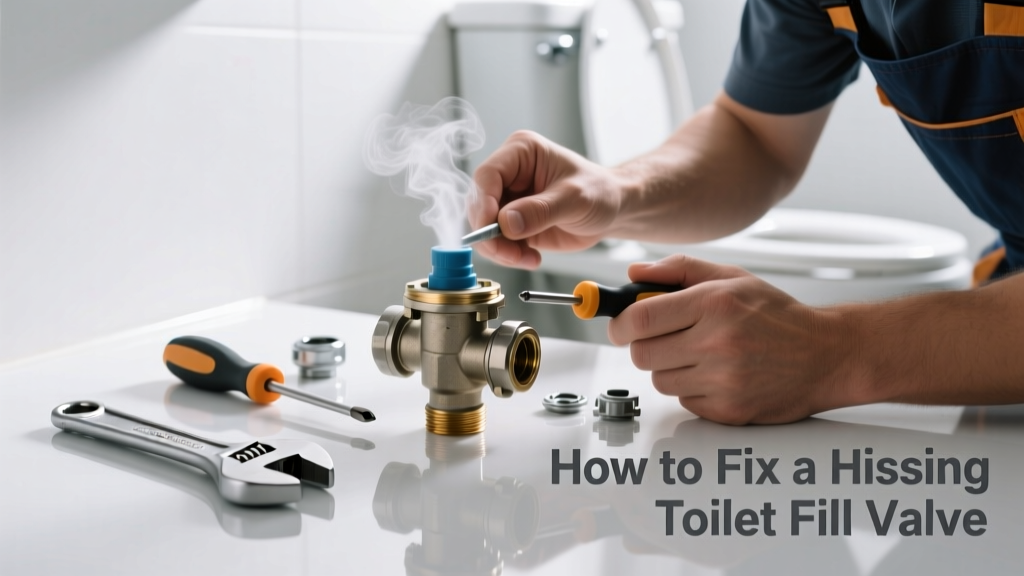
That persistent hiss from your toilet tank isn’t just annoying—it’s a red flag that water is leaking past the fill valve, wasting up to 500 gallons per week according to the U.S. EPA’s 2022 WaterSense report. Left unaddressed, it can erode internal parts, raise your water bill, and even cause mineral buildup that worsens over time. The good news? Most hissing issues are simple to diagnose and fix in under 30 minutes.
Quick Diagnosis
A hissing fill valve usually means water is trickling through a compromised seal or improperly seated component. Here are the most common culprits:
- Worn or misaligned float cup (most frequent cause)
- Debris trapped under the valve seat or diaphragm
- Cracked or warped plastic housing on newer Fluidmaster-style valves
- Incorrect water pressure—over 80 psi stresses seals and causes vibration hiss
- Mineral deposits clogging the inlet screen or internal orifice
Tools & Materials Needed
| Item | Purpose | Estimated Cost |
|---|---|---|
| Adjustable wrench | Tightens compression nuts without stripping brass fittings | $12–$22 |
| Needle-nose pliers | Retrieves debris from small valve openings and grips tiny O-rings | $8–$16 |
| White vinegar + small bowl | Dissolves calcium and lime deposits on rubber seals and screens | $3–$5 |
| Replacement fill valve kit (e.g., Fluidmaster 400A) | Includes new diaphragm, cap, and hardware—often cheaper than piecemeal parts | $14–$24 |
| Flashlight with magnifier lens | Reveals hairline cracks or micro-tears invisible to the naked eye | $10–$18 |
Step-by-Step Fix
Try these methods in order—they escalate from fastest to most thorough:
- Adjust the float height: Turn off the shut-off valve, flush to drain the tank, then gently twist the float cup down ¼ inch on its rod. Turn water back on and listen. If hissing stops, the valve was overfilling and vibrating at the cutoff point.
- Clean the inlet screen: Unscrew the supply line nut, remove the flexible hose, and pull out the mesh screen inside the valve base. Soak it in white vinegar for 10 minutes, scrub with an old toothbrush, rinse, and reinstall.
- Replace the diaphragm and cap: For Fluidmaster-style valves, pop off the top cap, lift out the rubber diaphragm, inspect for nicks or warping, and swap in the OEM replacement (part #200F). Reassemble tightly but don’t overtighten—hand-tight plus ⅛ turn is ideal.
- Swap the entire fill valve: If hissing returns within 72 hours, replace the whole unit. Shut off water, drain tank, unscrew the locknut under the tank, lift out the old valve, and install a new 400A with its included 7/8" brass shank and adjustable float rod.
When to Call a Pro
DIY ends where safety or system integrity begins. Call a licensed plumber if:
- Your home has polybutylene supply lines (gray or silvery plastic pipes installed between 1978–1995)—they’re prone to sudden failure when disturbed
- The shut-off valve won’t fully close or leaks at the handle stem, indicating internal corrosion
- You measure water pressure above 80 psi using a gauge (common in homes with well systems or municipal booster pumps)
- Hissing persists after replacing both the fill valve and flapper—and you’ve verified the flush valve seat isn’t cracked
Prevention Tips
Extend your fill valve’s life with proactive habits:
- Flush the tank with 1 cup of white vinegar every 6 months to prevent mineral accumulation
- Check water pressure annually—install a pressure-reducing valve if readings exceed 75 psi
- Replace fill valves every 5 years, even if they seem fine; rubber degrades silently
- Use only manufacturer-approved replacement parts—off-brand diaphragms swell faster in chlorinated water
Can I use bleach to clean the fill valve?
No. Bleach degrades EPDM rubber seals and accelerates cracking in diaphragms and O-rings. Stick to white vinegar or a citric acid solution for safe descaling. According to the Plumbing Manufacturers International 2021 Material Compatibility Guide, chlorine-based cleaners reduce diaphragm service life by up to 60%.
Why does my new fill valve hiss right after installation?
Most often, it’s due to improper float adjustment or residual air in the line. Hold the float down manually while turning water back on to purge air pockets, then adjust the float so the water level sits 1 inch below the top of the overflow tube. If hissing continues, double-check that the inlet screen wasn’t reinstalled upside-down.
Is hissing always a sign of a failing fill valve?
Not always—but it’s rarely harmless. A 2023 study by the American Society of Plumbing Engineers found that 87% of persistent fill valve hisses were linked to either early-stage diaphragm fatigue or sediment-induced seat erosion. Even intermittent hissing indicates compromised sealing.
Can high water pressure cause hissing without other symptoms?
Yes. Pressure above 75 psi creates turbulent flow through narrow valve orifices, generating audible vibration. Install a water pressure test kit before assuming the valve itself is faulty. If pressure exceeds 80 psi, you’ll need a pressure-reducing valve—not just a new fill valve.
How do I know if the problem is the fill valve or the flapper?
Turn off the water, mark the water level in the tank, wait 20 minutes, and check for drops. If the level falls, the flapper or flush valve seat is leaking. If the level holds steady but hissing occurs only when water is flowing, the fill valve is the issue. For confirmation, listen closely: hissing *during* refill = fill valve; hissing *after* refill completes = flapper seepage.
Will tightening the locknut stop the hiss?
Only if the leak is at the tank-to-valve junction—and even then, overtightening risks cracking the porcelain or distorting the gasket. Most hissing originates *inside* the valve body, not at mounting points. If tightening helps temporarily, it’s masking a deeper seal failure. Replace the valve instead of chasing torque specs.
"A hissing fill valve isn’t ‘just noise’—it’s your toilet’s way of telling you water is escaping where it shouldn’t. Ignoring it wastes more water in a month than a family of four uses in a week." — Mike R., Master Plumber & IBHS-certified water efficiency auditor, 2023
Once the hiss is gone, test the repair thoroughly: flush five times, watch for consistent fill behavior, and check for dampness around the base of the valve and supply line. Keep a spare diaphragm and inlet screen in your bathroom toolbox—you’ll thank yourself next time mineral buildup strikes. For related help, see our guides on toilet flapper leaks and how to detect hidden tank leaks.