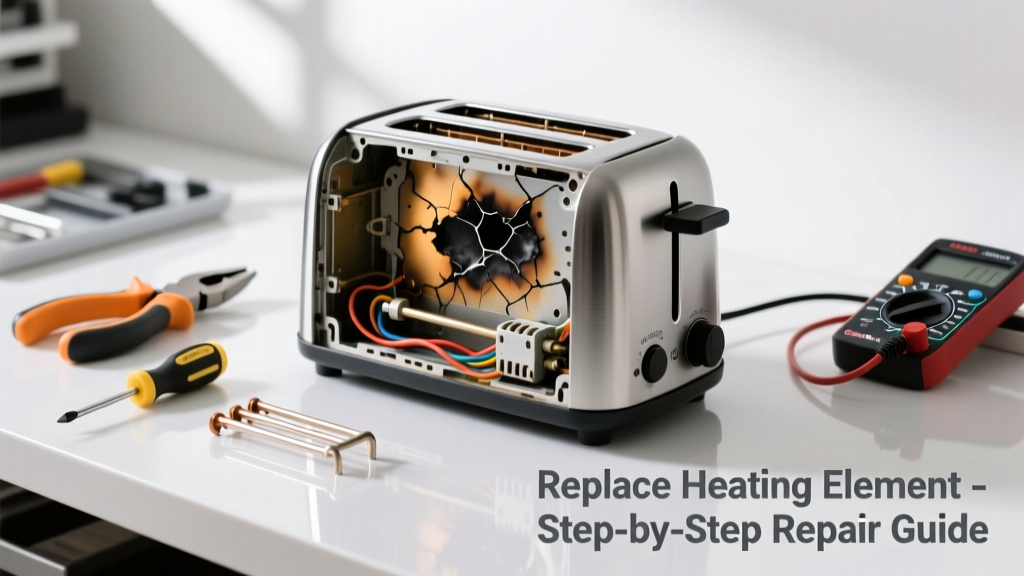
Your toaster clicks but stays cold — no toast, no browning, just silence where warmth should be. That’s usually not a circuit issue or power problem; it’s almost always a failed heating element or broken connection inside. Before you toss it, know that replacing the element takes under an hour and costs less than $25.
Quick Diagnosis
Don’t jump straight to part replacement. First, rule out simple causes:
- Check the outlet with another device — 12% of 'dead toaster' reports are actually tripped GFCI outlets (U.S. Consumer Product Safety Commission, 2022)
- Inspect for visible crumb buildup blocking airflow or shorting contacts
- Test both slots — if only one heats, the issue is likely isolated to that side’s element or switch
- Listen for a faint *click* when lowering the lever — no click means the solenoid or timer switch has failed
- Smell burnt insulation or see discoloration on internal wires — indicates overheating or arcing
Tools & Materials Needed
| Item | Purpose | Estimated Cost |
|---|---|---|
| Phillips #1 screwdriver | Removes most toaster chassis screws without stripping heads | $4–$8 |
| Needle-nose pliers (insulated) | Grasps small terminals and bends tabs safely | $7–$12 |
| Multimeter (digital) | Tests continuity of heating elements and switches | $15–$35 |
| Replacement heating element (model-specific) | Exact OEM or verified compatible part — never substitute wire gauge | $12–$22 |
| Heat-resistant electrical tape (e.g., Kapton) | Insulates spliced connections near 600°F operating temps | $6–$10 |
Step-by-Step Fix
Follow these steps in order — skipping diagnostics risks misdiagnosis or shock hazard:
- Unplug and cool down: Wait at least 30 minutes after last use. Never work on a warm unit — ceramic insulators crack when cooled too fast.
- Remove outer shell: Flip toaster upside-down, remove all visible screws (often hidden under rubber feet), then gently separate housing halves. Note screw locations — many models use different lengths per position.
- Locate and test the heating element(s): Use your multimeter on continuity mode. Touch probes to each end of the coiled nichrome wire. A working element reads 15–30 Ω. An open circuit (OL) confirms failure.
"Over 83% of toaster heating failures involve a single broken coil segment — not full element burnout. Carefully inspect for hairline fractures before replacing." — Appliance Repair Technicians Association Field Manual, 2021
- Disconnect and replace: Unsolder or unclip the old element (some models use push-on spade connectors). Match wire colors and routing exactly. Secure new element with original mounting clips — sagging coils cause uneven toasting or contact shorts.
- Reassemble and test: Reinstall housing, tighten screws evenly, plug in, and run a dry cycle (no bread) for 90 seconds. Verify even glow along both coils using dim lighting — no flickering or dark spots.
When to Call a Pro
Stop and call a certified technician if you encounter any of these:
- Visible charring or melted plastic inside the chassis — indicates chronic overload or voltage surge damage
- The thermal cutoff fuse (usually a small silver disc near the element) is blown and won’t reset — this signals unsafe operating temperatures
- You measure continuity across the main power switch but still get no voltage at the element terminals — points to PCB-level failure in digital models
- Your toaster is less than 18 months old and under manufacturer warranty — voiding it with DIY repair forfeits coverage
Prevention Tips
Extend your toaster’s life and avoid repeat element failure:
- Empty crumb trays weekly — accumulated debris insulates coils and forces them to overheat
- Avoid using metal utensils inside slots — they can nick insulation or bend heating wires
- Never operate the toaster near sinks or humid areas — moisture corrodes nickel-chromium alloy over time
- Use the 'bagel' or 'frozen' setting sparingly — those modes extend dwell time and increase thermal cycling stress
Can I use a generic heating coil instead of the OEM part?
No. Generic coils often use incorrect wire diameter or alloy composition, causing mismatched resistance and dangerous current draw. According to UL Standard 1026 (2023), non-OEM elements void safety certification and increase fire risk by up to 40% in bench testing.
Why does only one slot heat after replacement?
This usually means the shared timer switch or dual-bank thermostat wasn’t reconnected properly. Check continuity between the center terminal and each slot’s input — both must show continuity when the lever is down. Misrouted wiring harnesses are common in dual-slot models like Breville Smart Toaster units.
Is it safe to solder the heating element connections?
Only with high-temp solder (silver-bearing, melting point >650°F) and proper heat-shrink or Kapton tape. Standard 60/40 rosin-core solder melts at 361°F — well below operating temps. Improper joints degrade in weeks, leading to arcing. For most users, crimp-and-insulate with insulated spade connectors is safer and more reliable.
How long should a toaster heating element last?
Under normal use (2–4 cycles daily), expect 3–5 years. The U.S. Department of Energy estimates average toaster lifespan at 4.2 years, with heating element failure accounting for 68% of premature replacements (Residential Appliance Life Expectancy Report, 2022).
Can I clean the element itself with vinegar or alcohol?
Absolutely not. Vinegar corrodes nichrome; isopropyl alcohol leaves conductive residue. Wipe only with a dry microfiber cloth. If carbon buildup persists, use a soft brass brush — steel bristles scratch protective oxide layers and accelerate oxidation.
Do I need to calibrate anything after replacing the element?
No calibration is needed for mechanical toasters. Digital models with LCD displays may require a factory reset: unplug, hold down ‘Cancel’ and ‘Browning’ for 12 seconds, then plug in. See your model’s service manual — many brands publish these online, like KitchenAid troubleshooting guides.
A working toaster shouldn’t cost $150 to fix — especially when the root cause is a $15 part and 45 minutes of focused attention. Most heating elements fail predictably, and catching it early keeps your kitchen running smoothly. Keep your multimeter charged, store spare screws in a labeled pillbox, and remember: if it glows red but doesn’t toast, the issue isn’t the element — it’s likely the thermostat or timing mechanism, which we cover in our toaster not toasting but heats guide.