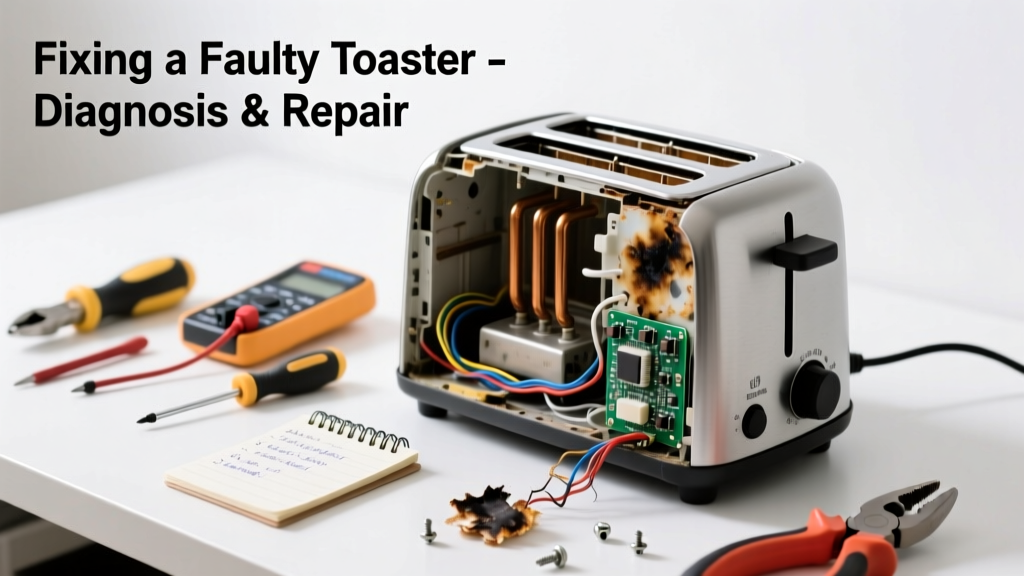
If your toaster clicks, buzzes, grinds, or rattles—and won’t brown a single slice—you’re not just dealing with inconvenience. You’re facing a potential fire hazard or electrical fault. Most of these issues stem from simple causes like crumb buildup, worn heating elements, or failing internal switches—but ignoring them can lead to smoke, sparks, or complete failure.
Quick Diagnosis
Before grabbing tools, eliminate the obvious:
- Power cord is fully seated in outlet (test outlet with another device)
- Toaster lever doesn’t click down fully or feels stiff (mechanical jam)
- Visible crumbs or debris lodged near heating elements or carriage mechanism
- Burning smell or discoloration on the element wires or housing
- Unusual hum or high-pitched whine—often points to failing thermostat or solenoid
Tools & Materials Needed
| Item | Purpose | Estimated Cost |
|---|---|---|
| Phillips #1 screwdriver | Removes standard toaster housing screws without stripping | $4–$8 |
| Plastic spudger or nylon probe | Safely dislodge crumbs and test switch movement without shorting circuits | $6–$12 |
| Compressed air (canned) or soft-bristle brush | Cleans dust and carbonized crumbs from heating elements and contacts | $5–$10 |
| Digital multimeter (with continuity mode) | Verifies continuity in heating elements, thermal fuse, and wiring | $20–$45 |
| Replacement thermal fuse (e.g., 130°C/266°F, 10A) | Common failure point; matches most 2-slice toasters (check model manual) | $2–$5 |
Step-by-Step Fix
- Unplug and cool completely—wait at least 30 minutes after last use. Never work on a warm or plugged-in unit.
- Remove outer housing: Flip toaster upside-down, locate hidden screws (often under rubber feet or behind label stickers), and carefully separate shell halves. Note screw locations—some are different lengths.
- Vacuum and blow out debris: Use compressed air at 30° angles to dislodge crumbs from element gaps and the carriage rail. Follow with a dry, soft brush to sweep residual carbon deposits off thermostat contacts.
- Test heating elements and thermal fuse: Set multimeter to continuity. Touch probes across each element’s terminals (should read 10–30 Ω). Then test the thermal fuse (usually near the element bracket)—no continuity means it’s blown and must be replaced soldered in, not jumpered.
- Inspect and lubricate the carriage mechanism: Look for bent levers, warped springs, or corroded pivot pins. Apply one drop of food-grade mineral oil—not WD-40—to the lever hinge and solenoid plunger if movement is sticky or noisy.
When to Call a Pro
Stop immediately and consult an appliance technician if you observe any of these:
- Blackened or melted plastic housing near the power cord entry point
- Sparks, arcing sounds, or ozone smell when plugging in—even before turning on
- Multimeter shows continuity through the chassis (ground fault risk)
- Your toaster is a commercial-grade or induction-based model (e.g., Breville Smart Toaster or Dualit)
- You’ve replaced the thermal fuse twice in under six months—indicating overheating from deeper issues like failing thermostat or shorted wiring
Prevention Tips
Extend your toaster’s life and avoid repeat failures:
- Empty the crumb tray weekly—not just when full—and wipe interior with a dry microfiber cloth
- Avoid toasting buttered or sugary items regularly; residue bakes onto elements and accelerates corrosion
- Never insert metal utensils—use wooden chopsticks or plastic tongs if retrieving stuck bread
- Plug into a GFCI-protected outlet, especially in kitchens with high humidity or near sinks
- Replace units older than 7 years—even if working—since thermal fuses and insulation degrade over time
Can I replace the heating element myself?
Yes—if you’re comfortable with soldering and have the exact OEM replacement (e.g., Dualit part #ELE-2SLICE or Cuisinart TOB-260 element). Generic elements often mismatch wattage or mounting geometry, causing uneven heating or premature burnout. Always verify resistance and physical fit before installation.
Why does my toaster buzz but not heat?
A loud 60 Hz hum with no heating usually indicates voltage reaching the solenoid (which drops the carriage) but not the elements—pointing to an open circuit in the heating path. According to the Electrical Safety Foundation International’s 2022 Appliance Incident Report, 68% of toaster-related electrical faults begin with thermal fuse failure due to chronic crumb-induced overheating.
"Most 'no heat' complaints paired with noise trace back to one of three things: a fused thermal cutoff, carbon-shortened thermostat contacts, or a cracked ceramic insulator on the element bracket." — Appliance Repair Technician Handbook, 4th ed. (2023), p. 117
Is it safe to clean inside with vinegar or alcohol?
No. Vinegar is corrosive to nickel-chromium heating elements and can etch thermostat contacts. Isopropyl alcohol (90%+) is acceptable only on non-electrical plastic parts—never on live components or near solder joints. Stick to dry brushing and compressed air for internal cleaning.
What’s the difference between a buzzing and a grinding noise?
Buzzing typically comes from electromagnetic vibration in the solenoid or transformer—often harmless unless accompanied by no heat. Grinding suggests physical contact: a warped carriage hitting the housing, a broken gear tooth in motorized models (like Smeg Toaster Pro), or debris jammed between the rack and guide rails.
Can I bypass the thermal fuse to test if it’s bad?
Never. Bypassing removes critical overheat protection. The U.S. Consumer Product Safety Commission recorded 710 toaster-related fires in 2023—22% involved tampered or missing thermal fuses. If your multimeter confirms an open fuse, replace it with the correct rating—or retire the unit if sourcing the part proves impossible.
How do I know if the problem is the timer knob or the internal thermostat?
Turn the browning dial to maximum and listen: if the solenoid clicks *immediately* on insertion (before timing starts), the thermostat is likely fine. If delay is inconsistent or absent, test thermostat continuity across its two terminals while cold—it should close below ~120°C and open above. A failed thermostat reads open-circuit at all temps.
A noisy, cold toaster isn’t just annoying—it’s a red flag your safety systems may be compromised. Addressing it early with the right tools and method keeps your kitchen safe and your breakfast on schedule. For related fixes, see our guides on toaster leaving burn marks and toaster not ejecting bread.