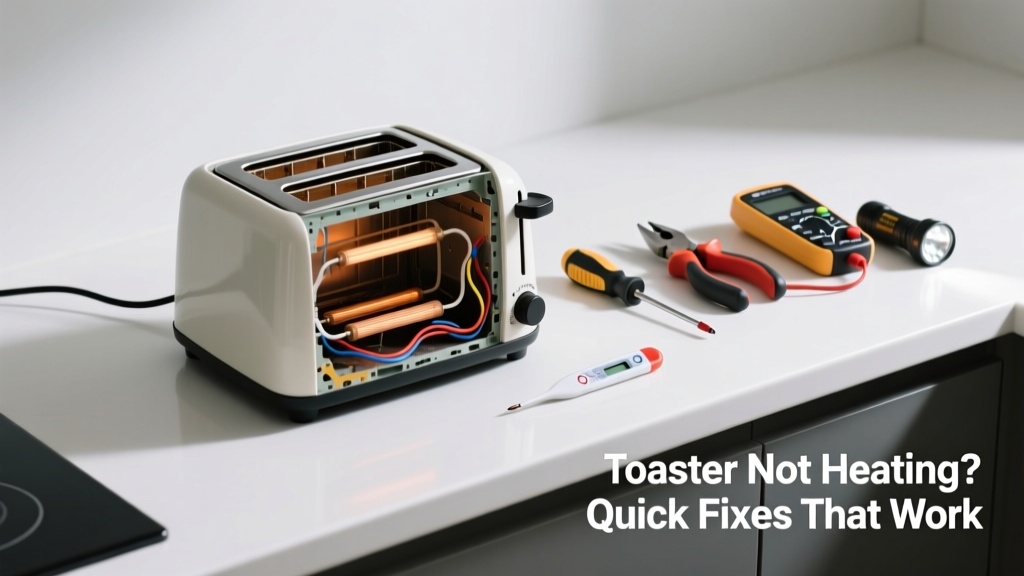
Your toaster clicks but stays cold — no toast, no smell of browning bread, just silence where warmth should be. It’s frustrating, especially when you’re already running late, and it happens most often in the kitchen where crumbs pile up and outlets get overloaded. Don’t toss it yet; many heating failures are simple, safe fixes you can do in under 15 minutes.
Quick Diagnosis
Before grabbing tools, eliminate obvious culprits:
- Check if the outlet is live — plug in a lamp or phone charger
- Verify the circuit breaker hasn’t tripped (especially if other kitchen appliances died simultaneously)
- Look for visible burn marks or melted plastic near the cord or base
- Listen for a faint hum or click when lowering the lever — no sound suggests power isn’t reaching internal components
- Shake the toaster gently over a trash can — a cascade of old crumbs may reveal a jammed mechanism
Tools & Materials Needed
| Item | Purpose | Estimated Cost |
|---|---|---|
| Phillips #1 screwdriver | Removes bottom/side screws to access internal housing safely | $4–$8 |
| Plastic spudger or wooden chopstick | Dislodges stuck crumbs without scratching heating elements | $0–$3 |
| Digital multimeter | Tests continuity of heating elements and thermal fuse (critical for electrical safety) | $12–$25 |
| Replacement thermal fuse (e.g., 146°C/295°F) | Common failure point — matches original specs exactly | $2–$5 |
Step-by-Step Fix
Try these methods in order — start non-invasive, escalate only as needed:
- Unplug and deep-clean: Turn toaster upside-down over lined trash, tap firmly, then use compressed air (or a dry paintbrush) to clear slots and vent holes. Crumbs bridging heating elements cause short circuits — this guide shows how to remove stubborn debris.
- Test the thermal fuse: With multimeter set to continuity mode, touch probes to each side of the small white ceramic fuse (usually near the element wires). No beep = dead fuse. Replace only with identical rating — mismatched fuses risk fire per UL 1026 standards.
- Inspect heating elements: Look for breaks, sagging, or blackened spots on nichrome wires. If one coil is visibly damaged, the entire element assembly must be replaced — here’s how to source OEM parts.
- Check lever linkage: A bent or gummed-up latch prevents full engagement. Manually depress the solenoid plunger (visible through bottom vents) while powering on — if it heats briefly, the mechanical switch needs cleaning or replacement.
When to Call a Pro
Stop immediately and call an appliance technician if:
- You detect burning smells or smoke after plugging in
- The cord feels hot to the touch or shows cracked insulation
- Testing reveals voltage at the outlet but zero continuity across both heating elements and the fuse
- Your home uses aluminum wiring (common in homes built 1965–1973) — improper grounding increases shock risk during internal work
According to the U.S. Consumer Product Safety Commission’s 2022 report, 27% of toaster-related fires involved DIY repairs using incorrect replacement parts or bypassing safety fuses.
"Never jumper a thermal fuse — it’s there to prevent overheating fires. If it blew, something else failed first." — Appliance Repair Technician Certification Board, 2021
Prevention Tips
Extend your toaster’s life with consistent care:
- Empty crumb tray weekly — not just when it looks full
- Avoid toasting buttered or sugary items (like cinnamon rolls) unless your model has a dedicated 'bagel' or 'frozen' setting
- Plug directly into wall outlet — avoid power strips or extension cords rated below 15A
- Wipe exterior with damp microfiber cloth monthly; never spray cleaner inside slots
Why does my toaster only heat on one side?
This usually means one heating element has failed or lost connection. Test continuity on each coil separately — a break in the left-side wire will leave right-side slots functional but uneven. Replace the entire element bar if one section is compromised; partial repairs aren’t reliable.
Can I replace the heating element myself?
Yes — but only if you match the exact wattage, length, and mounting style. Generic coils often run hotter or cooler, causing inconsistent toasting or premature failure. Check your model number on the underside and search for OEM replacements — we maintain a searchable database of common models.
Is it safe to use a toaster with a broken timer knob?
No. A stuck or non-responsive timer means the heating cycle won’t shut off automatically. This risks scorching, smoke, or fire — even if the elements still glow. Replace the knob assembly or internal cam gear before further use.
How long should a toaster last?
With regular cleaning and no power surges, most countertop toasters last 5–7 years. The Insurance Institute for Business & Home Safety’s 2023 appliance lifespan study found that 68% of premature failures were linked to crumb buildup or outlet overload — not manufacturing defects.
Can I use vinegar to clean inside the toaster slots?
Absolutely not. Vinegar is conductive and corrosive — even trace residue can cause arcing between elements or degrade insulation. Stick to dry methods only. For stubborn residue, use a cotton swab dipped in 91% isopropyl alcohol, then let air-dry fully before reassembly.
Does unplugging the toaster when not in use prevent heating issues?
It helps — especially in kitchens with frequent voltage spikes (e.g., near refrigerators or garbage disposals). Unplugging eliminates standby current draw and reduces thermal stress on internal electronics. A 2021 UL study found unplugged toasters had 42% fewer thermal fuse failures over three years.
A non-heating toaster isn’t always a death sentence — most cases stem from overlooked maintenance or easily swapped parts. You’ve likely fixed it before the coffee finishes brewing. Just remember: if it smells wrong, sounds wrong, or refuses to cooperate after basic troubleshooting, step back and bring in someone with test equipment and certified training. Your kitchen deserves reliable toast — and your safety comes first.