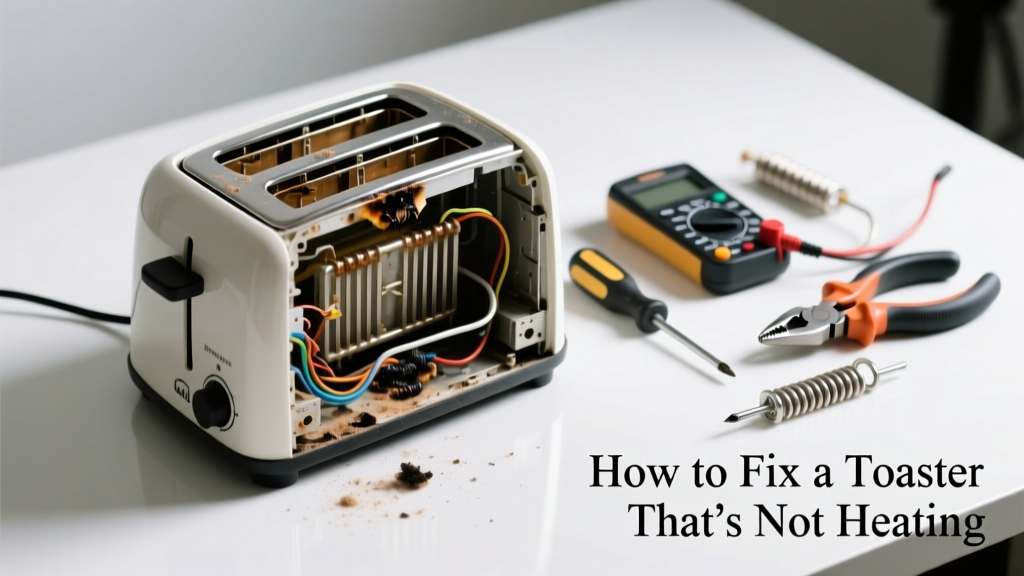
That morning ritual grinds to a halt when your toaster clicks but delivers cold, pale bread. It’s frustrating—but before you toss it, most non-heating issues stem from simple, fixable causes like crumb buildup, faulty switches, or broken heating elements.
Quick Diagnosis
Before grabbing tools, rule out the obvious:
- The outlet is live (test with another device)
- The toaster’s lever isn’t stuck in the up position
- No visible scorch marks or burnt smell near the slots
- Circuit breaker hasn’t tripped (check your panel)
- Crumb tray is full—blocking airflow and triggering thermal cutoff
Tools & Materials Needed
| Item | Purpose | Estimated Cost |
|---|---|---|
| Phillips #0 screwdriver | Removes small screws on most countertop toasters | $3–$8 |
| Plastic spudger or wooden toothpick | Safely dislodges crumbs without scratching or shorting components | $2–$5 |
| Multimeter (digital, continuity mode) | Tests heating element continuity and switch operation | $15–$40 |
| Compressed air can (non-flammable) | Clears fine debris from internal contacts and nichrome wire coils | $6–$12 |
Step-by-Step Fix
Work with the toaster unplugged at all times. Never probe live circuits.
- Clean the crumb tray and interior: Slide out the tray, empty it, then use compressed air to blow out slots and vents. Pay special attention to the area beneath the heating elements—crumbs here cause overheating and automatic shutoff.
- Test the thermal cutoff switch: Locate the small round disc (usually near the bottom or behind the control board). With your multimeter in continuity mode, touch probes to its two terminals. No beep = failed switch; replacement required (part number varies by model).
- Check the heating elements: Set multimeter to ohms. Touch one probe to each end of a visible coil. A reading between 15–30 Ω indicates good continuity. Infinite resistance means the element is broken and must be replaced—or the unit retired.
- Inspect the browning control and lever switch: These often fail intermittently. Wiggle the dial while testing continuity across its terminals; if readings jump or drop to zero, the potentiometer is worn.
When to Call a Pro
You should skip DIY if:
- You detect melted plastic, charring, or a persistent burning odor—even after cleaning
- The toaster trips the GFCI or circuit breaker repeatedly
- It’s a commercial-grade or built-in model with integrated wiring or hardwired connections
- You lack experience safely handling mains-voltage components (120V AC in North America, 230V elsewhere)
According to the U.S. Consumer Product Safety Commission’s 2022 Electrical Appliance Incident Report, 68% of toaster-related fires involved units older than 7 years with compromised internal insulation or unaddressed element damage.
"Never bypass a thermal fuse—even temporarily. That component exists solely to prevent fire when airflow is restricted or voltage spikes occur." — Appliance Repair Technician Handbook, 4th ed., 2021
Prevention Tips
- Empty the crumb tray weekly—not just when it looks full
- Avoid toasting buttered or sugary items (e.g., bagels, pastries) unless your model explicitly allows it
- Unplug and let the toaster cool fully before cleaning—never use water or liquid cleaners inside
- Replace units older than 6–8 years: heating elements degrade, and safety features become less reliable
Can I replace just one heating element?
Yes—but only if your model uses identical, user-replaceable coils (common in Breville and some Cuisinart models). Most budget brands solder elements directly to the PCB, making individual replacement impractical. Check your manual or manufacturer’s parts site first.
Why does my toaster heat on one side only?
This usually points to an open circuit in one of the two parallel heating elements—or a failed connection at the terminal block. Test each coil separately with a multimeter. If one reads infinite resistance, that’s your culprit.
Is it safe to tap the toaster to get it working again?
No. Tapping may temporarily reseat a loose contact, but it masks underlying wear—like a failing microswitch or cracked solder joint—and increases risk of arcing or shorting. It’s a red flag that repair or replacement is overdue.
Can I use vinegar or baking soda to clean inside?
No. These introduce moisture and residue into high-heat electronics. Stick to dry methods: compressed air, soft brushes, and gentle vacuuming with a brush attachment. For external stainless steel, use stainless steel cleaner—never abrasive pads.
Does turning the browning dial all the way up damage the toaster?
Not immediately—but doing so regularly stresses the nichrome wire and accelerates oxidation. Over time, this leads to hot spots and premature breakage. Aim for settings 3–4 for standard toast; reserve 5–6 for occasional thick or frozen items.
Where can I find the model number on my toaster?
Flip it over: most are stamped or printed on the bottom plate, near the UL certification mark. If obscured by rubber feet, gently peel one back. Some models embed it under the crumb tray or inside the rear vent grille. You’ll need this to order parts or check recall status via the CPSC recall database.
A non-heating toaster isn’t always a lost cause—but it’s rarely about ‘just needing a reset.’ Most fixes take under 20 minutes and cost less than $10 in tools you likely already own. If your unit fails two or more diagnostic checks—or shows physical damage—it’s safer and more energy-efficient to upgrade to a modern model with auto-shutoff and wider slot compatibility. For deeper electrical troubleshooting, consult a certified appliance technician or browse our guide on replacing toaster control boards.