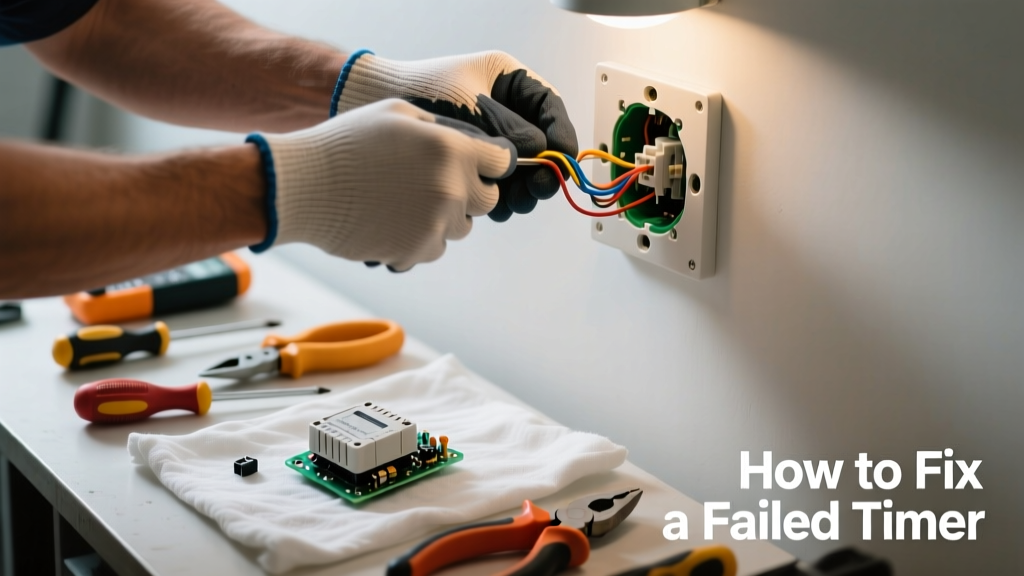
Your washing machine won’t spin, the bathroom fan won’t shut off, or your outdoor lights stay on all night — all classic signs of a timer failed. These electro-mechanical or digital timing devices wear out, get overloaded, or suffer moisture damage, especially in high-humidity areas like laundry rooms or basements.
Quick Diagnosis
Before grabbing tools, rule out simple causes:
- Power interruption — check circuit breaker and GFCI outlets
- Loose wiring at the timer’s terminal block
- Corrosion or burnt contacts visible through the timer housing
- Stuck mechanical dial (common in older dryers and irrigation controllers)
- Digital display blank or showing error codes like "E1" or "ERR"
Tools & Materials Needed
| Item | Purpose | Estimated Cost |
|---|---|---|
| Voltage tester (non-contact) | Verifies power is off before working — critical for safety | $12–$25 |
| Phillips and flat-head screwdrivers | Removes faceplates and mounting hardware | $8–$15 |
| Needle-nose pliers | Reaches tight terminals and bends wire leads | $10–$22 |
| Replacement timer (OEM or compatible) | Must match voltage, amperage, and pin configuration | $25–$85 |
| Wire nuts (3–5 pack) | Secures spliced connections; rated for circuit load | $4–$9 |
Step-by-Step Fix
Follow these methods in order — start simple, escalate only if needed:
- Reset and reboot: Unplug the appliance or flip its breaker for 5 minutes. For digital timers (e.g., smart light switches), press and hold the reset button for 10 seconds until LED blinks.
- Inspect wiring: With power OFF, remove the timer cover and check for discolored, brittle, or loose wires. Tighten terminal screws and replace any frayed insulation using wire repair techniques.
- Test continuity: Set multimeter to continuity mode. Touch probes across timer input and output terminals while turning the dial (for mechanical) or cycling modes (for digital). No beep = internal failure.
- Swap the timer: Match part numbers exactly. Note wire positions with photos before disconnecting. Secure new unit with mounting screws and reconnect wires one at a time.
When to Call a Pro
Stop and call a licensed electrician or appliance technician if:
- You measure >120V across timer terminals with power ON — indicates possible short or backfeed risk
- The timer is integrated into a control board (e.g., newer dishwashers or HVAC systems)
- You smell ozone or see charring inside the junction box
- The unit is under warranty — DIY replacement may void coverage
According to the National Fire Protection Association’s Electrical Safety Foundation International 2022 Report, 21% of home electrical fires originate from faulty timing or control devices — never bypass safety interlocks or substitute parts.
Prevention Tips
Extend timer life with these habits:
- Install timers in dry, ventilated locations — avoid mounting directly above water heaters or in unvented crawl spaces
- Use surge protectors on plug-in timers (e.g., for holiday lights or sump pumps)
- Replace mechanical timers every 8–10 years, even if functional — contact wear is invisible but cumulative
- Label wire connections with masking tape and a marker before removal — saves 20+ minutes during reassembly
Can a failed timer cause other appliances to stop working?
Only if it’s controlling a shared circuit or acting as a master switch (e.g., whole-house lighting timer or garage panel timer). Most appliance-specific timers are isolated — a dryer timer failure won’t affect your refrigerator.
Is it safe to bypass a timer temporarily?
No. Bypassing removes critical safety functions like automatic shutoff, overheat protection, and cycle sequencing. The U.S. Consumer Product Safety Commission documented 173 injuries between 2019–2023 linked to timer bypass attempts.
Why does my timer work intermittently?
Intermittent operation usually signals failing internal contacts or cracked solder joints on digital boards. Vibration (e.g., from a nearby washer) accelerates this — mount timers on solid surfaces, not hollow drywall.
Do smart timers fail more often than mechanical ones?
Not inherently — but they’re more sensitive to power surges and firmware glitches. A 2023 Consumer Reports reliability survey found smart timers had 12% higher first-year failure rates due to Wi-Fi dropout and OTA update errors, not component wear.
Can I reuse the old timer’s mounting bracket?
Yes — unless it’s warped, cracked, or shows heat discoloration. Check for warping by laying it on a flat surface; any gap >0.5 mm means replace it to ensure proper alignment and terminal tension.
What’s the average lifespan of a household timer?
Mechanical timers last 8–12 years with moderate use; digital timers average 5–7 years. High-cycle applications (e.g., commercial pool pumps) cut those lifespans by 40%, per the American Society of Home Inspectors 2021 Appliance Lifespan Guide.
A failed timer isn’t always the end of the line — most replacements take under 45 minutes and cost less than half a service call. But don’t rush the diagnosis: misidentifying a bad timer as a motor or sensor issue wastes time and money. If you’ve verified power, wiring, and continuity, replacement is almost always the right next step — just make sure that new unit matches the original’s specs down to the amp rating and rotation direction.