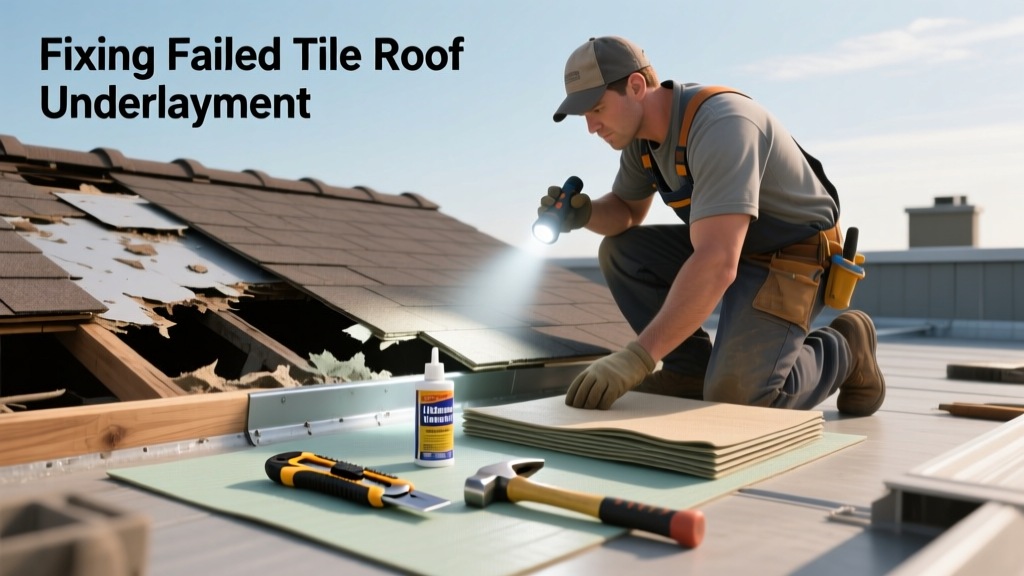
If you’ve spotted water stains on your ceiling, damp insulation in the attic, or visible curling or granule loss on underlayment beneath clay or concrete tiles, your tile roof’s underlayment has likely failed. Unlike asphalt shingle roofs, tile systems rely heavily on intact underlayment — because tiles themselves aren’t waterproof. Ignoring it risks rot, mold, and structural decay within months.
Quick Diagnosis
Underlayment failure rarely happens all at once — it creeps in. Here are the most common causes:
- Age-related degradation (most underlayments last 10–15 years; many installed pre-2010 used organic felt prone to dry rot)
- Prolonged ponding water from clogged gutters or poor slope design
- Improper fastening during original installation — staples too close to edges or missing overlaps
- UV exposure during extended delays between underlayment and tile installation
- Mechanical damage from foot traffic, HVAC units, or fallen branches
Tools & Materials Needed
| Item | Purpose | Estimated Cost |
|---|---|---|
| Rooftop ladder stabilizer | Secures extension ladder to tile without cracking or slipping | $89–$129 |
| 36-inch roofing knife with snap-off blades | Cuts underlayment cleanly without tearing adjacent sections | $14–$22 |
| Synthetic underlayment (e.g., GAF Tiger Paw or CertainTeed Landmark) | UV-stable, tear-resistant replacement; required by most building codes for tile roofs since 2018 | $32–$48 per 10' x 100' roll |
| Stainless steel cap nails (1¼") | Corrosion-resistant fasteners that won’t rust or back out over time | $18–$25 per 5-lb box |
| Roofing cement (ASTM D226 Type I) | Used only for spot repairs at penetrations or seams — not as a full replacement | $12–$17 per 5-gal pail |
Step-by-Step Fix
Repair scope depends on failure extent. Choose the method that matches your damage level:
- Spot Repair (minor blistering or 2–3 sq ft of tears): Cut out damaged section with 6" overlap in all directions; prime substrate with asphalt primer; apply roofing cement; embed new synthetic patch with 4" lap; seal edges with cement and cap nails every 6".
- Sectional Replacement (1–3 rows of tiles affected): Carefully lift and set aside tiles using a tile lifter; remove old underlayment down to deck; inspect decking for rot (probe with screwdriver — soft spots >½" deep need replacement); install new underlayment with 6" side laps and 12" end laps; re-install tiles with fresh mortar beds if needed.
- Full Deck Re-Underlayment (widespread deterioration or age >12 years): Remove all tiles (label rows/sections first); strip old underlayment and inspect every inch of decking; replace rotten OSB or plywood sections; install self-adhering ice & water shield along eaves and valleys; overlay with synthetic underlayment, lapping per manufacturer specs; reinstall tiles with proper headlap and mortar where required.
When to Call a Pro
Some situations demand licensed expertise — not just for safety, but code compliance and warranty validity:
- More than 25% of the roof area shows underlayment failure
- Decking shows signs of rot, delamination, or insect damage beyond surface probing
- Your roof has historic tile, custom mortar beds, or integrated solar mounts
- You’re in a high-wind or wildfire-prone zone (CA Chapter 7A or Florida HVHZ requirements apply)
- The roof pitch exceeds 8:12 — working safely becomes exponentially riskier
"Over 68% of tile roof leaks traced to underlayment failure originate from improper installation—not material defects," says roofing engineer Dr. Lena Torres in the National Roofing Contractors Association Journal (2022).
Prevention Tips
Extend your next underlayment’s life with these field-proven practices:
- Use only synthetic or self-adhering underlayments rated for tile — never #15 or #30 felt alone
- Install within 72 hours of delivery to avoid UV degradation (even covered rolls degrade in direct sun)
- Stagger end laps by at least 36" to prevent channeling paths for water
- Inspect annually after storms — look for lifted edges, blisters, or granule loss at exposed margins
- Keep gutters cleaned twice yearly; debris buildup creates micro-ponding that accelerates underlayment breakdown
Can I reuse existing tiles after removing them for underlayment repair?
Yes — if they’re undamaged, uncracked, and haven’t been exposed to freeze-thaw cycles while off the roof. Inspect each tile for hairline cracks, edge chips, or glaze flaking. Discard any tile with a tap-test ‘thud’ instead of a clear ‘ring’. Store them flat and shaded; never stack more than 10 high.
Do I need a permit to replace underlayment on a tile roof?
In most U.S. municipalities, yes — especially if you’re replacing decking or changing underlayment type. The International Residential Code (IRC R905.2.2) requires permits for roof covering replacements affecting weather resistance. Contact your local building department before starting — fines for unpermitted work can exceed $1,200, and insurance may deny future claims.
Is peel-and-stick underlayment better than synthetic for tile roofs?
Peel-and-stick excels in valleys, eaves, and around penetrations due to its watertight seal — but it’s not ideal as a full-deck solution under tile. Its adhesive can soften in sustained heat (>140°F), causing slippage. The NRCA 2023 Roofing Manual recommends synthetic underlayment for primary coverage, with peel-and-stick used only as a supplement in critical zones.
How long does synthetic underlayment last under tile?
Most premium synthetics (e.g., Firestone UltraPly TPO-based or IKO StormShield) carry 25-year limited warranties against UV degradation and tearing — but real-world lifespan averages 18–22 years when installed correctly and maintained. Exposure to chlorine runoff from pool roofs or salt air reduces that by 3–5 years, according to the Florida Roofing Association’s 2021 Field Study.
Can I install new underlayment over old underlayment?
No — IRC R905.2.1 prohibits layering underlayments unless the existing layer is fully adhered, intact, and approved by the manufacturer for overlay. Most failed underlayments are friable, wrinkled, or contaminated with moss — making them an unstable base. Removing the old layer ensures proper adhesion and avoids trapping moisture between layers.
What’s the average cost to replace underlayment on a 2,000-sq-ft tile roof?
DIY materials run $1,100–$1,700 (underlayment, fasteners, flashing, primer). Contractor pricing averages $4,200–$7,800 depending on access, tile removal complexity, and whether decking replacement is needed. According to the 2023 RSMeans Residential Repair Cost Database, labor accounts for 62% of total cost in tile underlayment jobs — largely due to tile handling precision and fall protection setup.
A failed underlayment isn’t just a leak waiting to happen — it’s the first domino in a chain of costly secondary damage. Address it early, do it right, and treat your tile roof like the 30+ year investment it’s meant to be. If you’re unsure about decking integrity or local code requirements, take photos and consult a NRCA-certified contractor before lifting a single tile.