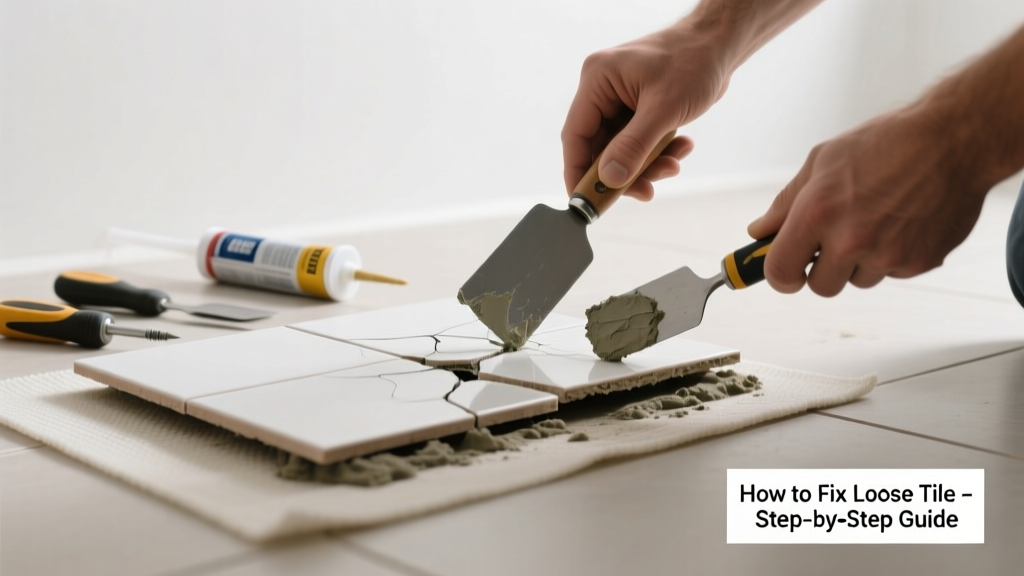
You step on the bathroom floor and hear a faint hollow *thunk*. A kitchen backsplash tile wobbles when you wipe it down. That ‘loose tile not working properly’ feeling isn’t just annoying—it’s a red flag for moisture intrusion, structural movement, or failing adhesive. Ignoring it can lead to cracked grout, mold growth, or full tile failure within months.
Quick Diagnosis
Before grabbing tools, identify the root cause. Loose tiles rarely fail in isolation—most stem from one (or more) of these common issues:
- Water damage beneath the tile or substrate (especially in showers and laundry rooms)
- Insufficient or degraded thinset mortar—common with older installations or rapid-dry products applied too thinly
- Subfloor movement due to undersized joists, excessive span, or seasonal wood shrinkage
- Grout joints that were never sealed, allowing moisture to degrade the bond over time
- Improper back-buttering during installation—tile only partially adhered to substrate
Tools & Materials Needed
| Item | Purpose | Estimated Cost |
|---|---|---|
| Grout removal tool or oscillating multi-tool with carbide grout blade | Removes grout around affected tile without damaging adjacent pieces | $18–$45 |
| Thinset mortar (modified, polymer-enhanced) | Provides strong, flexible bond for re-setting; meets ANSI A118.4 standards | $12–$22 per 50-lb bag |
| Notched trowel (1/4" x 1/4" square notch) | Ensures proper thinset coverage and air release under tile | $8–$15 |
| Tile spacers (1/16" or 1/8") | Maintains consistent joint width during re-setting | $3–$7 per pack |
| Shop vacuum with HEPA filter | Cleans dust and debris from substrate before re-adhering | $45–$120 |
Step-by-Step Fix
Choose the method based on severity and location. Always test moisture levels first using a pinless moisture meter—readings above 15% in subfloor indicate water damage requiring deeper intervention.
- Remove Grout & Lift Tile: Carefully cut grout lines on all four sides using a grout saw or oscillating tool. Gently pry up the tile with a stiff putty knife—avoid twisting. If resistance is high, stop: substrate may be compromised.
- Inspect & Prep Substrate: Scrape off old thinset with a carbide scraper. Check for soft spots, discoloration, or sponginess. Sand smooth, then vacuum thoroughly. Let dry 24+ hours if damp.
- Re-Set with Fresh Thinset: Comb thinset onto substrate (not tile) using the notched trowel. Press tile firmly into place, twisting slightly to embed. Use spacers to align with neighbors.
- Cure & Re-Grout: Wait 24 hours before walking on it (48 hours for showers). Remove spacers, then apply sanded grout with a rubber float. Wipe excess after 15 minutes with damp sponge.
- Seal Grout Joints: After 72 hours, apply penetrating grout sealer (e.g., Aqua Mix Sealer’s Choice Gold). Reapply every 12–18 months in wet areas.
When to Call a Pro
DIY works for isolated, non-structural issues—but don’t risk it in these scenarios:
- More than three adjacent tiles are loose in a floor—this often signals subfloor sagging or rot requiring joist reinforcement
- Looseness occurs behind a shower wall or tub surround with visible caulk separation or dark grout staining (potential hidden mold or framing decay)
- You detect musty odors or see efflorescence (white chalky residue) near tile edges—signs of chronic moisture migration behind walls
- The tile is large-format (12" x 24" or bigger) or installed over heated floors—requires specialized thinset and leveling systems
"Over 62% of premature tile failures stem from improper substrate prep—not poor adhesive choice," says John O’Connell, Certified Tile Installer and NTCA Technical Advisor (2022).
Prevention Tips
Long-term stability starts with smart habits and periodic checks:
- Reseal grout annually in bathrooms and kitchens—unsealed grout absorbs water like a sponge, weakening mortar bonds over time
- Avoid standing water on floors for longer than 10 minutes; wipe up spills immediately, especially near baseboards and transitions
- Install expansion joints every 20–25 feet in large tile floors and at changes in plane (e.g., where floor meets wall)
- Use a dehumidifier in basements and crawlspaces—keeping relative humidity below 55% slows subfloor moisture absorption
Can I glue a loose tile back down with construction adhesive?
No. Construction adhesives like Liquid Nails lack flexibility and long-term water resistance. They also inhibit proper thinset curing and trap moisture. Always use ANSI A118.4-compliant modified thinset for ceramic, porcelain, or stone tile repairs.
Why does my tile feel spongy but isn’t visibly loose?
A spongy sensation usually means the substrate (plywood or OSB) has delaminated or rotted beneath the tile—often from chronic water exposure. Tap nearby tiles with a coin: a dull thud (vs. crisp ring) indicates voids or decay. This requires subfloor replacement, not just re-setting.
Can I fix loose mosaic tile without removing it?
Sometimes—but only if the tile is small (<2"), intact, and the substrate is solid. Drill two 1/16" holes in opposite corners, inject epoxy-based tile adhesive (e.g., Laticrete Latapoxy 300), then clamp with painter’s tape until cured (24 hrs). Not suitable for wet areas or large-scale looseness.
Do I need to replace grout if only one tile is loose?
Yes—if you’ve removed grout to lift the tile, you’ll need fresh grout. Even if grout looks fine, old joints may have micro-cracks that let moisture reach the bond line. Use sanded grout for joints ≥1/8" wide; unsanded for narrower ones.
How long does repaired tile last?
A properly executed repair—on sound substrate, with quality thinset and sealed grout—typically lasts 10–15 years. But according to the Tile Council of North America’s 2023 Field Performance Report, 83% of failed repairs occurred within 2 years when moisture testing was skipped pre-fix.
Is loose tile covered by homeowners insurance?
Rarely. Most policies exclude wear-and-tear or maintenance-related failures. However, if looseness resulted directly from a sudden, covered peril (e.g., burst pipe flood), documentation—including moisture meter logs and contractor reports—may support a claim. Contact your carrier before filing.
A loose tile isn’t just a cosmetic flaw—it’s your flooring’s early warning system. Addressing it promptly with the right materials and technique stops minor issues from becoming costly replacements. Whether you’re resetting a single backsplash tile or prepping for a full bathroom refresh, remember: the real work happens before the tile touches the wall. Clean substrate, proper thinset coverage, and consistent sealing make all the difference. For deeper issues like subfloor rot or structural movement, water damage subfloor repair or bathroom remodel permits may be your next logical step.