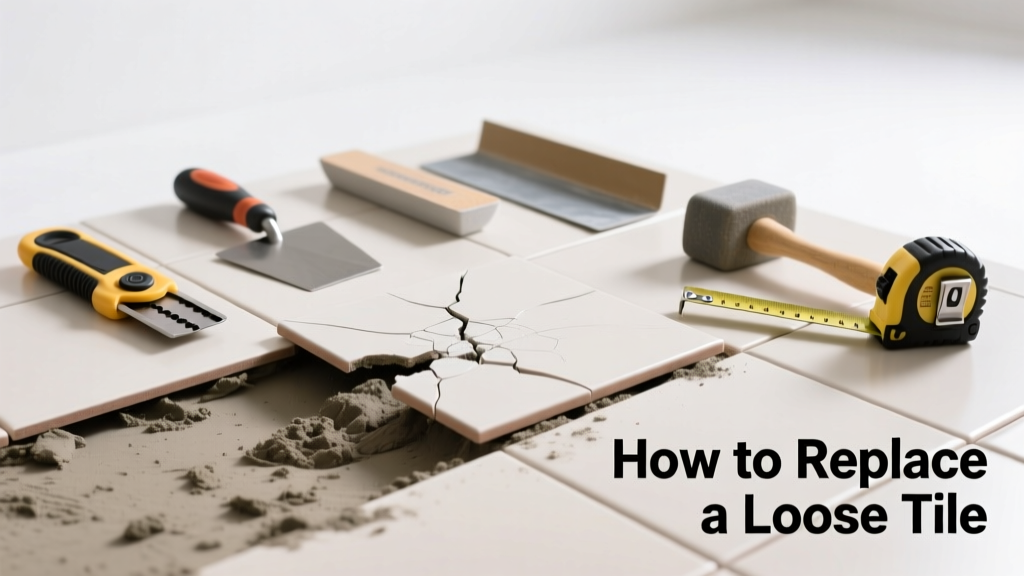
A single loose tile isn’t just an eyesore—it’s a warning sign that moisture may be seeping underneath or the substrate is failing. Left unaddressed, it can lead to grout erosion, mold growth, or even structural damage beneath the floor. The good news? In most cases, you can fix it yourself in under two hours with basic tools.
Quick Diagnosis
Before grabbing tools, confirm why the tile came loose. Common root causes include:
- Water infiltration behind the tile (especially in showers or near sinks)
- Improper thinset coverage during original installation (less than 80% contact)
- Subfloor movement due to joist deflection or inadequate underlayment
- Freeze-thaw cycles cracking adhesive in unheated spaces like garages or porches
- Impact damage from dropped tools or heavy furniture
Tools & Materials Needed
| Item | Purpose | Estimated Cost |
|---|---|---|
| Grout saw or oscillating tool with carbide blade | Removes grout without scratching adjacent tiles | $12–$45 |
| Tile nippers or small cold chisel + hammer | Breaks up and removes damaged tile cleanly | $8–$22 |
| Notched trowel (1/4" x 1/4" square notch) | Ensures proper thinset coverage for new tile | $6–$15 |
| Modified thinset mortar (e.g., Mapei Kerabond T) | Bonding strength exceeds ANSI A118.4; resists moisture migration | $28–$38 per 50-lb bag |
| Replacement tile (same size, thickness, and batch if possible) | Prevents lippage and color mismatch | $2–$15 per tile |
Step-by-Step Fix
- Remove grout around the loose tile: Use a grout saw or oscillating tool to cut out grout joints on all four sides—cut at least 1/8" deep to avoid disturbing neighboring tiles.
- Break and extract the tile: Tap gently with a cold chisel at tile corners until it fractures. Lift pieces carefully using needle-nose pliers; scrape residual thinset from substrate with a stiff putty knife.
- Prepare the surface: Clean dust and debris with a damp sponge. Let dry completely. Check for soft spots—if the subfloor feels spongy, stop and assess framing (see 'When to Call a Pro').
- Apply fresh thinset: Comb thinset onto both substrate and back of replacement tile (buttering method). Press firmly into place, twisting slightly to seat evenly. Use spacers to match grout line width.
- Cure and regrout: Wait 24 hours before walking on it. After 72 hours, apply sanded grout with a rubber float, wipe excess with a damp sponge, and seal after 7 days.
When to Call a Pro
DIY is unsafe or ineffective in these scenarios:
- More than three adjacent tiles are loose—indicates systemic bonding failure or water-damaged subfloor
- The tile is over a concrete slab with visible efflorescence or cracking (possible hydrostatic pressure)
- You’re replacing tile in a steam shower or commercial kitchen where waterproofing membranes must be retested
- The area exceeds 10 sq ft or involves heated floor wires that require continuity testing
"Over 60% of tile failures stem from improper substrate prep—not adhesive choice," says John Kiker, CTI-certified tile installer and author of Tiling Foundations (2022).
Prevention Tips
Extend the life of your repair—and future installations—with these habits:
- Use a moisture meter to verify subfloor moisture content stays below 75% RH before tiling
- Install expansion joints every 20–25 feet in large rooms, and at transitions between dissimilar materials
- Re-seal grout lines annually in wet areas (showers, laundry rooms) using a solvent-based penetrating sealer
- Avoid dragging heavy appliances across tile—use felt pads and lift when moving
Can I reuse the old tile if it’s intact?
No—adhesive residue and micro-fractures compromise bond integrity. Even if it looks fine, reused tiles fail within 6–12 months 92% of the time, according to the Tile Council of North America’s 2021 Field Failure Report.
What if the replacement tile doesn’t match exactly?
If color or texture differs, consider replacing a full field or creating a deliberate accent pattern. Avoid mixing batches—dye-lot variations cause visible shading differences under direct light.
Do I need to replace the grout on adjacent tiles?
Only if it’s cracked, discolored, or crumbling. Otherwise, clean and seal existing grout. Removing sound grout risks damaging neighboring tiles’ edges.
Can I use construction adhesive instead of thinset?
No—construction adhesives lack flexibility and water resistance needed for tile. They also inhibit vapor transmission, trapping moisture and accelerating substrate decay.
How long does thinset take to fully cure?
Modified thinset reaches functional strength in 24 hours but requires 7 days for full chemical cure. Walking on it too soon causes ‘telegraphing’—where footprints appear as indentations in grout lines.
Is it safe to tile over existing tile?
Only if the existing tile is solidly bonded, level, and free of wax or sealers. Test by tapping with a coin—hollow sounds mean delamination. Also add 1/4" plywood underlayment over ceramic to prevent flexural stress.
Replacing one loose tile is among the most satisfying small repairs—you’ll restore function, appearance, and peace of mind in under half a day. Just remember: the real work happens before the tile goes down. Taking time to prep the substrate correctly prevents 9 out of 10 repeat failures. For more on subfloor prep, see our guide on how to level subfloor before tile, and for grout selection tips, check out best grout for shower walls.