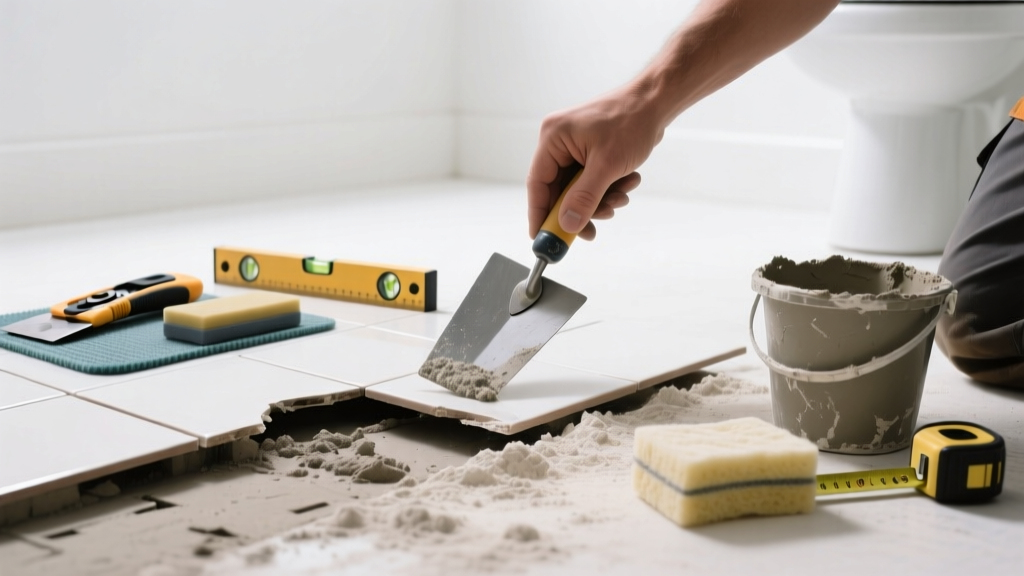
That faint hollow *tap* under your toe—or worse, the slight wiggle when you step near the shower curb—is your bathroom tile signaling trouble. Left unaddressed, even one loose tile can lead to water intrusion, subfloor rot, or mold growth behind walls and under floors. This isn’t just cosmetic: it’s a structural red flag hiding in plain sight.
Quick Diagnosis
Before grabbing tools, identify the root cause. Most loose bathroom tiles stem from one (or more) of these issues:
- Failed thinset mortar due to moisture exposure or improper mixing
- Cracked or deteriorated grout allowing water to undermine the bond
- Subfloor movement or deflection—especially in older homes with undersized joists
- Improper installation: no back-buttering, insufficient trowel notch size, or skipped primer on cement board
- Water damage beneath the tile from chronic leaks (e.g., behind faucet stems or under toilet flanges)
Tools & Materials Needed
| Item | Purpose | Estimated Cost |
|---|---|---|
| Grout removal tool or oscillating multi-tool with carbide blade | Removes grout cleanly without chipping adjacent tiles | $18–$45 |
| Notched trowel (1/4" x 1/4" square notch) | Applies consistent thinset thickness for proper adhesion | $8–$15 |
| Modified thinset mortar (ANSI A118.4 or A118.15) | Water-resistant, flexible bonding for wet areas | $22–$32 per 50-lb bag |
| Epoxy grout or polymer-modified sanded grout | Prevents re-entry of moisture into joints after repair | $14–$26 per lb |
| Tile spacers (1/16" or 1/8") | Maintains even joint width during reset | $3–$7 per pack |
Step-by-Step Fix
Choose the method based on severity and accessibility:
- Minor lift (tile intact, no cracks): Carefully remove grout on all four sides using a grout saw. Inject high-strength tile adhesive (e.g., Laticrete 254 Platinum) with a caulk gun through corner gaps. Weight with books for 24 hours.
- Loose + cracked tile: Remove grout fully, then gently pry up tile with a stiff putty knife. Scrape old thinset from both tile back and substrate. Apply fresh modified thinset with 1/4" notched trowel, press tile firmly, and use spacers. Let cure 48 hours before grouting.
- Multiple loose tiles near floor/wall junction: Assume subfloor compromise. Remove all affected tiles, inspect plywood/cement board for softness or discoloration. Replace damaged substrate, apply waterproof membrane (e.g., RedGard), then reinstall tile with premium thinset.
When to Call a Pro
DIY crosses into unsafe or code-violating territory when:
- You find blackened, spongy, or crumbly subfloor material—indicating advanced rot or mold
- Looseness extends beyond 3 tiles in a row or covers >2 sq ft near plumbing penetrations (shower valve, drain, toilet flange)
- The tile sits over a heated floor system (electric or hydronic)—disturbing wires/tubing risks fire or flood
- Your home was built before 1980 and asbestos-containing mastic or backing is suspected (testing required before removal)
According to the Insurance Institute for Business & Home Safety's 2023 report, 68% of bathroom water damage claims involved undetected tile failures that worsened over 6+ months before visible symptoms appeared.
Prevention Tips
Stop recurrence before it starts:
- Seal grout annually with a penetrating silane/siloxane sealer—not acrylic topicals that peel and trap moisture
- Fix dripping faucets or leaking showerheads within 48 hours; the U.S. EPA estimates that 14% of household water usage is from leaks
- Use only modified thinset and cement board (not drywall) for all wet-area substrates
- Install a waterproof membrane (e.g., Schluter-Kerdi or RedGard) over seams and corners—even if using cement board
Can I reuse the same tile after removing it?
Only if it’s undamaged, flat, and free of cured thinset on its back. Soak it in warm vinegar-water (1:1) for 20 minutes to soften residue, then scrape gently with a plastic scraper. Never reuse tile with hairline cracks or edge chips—these compromise waterproof integrity.
What’s the fastest way to test if subfloor is compromised?
Press firmly on the tile with your thumb near the loose area. If you feel give, hear a creak, or see adjacent tiles shift, the substrate is likely compromised. Tap around the perimeter with a metal screwdriver handle: a dull thud (vs. sharp tap) indicates delamination or moisture saturation.
Is Gorilla Glue or Liquid Nails okay for reattaching tile?
No. These adhesives lack flexibility, water resistance, and shear strength needed for ceramic or porcelain tile in humid environments. They’ll fail within months. Use only ANSI A118.4 or A118.15–rated modified thinset—thinset vs. mastic explains why.
How long before I can shower after the repair?
Wait full 72 hours after grouting before exposing the area to running water—even if thinset cured earlier. Grout sealers need time to fully polymerize. Rushing this invites moisture wicking behind the tile. For best results, wait 10 days before sealing grout.
Why did my newly installed tile loosen within 6 months?
Most often, it’s inadequate substrate prep: skipping primer on cement board, using unmodified thinset on impervious surfaces (like porcelain), or installing over green (uncured) concrete. Review our common bathroom tile installation mistakes checklist.
Can I grout over existing grout to stabilize a loose tile?
No—this traps moisture and accelerates failure. Grout doesn’t bond to grout. It must be fully removed down to the substrate edge before resetting. Partial grout fills create false security and hide worsening conditions.
A loose tile is rarely an isolated event—it’s the tip of a moisture management issue. Address the symptom with care, but always investigate what’s happening underneath. With the right materials and attention to waterproofing details, most bathroom tile repairs last 10+ years. And if you’re unsure whether the problem runs deeper, don’t guess: when to call a contractor is worth the call—and the peace of mind.