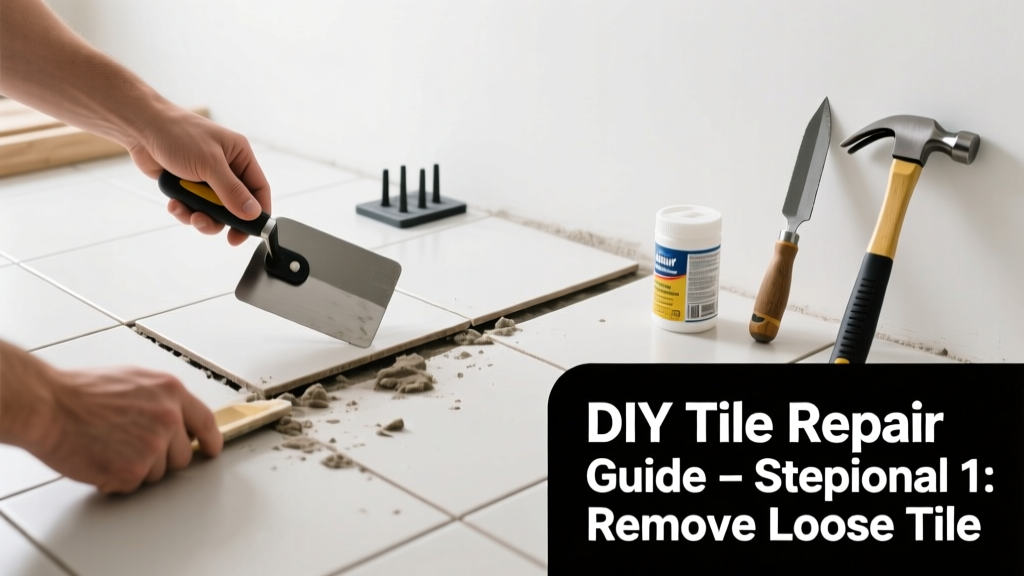
That faint click underfoot or the slight give when you press on a bathroom floor tile? It’s not just annoying—it’s a warning sign. Loose tile often means failed adhesive, moisture intrusion, or substrate movement, and ignoring it can lead to cracked grout, mold growth, or even structural issues beneath.
Quick Diagnosis
Before grabbing tools, identify the root cause. Most loose tiles stem from one (or more) of these:
- Failed thinset or mastic due to age, poor mixing, or improper curing
- Water infiltration behind tile—common in showers, tub surrounds, and kitchen backsplashes
- Subfloor or wall substrate movement (e.g., warped plywood, unsecured cement board)
- Insufficient adhesive coverage during original installation
- Thermal expansion/contraction in large-format or ungrouted installations
Tools & Materials Needed
| Item | Purpose | Estimated Cost |
|---|---|---|
| Grout removal tool or oscillating multi-tool | Carefully removes grout without damaging adjacent tiles | $15–$45 |
| Tile adhesive (modified thinset or epoxy-based) | Provides strong, flexible bond for re-setting; avoid premixed mastic in wet areas | $12–$30 per 50-lb bag |
| Notched trowel (1/4" x 1/4") | Ensures proper adhesive thickness and coverage | $8–$16 |
| Tile spacers and clamps | Maintains consistent grout lines and holds tile in place while adhesive cures | $5–$20 |
| Utility knife + carbide-tipped grout saw | For precise grout removal in tight corners or delicate edges | $3–$12 |
Step-by-Step Fix
Choose the method based on tile condition, location, and substrate integrity:
- Method 1: Re-adhere (for intact, undamaged tile) — Remove grout on all four sides, lift tile gently with a putty knife, scrape old adhesive from both tile back and substrate, apply fresh modified thinset with notched trowel, press tile into place, and clamp for 24 hours.
- Method 2: Replace (for cracked or hollow-sounding tile) — Carefully break tile with hammer and cold chisel, remove all fragments and old thinset down to clean substrate, patch any substrate gaps with cement board or leveling compound, then install new tile using same adhesive and technique.
- Method 3: Injection repair (for minor lifting in large-format wall tile) — Drill two 1/8" holes at opposing corners of loose tile, inject epoxy-based tile adhesive using a caulk gun with fine-tip nozzle, then weigh down with painter’s tape and a small sandbag for 48 hours.
When to Call a Pro
DIY is unsafe or ineffective in these scenarios:
- More than three adjacent tiles are loose in a shower or tub surround—this almost always signals chronic water damage behind the wall
- The substrate feels spongy, discolored, or emits a musty odor (indicating rot or mold in subfloor or backer board)
- Loose tile occurs over radiant heating cables or embedded plumbing lines
- You’re dealing with natural stone (marble, travertine) or large-format porcelain (>12" x 24") without proper support framing
According to the National Tile Contractors Association's 2022 Field Survey, 68% of tile failures attributed to 'loose tile' were traced to inadequate substrate preparation—not adhesive choice.
Prevention Tips
Extend your tile’s lifespan with these proactive measures:
- Always use cement board or properly acclimated plywood over wood subfloors—never drywall or greenboard in wet areas
- Apply waterproof membrane (e.g., Schluter-Kerdi or RedGard) behind all shower and tub tile
- Allow full 72-hour cure time for thinset before grouting, especially in high-humidity environments
- Use movement joints every 20–25 feet in floors and at changes in plane (e.g., where floor meets wall)
Can I use regular construction adhesive instead of thinset?
No—construction adhesives lack flexibility and moisture resistance needed for tile. They can fail under thermal cycling or humidity, causing re-loosening within months. Modified thinset or epoxy tile adhesive is engineered for long-term bond integrity in dynamic environments.
How long does re-adhered tile take to fully cure?
Most modified thinsets reach functional strength in 24 hours, but full chemical cure takes 7 days. Avoid heavy traffic or sealing grout before day 3, and don’t expose to standing water (e.g., shower use) until day 7. Check manufacturer specs—some rapid-set products allow light use in 4 hours.
Why did my newly installed tile loosen after only 6 months?
This usually points to installation error: insufficient adhesive coverage (<75% contact), skipping back-buttering large tiles, using unmodified thinset on uncured concrete, or installing over dusty or oily substrate. Review your tile adhesive guide for best practices.
Can I grout over a tile that’s slightly raised?
Never grout a proud or loose tile. Grout isn’t structural—it won’t hold the tile down and will crack or crumble as the tile shifts. You must re-seat or replace first. See our grout cracking repair guide for related fixes.
Do I need to replace grout after re-setting a tile?
Yes—old grout is compromised and won’t bond reliably to fresh tile edges. Remove all grout within 1/4" of the repaired tile, clean thoroughly with vinegar-water solution, and re-grout using color-matched sanded grout for joints ≥1/8" wide.
Is loose tile covered by homeowners insurance?
Rarely. Insurance typically excludes wear-and-tear or maintenance-related failures. However, if loose tile results directly from a covered peril—like a burst pipe or storm-related water intrusion—repair may be covered. Document everything and consult your policy’s exclusions section before filing a claim.
A single loose tile is rarely an emergency—but it’s your home’s quiet way of asking for attention. Address it promptly with the right materials and technique, and you’ll likely prevent $1,000+ in downstream repairs. If you’re unsure about substrate integrity or moisture presence, invest in a moisture meter or call a certified tile installer. And remember: good tile work starts long before the first tile hits the wall—it begins with preparation, patience, and respect for the materials’ limits. For more on avoiding common pitfalls, check out our top 7 tile installation mistakes.