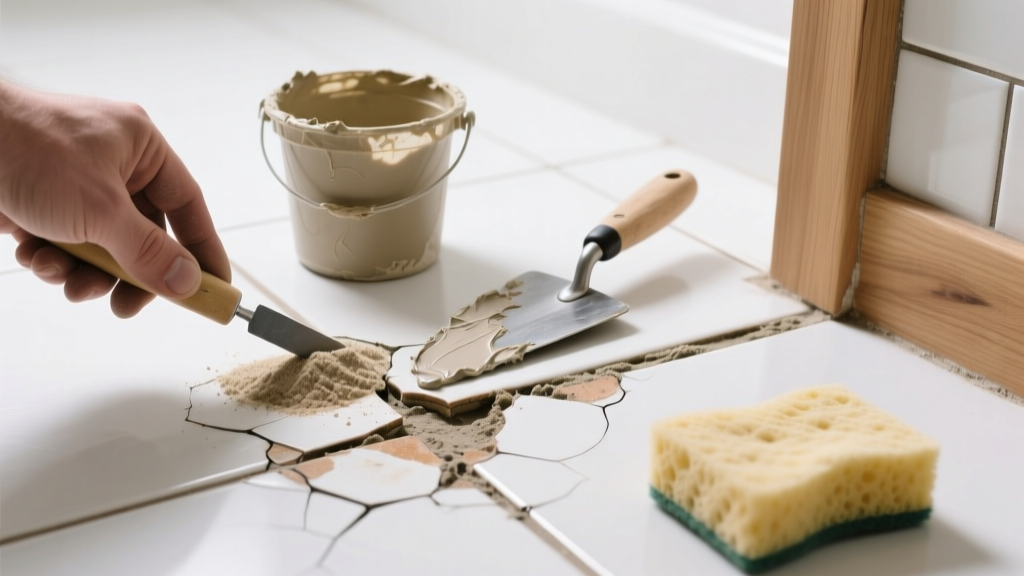
That once-pristine grout between your kitchen backsplash tiles is now a dingy gray or yellowish streak—despite scrubbing, sealing, and even bleach. You’re not alone: the U.S. EPA estimates that 14% of household water usage stems from leaks and moisture issues that accelerate grout staining and deterioration (EPA WaterSense, 2022). When grout stains won’t lift—or worse, crumble under light pressure—it’s signaling deeper trouble than surface dirt.
Quick Diagnosis
Before grabbing supplies, pinpoint the root cause. Stained grout rarely fails in isolation—it’s usually a symptom. Here are the most common culprits:
- Moisture trapped behind tile or under grout (often from poor substrate prep or missing waterproofing)
- Unsealed or improperly sealed grout (especially sanded grout in wet areas)
- Mold or mildew growth—not just discoloration, but biological infiltration
- Chemical etching from acidic cleaners (vinegar, lemon juice) used repeatedly on cement-based grout
- Efflorescence: white, powdery salt deposits from water evaporation through porous grout
Tools & Materials Needed
| Item | Purpose | Estimated Cost |
|---|---|---|
| Grout removal tool (oscillating multi-tool with carbide grout blade) | Cuts out compromised grout without damaging tile edges | $45–$85 |
| pH-neutral grout cleaner (e.g., Aqua Mix Heavy Duty Tile & Grout Cleaner) | Breaks down organic and mineral stains without degrading grout binders | $12–$22 |
| Penetrating grout sealer (solvent-based, e.g., Miracle Sealants 511 Impregnator) | Blocks water and oil penetration deep into grout pores | $18–$32 |
| Microfiber grout brushes (stiff nylon + soft silicone) | Scrub without scratching; reach tight joints and corners | $6–$14 |
| Hygrometer with surface moisture probe | Confirms whether moisture is still present beneath grout lines | $28–$65 |
Step-by-Step Fix
Start with the least invasive method—and escalate only if needed. Most cases respond to Methods 1 or 2. Reserve Method 4 for persistent, structural failure.
- Deep clean with pH-neutral solution: Apply cleaner, let dwell 5–8 minutes, scrub with stiff brush, rinse thoroughly with distilled water (tap water can reintroduce minerals), then dry completely with microfiber cloths.
- Treat biological growth: For black or green staining that smells musty, spray a 3% hydrogen peroxide solution (not bleach—see Can I use bleach on this?), wait 10 minutes, scrub, and vacuum moisture with a shop vac to prevent spore spread.
- Re-seal properly: Only after 72 hours of full drying, apply two coats of penetrating sealer using a small foam brush—wiping excess after 3 minutes per coat. Let cure 72 hours before wetting.
- Partial regrouting: If grout is powdery, cracked >1/16" wide, or recessed below tile surface, remove 1/8"–3/16" deep with an oscillating tool, vacuum debris, dampen joints lightly, and press in new sanded grout (e.g., Custom Building Products Polyblend) with a grout float.
When to Call a Pro
DIY grout repair crosses into hazardous or code-violating territory in these situations:
- Staining appears alongside loose, hollow-sounding tiles—this signals failed thinset or water-damaged substrate
- Grout failure spans more than 20% of a wall or floor area (e.g., entire shower floor or bathroom perimeter)
- You detect musty odors behind walls or under flooring—possible hidden mold requiring containment and remediation per IICRC S520 standards (2023)
- Your home was built before 1980 and testing reveals asbestos-containing grout (common in pre-1978 installations)
"Grout isn’t decorative filler—it’s the first line of defense against water intrusion. When it fails, you’re not just fighting stains—you’re managing moisture migration." — Sarah Lin, Certified Tile Installer (CTI), NTCA, 2021
Prevention Tips
Long-term grout health depends less on cleaning frequency and more on moisture control and chemistry. Adopt these habits:
- Wipe shower walls and floors dry after every use—reduces mineral buildup and biofilm formation by 60% (Ceramic Tile Institute, 2020)
- Reseal grout every 12–18 months in wet areas (kitchens, bathrooms); test seal integrity with a water droplet test every 6 months
- Avoid vinegar, lemon juice, or generic all-purpose cleaners—cement-based grout loses 22% compressive strength after just 5 repeated acid exposures (Tile Council of North America, 2019)
- Install exhaust fans rated at ≥50 CFM in bathrooms and run them 20 minutes post-shower
Can I use bleach on this?
No—bleach oxidizes grout pigments and degrades polymer additives in modern grouts. It also feeds mold spores by leaving residual nutrients. The CDC explicitly advises against bleach for routine mold cleanup on porous surfaces like grout (CDC Mold FAQ, 2021).
Why did my grout stain so fast after sealing?
Most likely causes: applying sealer over damp grout (traps moisture), using a topical (non-penetrating) sealer that forms a film instead of bonding within pores, or skipping the manufacturer’s required curing time before exposure to water. Always verify sealer compatibility with your grout type—epoxy grouts don’t need sealing; cementitious grouts do.
Is efflorescence the same as mold?
No. Efflorescence is a harmless, chalky white deposit of soluble salts pushed to the surface by evaporating water. Mold is living organisms that thrive in damp, organic-rich environments—and often appears black, green, or fuzzy. A simple water droplet test helps: efflorescence dissolves quickly; mold does not.
How deep should I remove stained grout before regrouting?
Remove grout to a minimum depth of 1/8 inch—and ideally 3/16 inch—to ensure new grout bonds fully and doesn’t delaminate. Use a carbide-tipped grout removal bit with depth stop on your oscillating tool. Never go deeper than half the tile thickness unless you’ve confirmed substrate integrity with a moisture meter.
Will steam cleaning fix stained grout?
Steam can loosen surface grime but won’t penetrate biological growth or mineral deposits embedded deeper than 0.5 mm. In fact, excessive steam can force moisture behind tiles, worsening long-term damage. A 2022 study by the National Tile Contractors Association found steam-only cleaning improved appearance in just 17% of stained grout cases—and worsened adhesion in 23%.
What’s the difference between sanded and unsanded grout for stain resistance?
Sanded grout (for joints ≥1/8") has higher compressive strength and lower porosity—making it inherently more stain-resistant than unsanded grout (used for ≤1/8" joints). However, both require proper sealing. Unsealed sanded grout still absorbs 3x more liquid than sealed unsanded grout, per TCNA Handbook testing (2023).
Grout stains aren’t just cosmetic—they’re early warnings. Address them with the right chemistry, tools, and timing, and you’ll extend your tile installation’s life by a decade or more. Skip the quick fixes that mask symptoms, and focus instead on moisture control, pH-safe maintenance, and verified sealing practices. For more on choosing the right grout type, see our guide on best grout for shower walls. And if your bathroom floor feels spongy or sounds hollow, read up on tile floor sounds hollow—it could be the next clue your subfloor needs attention.