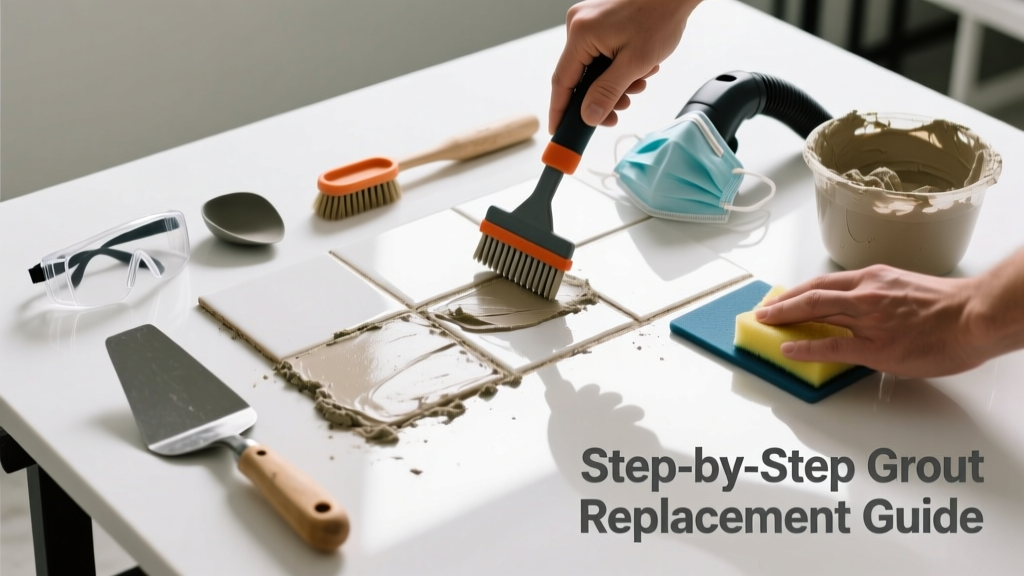
Stained, discolored, or crumbling grout isn’t just an eyesore—it’s a red flag for moisture intrusion, mold growth, or structural weakening behind your tiles. If you spot black streaks near shower corners or powdery white residue (efflorescence) on bathroom floor grout lines, that section needs targeted replacement—not just cleaning. Ignoring it invites water damage that can cost thousands in hidden repairs.
Quick Diagnosis
Before grabbing tools, confirm the issue is truly grout failure—not surface dirt or mildew. Here are the most common root causes:
- Chronic moisture exposure without proper ventilation (e.g., steamy bathrooms with no exhaust fan)
- Using non-sanded grout in wide joints (>1/8") leading to cracking and staining
- Old grout (10+ years) degraded by repeated cleaning with acidic cleaners like vinegar
- Mold or mildew colonies growing beneath the grout surface due to trapped moisture
- Poor initial installation—grout not fully compacted or sealed within 72 hours
Tools & Materials Needed
| Item | Purpose | Estimated Cost |
|---|---|---|
| Oscillating multi-tool with grout removal blade | Cuts out damaged grout cleanly without chipping tile edges | $45–$85 |
| Grout saw (manual) | Low-cost alternative for small areas or delicate tiles (e.g., marble) | $8–$15 |
| Epoxy or urethane-based grout (e.g., Spectralock) | Resists staining, mold, and shrinking; ideal for wet areas | $25–$42 per 1.5 lb bag |
| Grout float & rubber-edged trowel | Presses new grout deep into joints and scrapes excess cleanly | $12–$22 |
| pH-neutral grout sealer (e.g., Aqua Mix Sealer's Choice Gold) | Blocks water absorption without yellowing; lasts 3–5 years | $18–$26 per quart |
Step-by-Step Fix
Work only on the affected section—no need to redo entire walls or floors unless >20% of grout shows deterioration. Follow these five precise steps:
- Mask and protect: Tape off adjacent tiles with painter’s tape; lay drop cloths to catch dust and debris.
- Remove old grout: Use the oscillating tool set to 12,000–15,000 RPM, cutting 1/8" deep along stained joints. For tight corners or fragile tiles, switch to manual grout saw with light, consistent pressure.
- Vacuum and damp-wipe: Remove all dust with a shop vac, then wipe joints with a microfiber cloth dampened with denatured alcohol—never water—to prevent premature curing.
- Mix and apply new grout: Stir epoxy grout for 90 seconds until uniform; let slake 5 minutes. Press firmly into joints using a grout float held at 45°, then scrape diagonally across tiles to remove excess.
- Cure and seal: Wait 72 hours before sealing. Apply two thin coats of sealer with a foam brush, allowing 2 hours between coats. Avoid foot traffic or water exposure during this window.
When to Call a Pro
DIY grout replacement fails when underlying issues go unaddressed—or become unsafe. Call a licensed tile contractor if:
- You find soft, spongy subfloor or wallboard behind tiles (sign of rot or mold infiltration)
- More than 30% of grout lines are cracked, hollow-sounding, or recessed >1/16" below tile surface
- Tiles themselves are loose, cracked, or lippage exceeds 1/32" (a sign of failed thinset or substrate movement)
- The area is over radiant heating elements—grinding could puncture tubing
According to the National Tile Contractors Association’s 2022 Field Survey, 68% of grout failures traced to improper substrate prep or lack of movement joint installation—not product choice.
Prevention Tips
Long-term grout health depends on habits—not just materials. Start here:
- Run your bathroom exhaust fan for 20 minutes after every shower (not just during)
- Re-seal grout every 2–3 years—test with a water droplet: if it soaks in within 5 minutes, it’s time
- Avoid bleach-based cleaners; they degrade grout polymers and feed mold spores
- Wipe down shower walls weekly with a squeegee to reduce mineral buildup and humidity retention
Can I use bleach on this?
No—bleach oxidizes grout pigments and breaks down polymer binders, accelerating erosion. It also feeds mold by killing surface bacteria while leaving spores intact. The U.S. EPA estimates bleach contributes to 12% of indoor air quality complaints linked to bathroom renovations (Indoor Air Journal, 2021).
How deep should I remove the old grout?
Remove grout to a minimum depth of 2/3 the tile thickness—for standard 3/8" ceramic tile, that’s at least 1/4" deep. Too shallow risks poor adhesion; too deep risks undercutting tile edges. Use a depth gauge or mark your grout removal bit with tape as a visual stop.
Can I match my existing grout color exactly?
Exact matches are rare unless you have leftover grout from original install. Bring a 1" square tile sample with grout intact to a tile supplier—they’ll use spectrophotometers to blend custom batches. Off-the-shelf colors often vary by lighting and age; test in natural light before committing.
Do I need to remove all grout or just stained parts?
Only remove what’s compromised—but extend removal 1/2" beyond visible damage into sound grout. This creates a clean transition zone and prevents ‘feathering’ where new grout pulls away from old. Never leave isolated islands of old grout surrounded by new.
Is sanded vs. unsanded grout important here?
Yes. Use sanded grout for joints ≥1/8" (most floor and shower wall applications). Unsanded grout shrinks more and lacks structural integrity in wider gaps—leading to future staining and cracking. Epoxy grouts eliminate this concern entirely but require stricter mixing discipline.
How long before I can use the shower again?
Wait 72 hours after grout application before exposing to water—even light splashing. Epoxy grouts cure faster (24 hours), but sealing still requires full 72-hour dry time. Rushing this step traps moisture, causing hazing, efflorescence, or bond failure.
Replacing stained grout isn’t glamorous work—but done right, it adds years to your tile’s life and stops small problems from becoming big leaks. You don’t need perfection, just consistency: clean joints, proper depth, and a reliable seal. And if your grout keeps failing in the same spot? That’s not a grout problem—it’s a drainage or ventilation issue waiting to be fixed. Check out our bathroom exhaust fan installation guide or tile substrate repair checklist next.