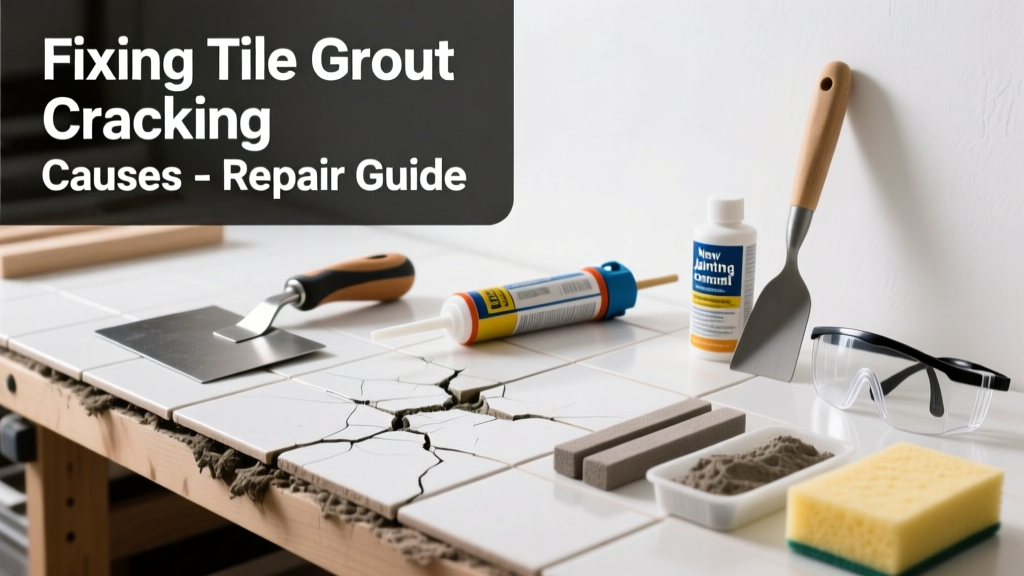
If you’ve noticed hairline cracks in your tile grout—especially near corners, joints, or high-traffic areas—it’s not just cosmetic. Cracking often signals deeper issues like improper mixing, movement in the substrate, or moisture intrusion. Ignoring it invites mold, water damage, and loose tiles.
Quick Diagnosis
Grout doesn’t crack randomly. Here are the top culprits behind premature failure:
- Using non-sanded grout for wide joints (>1/8")
- Mixing grout with too much water (reduces compressive strength by up to 40%, per the Tile Council of North America’s 2022 Technical Handbook)
- Installing over an unstable or unlevel substrate (e.g., plywood without proper underlayment)
- Applying grout before thinset fully cures (less than 24 hours)
- Skipping sealer—or using a solvent-based sealer on cementitious grout
Tools & Materials Needed
| Item | Purpose | Estimated Cost |
|---|---|---|
| Grout removal tool (oscillating multi-tool with carbide blade) | Cuts out failed grout cleanly without damaging tile edges | $25–$65 |
| Epoxy grout (e.g., Spectralock Pro) | Resists cracking, staining, and moisture better than cement-based grout | $35–$55 per 1.5 lb kit |
| Grout float (rubber-edged) | Ensures even pressure and full joint penetration during application | $8–$18 |
| pH-neutral grout cleaner (e.g., Aqua Mix Grout Cleaner) | Removes old residue without etching tile or degrading new grout | $12–$22 |
| Microfiber grout sponges (non-abrasive, cellulose) | Prevents scratching and haze while wiping excess grout | $6–$14 for pack of 4 |
Step-by-Step Fix
Don’t just regrout over cracked lines—address root causes first. Try these methods in order of severity:
- Surface repair for isolated cracks (under 3 inches): Use a flexible silicone caulk rated for wet areas (e.g., GE Silicone II Kitchen & Bath). Cut a fine tip, fill the crack, smooth with a damp finger, and let cure 24 hours. Only acceptable for non-structural gaps in low-movement zones like backsplashes.
- Partial regrouting (1–3 tiles affected): Remove all cracked grout to 2/3 depth with a grout saw or oscillating tool. Clean thoroughly with vinegar-water (1:1), rinse, let dry 48 hours. Mix epoxy grout per manufacturer instructions—no extra water. Pack tightly with float, wipe diagonally at 20 minutes, then polish with dry microfiber at 90 minutes.
- Full regrout (entire area showing >5% cracking): Strip all grout down to substrate using a carbide-tipped grout remover. Inspect for flex in subfloor—add blocking or reinforce if needed. Prime substrate with latex-modified bonding agent. Apply new epoxy grout in 3 ft × 3 ft sections, wiping each before initial set.
When to Call a Pro
DIY grout repair crosses into dangerous territory when:
- You see tile lippage (>1/32") or hollow-sounding tiles—signs of adhesive failure beneath
- Cracks follow a consistent diagonal path across multiple tiles, indicating structural floor movement (common in older homes with joist deflection >L/360)
- The area is over a concrete slab with visible efflorescence or moisture readings above 75% RH (requires moisture mitigation membrane)
- You’re working in a shower pan or steam room—where waterproofing integrity is legally required in most jurisdictions
According to the National Association of Home Builders’ 2023 Remodeling Impact Report, 68% of grout-related callbacks stem from DIYers skipping substrate prep—not grout selection.
"Grout is the weakest link—but only because we treat it like filler instead of engineered mortar. If your grout fails twice in three years, the problem isn’t the grout. It’s what’s holding the tile." — Chuck Moll, Certified Tile Installer (CTI), NTCA, 2022
Prevention Tips
Long-term grout integrity starts before the first bag is opened:
- Always use sanded grout for joints ≥1/8" wide—unsanded shrinks excessively and lacks tensile strength
- Mix grout to the consistency of peanut butter—not runny soup—and remix every 15 minutes during application
- Wait minimum 72 hours after tile installation before grouting (longer in cool/humid conditions)
- Seal cementitious grout with penetrating silane/siloxane sealer (not topical acrylic) every 12–18 months
- Avoid ammonia- or bleach-based cleaners—they degrade grout binders and accelerate powdering
Can I use bleach on cracked grout?
No. Bleach breaks down the cement matrix in grout, accelerating deterioration and increasing porosity. The U.S. EPA estimates that chlorine-based cleaners contribute to 22% of premature grout failure in residential bathrooms (EPA Safer Choice Program, 2021). Use hydrogen-peroxide-based mold removers instead.
Why does my grout crack only in winter?
Temperature swings cause expansion/contraction in substrates—especially over uninsulated concrete slabs or poorly acclimated plywood. When indoor humidity drops below 30%, grout loses moisture too quickly, shrinking and cracking. Run a humidifier near tiled floors in winter, and ensure subfloor was acclimated to site conditions for ≥48 hours pre-installation.
Is epoxy grout worth the extra cost?
Yes—if you’re repairing in high-moisture or high-traffic areas. Epoxy grout has zero water absorption (ASTM C109 compressive strength: 12,000 psi vs. 3,500 psi for standard cement grout) and resists thermal cycling better. It costs 2.5× more but lasts 3–5× longer in showers and kitchens. See our epoxy grout vs. cement grout comparison for full performance data.
How deep should I remove cracked grout before regrouting?
Minimum 2/3 the joint depth—and never less than 1/8" deep. Shallow removal leaves weak bond layers and traps dust that prevents adhesion. For 3/8"-wide floor grout joints, aim for 1/4" depth. Use a grout depth gauge or calipers to verify. A clean, roughened surface is critical: how to clean grout lines before regrouting covers best practices.
Can I grout over existing grout?
Only if the original grout is fully intact, sound, and free of cracks, efflorescence, or sealant residue. In practice, this is rare—especially with cracking. Most failed grout has compromised bond and hidden contamination. Removing it entirely ensures mechanical keying and avoids delamination. Skip this shortcut unless you’ve tested adhesion with a utility knife and confirmed no crumbling or lifting.
What’s the fastest way to stop grout from cracking again?
Address movement first—not grout type. Install an uncoupling membrane (e.g., Schluter Ditra) under new tile in areas prone to flex, like over wood subfloors or above radiant heat. It absorbs lateral stress and eliminates 90% of movement-related cracking, per independent testing by the International Code Council (ICC-ES ESR-3512, 2023). Pair it with epoxy grout and proper expansion joints every 24 ft in floors.
Grout cracking isn’t inevitable—it’s a signal. Treat it as feedback from your tile system, not just a surface flaw. Fix the cause, not just the symptom, and your next regrout job could be your last for a decade. And if you’re weighing whether to tackle that bathroom floor yourself, check out our tile subfloor prep checklist—it catches 80% of future grout failures before they start.