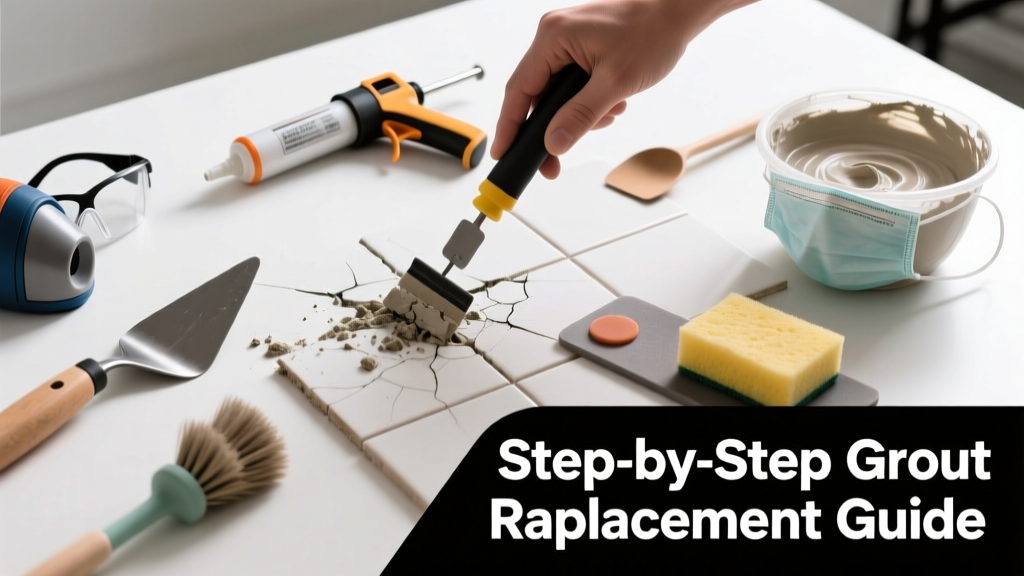
Cracked grout isn’t just ugly—it’s a gateway for water, mold, and tile movement. If you spot hairline splits near shower corners or crumbling joints in your kitchen backsplash, that section needs targeted replacement, not just a quick sealant patch.
Quick Diagnosis
Before grabbing tools, confirm the issue is localized grout failure—not deeper problems. Most cracked grout stems from one (or more) of these causes:
- Improper mixing or curing during original installation
- Subfloor flex or wall movement over time
- Repeated exposure to harsh cleaners (e.g., vinegar or bleach)
- Freeze-thaw cycles in unheated bathrooms or entryways
- Using non-sanded grout in wide joints (>1/8")
Tools & Materials Needed
| Item | Purpose | Estimated Cost |
|---|---|---|
| Oscillating multi-tool with grout removal blade | Cuts out damaged grout cleanly without chipping tile edges | $45–$85 |
| Grout saw (manual) | Low-cost alternative for small repairs; best for narrow joints | $8–$15 |
| Sanded cement-based grout (color-matched) | Provides structural integrity for joints >1/8" wide | $12–$22 |
| Grout float & rubber-edged trowel | Presses grout deep into joints and removes excess | $10–$20 |
| Microfiber cloths & damp sponge | Wipes haze without scratching tile or re-wetting grout too soon | $6–$12 |
Step-by-Step Fix
Work in sections no larger than 3 ft × 3 ft to maintain control and consistency. Follow this sequence for lasting results:
- Remove old grout: Using the oscillating tool at 15° angle, cut along both sides of the cracked joint to a depth of 2/3 the tile thickness. Vacuum debris thoroughly.
- Prep the joint: Dampen (don’t soak) the area with a mist spray—dry substrate pulls moisture from fresh grout too fast.
- Mix and apply grout: Stir sanded grout to peanut butter consistency. Force it into joints diagonally with the float, then scrape off excess at 45°.
- Finish and cure: Wipe with a damp (not dripping) sponge in circular motions after 15 minutes. Buff haze with dry microfiber after 2 hours. Wait 72 hours before sealing.
When to Call a Pro
DIY grout replacement fails when the problem masks something bigger. Call a licensed tile contractor if you notice any of these:
- More than 20% of grout lines in one area are cracked or missing
- Tiles rock, pop, or sound hollow when tapped with a coin
- Water pooling under baseboards or discoloration on drywall behind tile
- Cracks follow straight lines across multiple tiles (sign of substrate failure)
According to the National Tile Contractors Association’s 2022 Field Survey, 68% of grout failures linked to underlying movement go undetected by homeowners until water damage appears behind walls.
Prevention Tips
Extend grout life by matching materials and habits to your space:
- Use epoxy grout in high-moisture zones like showers—resists staining and cracking better than cement-based options
- Re-seal grout every 12–18 months (test with water droplet: if it soaks in within 5 minutes, it’s time)
- Avoid abrasive scrub brushes and acidic cleaners—opt for pH-neutral tile cleaners like Better Life Tile & Grout Cleaner
- Install expansion joints every 8 ft in large floor areas to absorb structural shifts
Can I use bleach to clean grout before re-grouting?
No. Bleach degrades grout’s polymer additives and weakens its bond. It also leaves residues that prevent new grout from adhering. Instead, use a 50/50 mix of hydrogen peroxide and baking soda paste, left for 10 minutes before gentle scrubbing—safe for both ceramic and natural stone.
How deep should I remove the old grout?
Remove to at least 2/3 the tile’s thickness—typically 1/8" to 3/16" deep for standard 3/8"-thick tile. Too shallow, and new grout won’t anchor properly; too deep risks undercutting tile edges. Use a depth gauge or mark your grout removal bit with tape as a visual stop.
Do I need to remove all grout or just the cracked part?
Only remove the visibly damaged section—but extend removal 1/2" beyond each end of the crack to ensure clean, square edges. This prevents ‘feathering’ where new grout meets old, which often leads to early delamination.
Why did my grout crack again after 6 months?
Most repeat failures trace back to inadequate joint depth, premature sealing (<72-hour cure window), or using unsanded grout in joints wider than 1/8". Cement-based grout shrinks slightly as it cures—if applied too thinly or over-dried, micro-cracks form almost immediately.
Can I match the color of old grout exactly?
Exact matches are rare—especially with aged grout exposed to light and cleaning. Bring a 1"×1" tile sample with grout intact to a local tile supplier. Mapei and Custom Building Products offer shade-matching services. For best results, re-grout an entire field or at least a full wall section to avoid patchy contrast.
Is there a faster-drying grout option for rental properties?
Yes—Mapei Ultracolor Plus FA dries to foot traffic in 3 hours and reaches full strength in 24 hours. It’s formulated with rapid-cure polymers and requires no sealer. Just note: faster cure means less working time—mix only what you can apply in 15 minutes.
Replacing cracked grout isn’t glamorous work, but doing it right stops leaks before they become rot—and keeps your tile looking tight for another decade. If you’ve tackled one section successfully, you’ll find the rhythm quickly: cut, prep, press, wipe, wait. And remember—grout isn’t decorative filler. It’s the mortar holding your whole surface together. Respect the joint, and it’ll hold up.
For related help, see our guides on how to fix loose tile and best grout sealers for bathrooms.