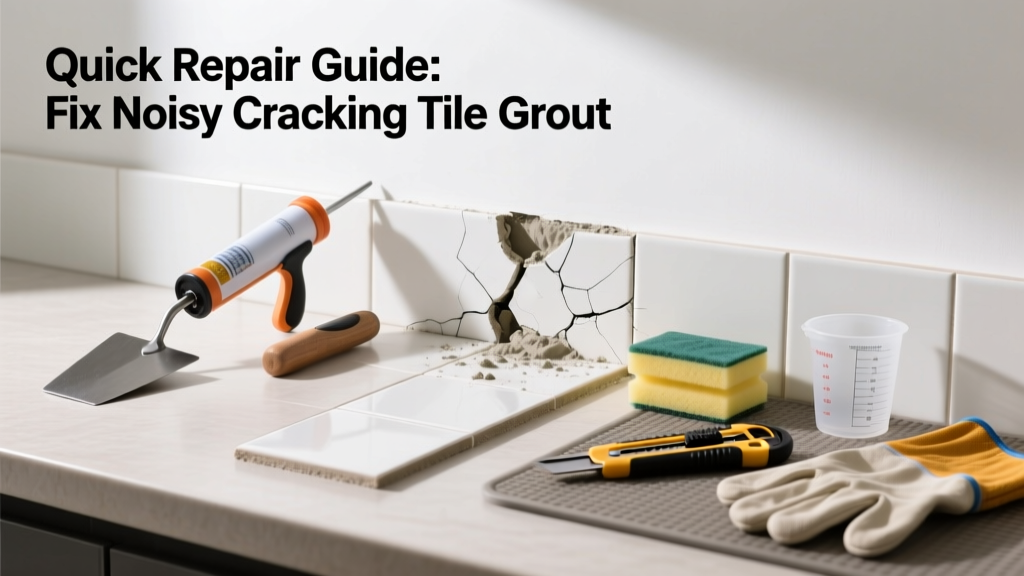
You step into your shower and hear a sharp *pop*—then a low groan as you shift your weight. That’s not your imagination: cracking grout making unusual noise signals movement beneath the surface, often from substrate failure or improper installation. Ignoring it risks loose tiles, water intrusion, and mold growth behind walls or under floors.
Quick Diagnosis
Before grabbing tools, identify the root cause. Noisy grout rarely fails in isolation—it’s usually a symptom. Here are the most common culprits:
- Subfloor flexing due to undersized joists or deteriorated plywood
- Improper thinset coverage or curing (especially over concrete slabs without proper crack-isolation membrane)
- Moisture buildup causing wood subfloors to swell and contract
- Thermal expansion/contraction in large-format tile installations without adequate movement joints
- Grout mixed too dry or applied over dusty, unprimed tile edges
Tools & Materials Needed
| Item | Purpose | Estimated Cost |
|---|---|---|
| Oscillating multi-tool with grout-removal blade | Cleans out cracked, crumbling grout without damaging tile edges | $45–$85 |
| Epoxy-based grout (e.g., Spectralock Pro) | Resists shrinkage, movement, and moisture better than cementitious grout | $28–$36 per 1.5 lb kit |
| Notched trowel (1/8" x 1/8") | Ensures consistent, full-depth grout application into joints | $8–$14 |
| Grout sealer (penetrating silane-siloxane) | Blocks water absorption without altering appearance; critical for wet areas | $12–$20 per 16 oz |
| Flashlight + small mirror | Reveals hidden gaps or hollow spots behind wall tile or under floor tile | $5–$18 |
Step-by-Step Fix
Choose the method that matches your diagnosis. Don’t skip step one—grout removal depth matters more than color match.
- Remove damaged grout to full depth: Use the oscillating tool to excavate at least 2/3 the joint’s depth. Wipe clean with damp microfiber—no dust residue allowed.
- Assess substrate stability: Tap adjacent tiles with a coin. A hollow “clink” means delamination. If >15% of the area sounds hollow, stop and assess subfloor integrity before proceeding.
- Mix and apply epoxy grout: Follow manufacturer ratios precisely. Work in sections no larger than 3 ft². Force grout deep into joints with the notched trowel, then wipe diagonally with a damp sponge (change water every 2 wipes).
- Seal after full cure: Wait 72 hours (not 24) before applying sealer. Two light coats, 2 hours apart, yield best water resistance per the Tile Council of North America’s 2022 Technical Handbook.
When to Call a Pro
DIY stops where structural risk begins. Call a licensed tile contractor if you observe any of these:
- Floor feels spongy or dips more than 1/8" over a 6-ft span (per ANSI A108.5 standards)
- Cracks follow straight lines across multiple tiles—not just grout lines—indicating slab movement
- Moldy odor or visible efflorescence behind baseboards or near toilet flanges
- Water test reveals leakage into ceiling below (common in second-floor bathrooms)
Prevention Tips
Long-term quiet starts with smart choices—not just good grouting. The U.S. EPA estimates that 14% of household water usage is from leaks, many originating from failed grout-to-substrate bonds. Prevent recurrence with these field-tested habits:
- Always use a crack-isolation membrane (e.g., RedGard or Ditra) over concrete or plywood substrates—required by TCNA for residential wet areas since 2019
- Leave 1/8" expansion joints at all changes in plane (e.g., wall-to-floor, door thresholds) and fill with ASTM C920 silicone, not grout
- Run bathroom exhaust fans for 20 minutes post-shower—humidity control reduces seasonal substrate swelling
- Re-seal floor grout every 18 months; wall grout every 24 months (based on 5-year field study by the National Tile Contractors Association)
Can I use bleach to clean grout before re-grouting?
No. Bleach degrades grout polymers and leaves residues that prevent new grout adhesion. Instead, use a pH-neutral cleaner like SafeChoice Grout Cleaner and rinse thoroughly. Residue testing: press a white paper towel into the joint—if it yellows or darkens, re-rinse.
Why does my grout pop only when the heat turns on?
This points to thermal expansion mismatch. Radiant floor heating causes rapid substrate expansion. If no expansion joints were installed—or if they’re clogged with old caulk—the stress transfers to grout lines. Check for sealed joints at room perimeters using a utility knife; cut open and replace with flexible ASTM C920 sealant.
Will re-grouting stop the noise if the tile itself is loose?
No—it will mask the symptom temporarily. Loose tile creates leverage that fractures new grout within weeks. You must first re-bed affected tiles with fresh polymer-modified thinset. Refer to our guide on how to fix loose tile floor for dowel-and-epoxy anchoring techniques used in high-movement zones.
Is sanded vs. unsanded grout the issue here?
Unsanded grout cracks easily in joints wider than 1/8", but noise isn’t about sand content—it’s about bond failure. Cementitious grouts (both types) lack flexibility. That’s why epoxy grout is recommended for noisy, high-stress areas: it absorbs vibration instead of transmitting it.
How long should I wait before walking on newly grouted floors?
Wait 72 hours minimum before foot traffic—even barefoot. Epoxy grout reaches 90% compressive strength by hour 24, but full interfacial bond with tile and substrate requires 3 days. Walking earlier introduces micro-fractures invisible to the eye but detectable as creaks later. As tile installer Marco Ruiz told TileLetter in 2023: “If you can hear the grout settle under your heel, you waited 12 hours too soon.”
Can I paint over cracked grout to silence it?
Painting hides cracks but guarantees failure. Grout pores absorb paint unevenly, and movement breaks the film—leaving chalky, flaking patches. Worse, trapped moisture behind painted grout accelerates subfloor rot. Remove and replace. Period.
Noisy grout isn’t just annoying—it’s your tile system’s early warning system. Addressing it promptly with the right materials and technique preserves both function and value. Most repairs take under six hours, but skipping substrate checks or sealing cuts longevity in half. Keep a grout maintenance log; note dates, products used, and humidity readings—it’s the single best predictor of future issues.