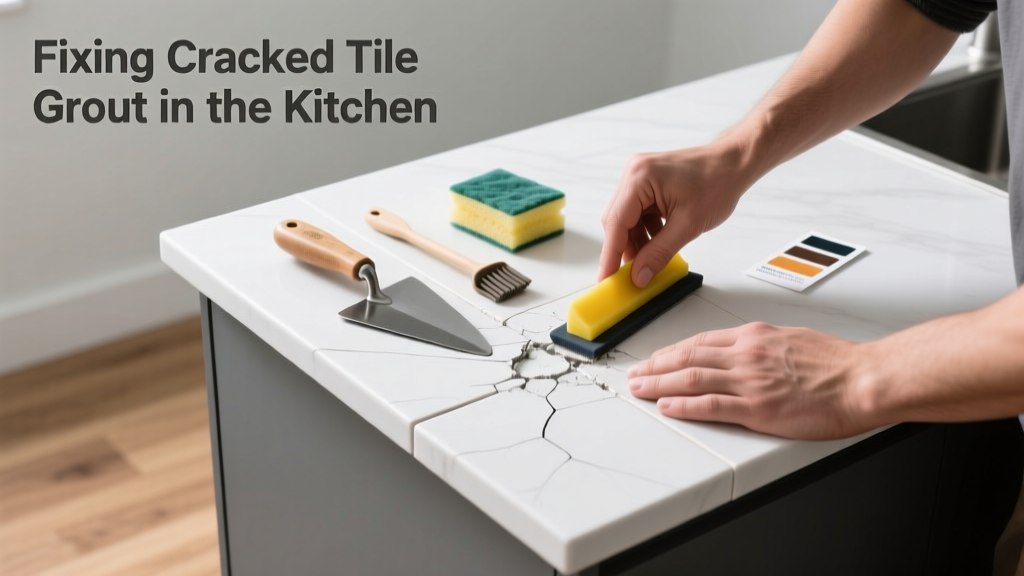
Cracked grout in your kitchen isn’t just ugly—it’s a moisture gateway that can rot subflooring, warp cabinets, and invite mold behind backsplashes and under islands. If you’ve spotted hairline splits near the sink or crumbling joints near high-traffic zones, don’t wait for water stains to appear. Most cases are fixable in a weekend with the right prep and materials.
Quick Diagnosis
Before grabbing tools, identify the root cause—grout doesn’t crack randomly. Here are the most common culprits:
- Subfloor movement (especially in older homes with 1/2" plywood or joists spaced >16" on center)
- Using non-sanded grout in joints wider than 1/8" (common mistake on floor tiles)
- Improper mixing—too much water weakens compressive strength by up to 40%, per the Tile Council of North America’s 2022 Technical Handbook
- Failure to seal grout within 72 hours of installation, leaving it vulnerable to grease and acid exposure from cooking splatter
- Heavy cabinet loads settling unevenly, stressing perimeter grout lines
Tools & Materials Needed
| Item | Purpose | Estimated Cost |
|---|---|---|
| Grout removal tool (oscillating multi-tool with carbide grout blade) | Cuts out old grout cleanly without chipping adjacent tile edges | $25–$45 |
| Sanded epoxy grout (e.g., Spectralock Pro) | Resists kitchen acids, thermal cycling, and foot traffic; zero shrinkage | $32–$48 per 1.5 lb kit |
| Grout float (rubber-edged) | Forcing new grout deep into joints without air pockets | $8–$14 |
| pH-neutral grout sealer (e.g., Stonetech BulletProof) | Blocks oil penetration without yellowing; lasts 3–5 years in kitchens | $18–$24 per 16 oz |
| Microfiber grout sponges (non-abrasive, cellulose-based) | Wiping excess without pulling fresh grout from joints | $6–$12 for pack of 4 |
Step-by-Step Fix
Follow this sequence—even if only one joint is cracked, treat all visibly compromised areas in the same zone (e.g., entire backsplash or island perimeter):
- Remove failed grout: Set oscillating tool to 12,000–15,000 RPM and cut 1/8" deep along each cracked line. Vacuum debris, then wipe with damp rag and let dry 24 hours.
- Mix fresh sanded epoxy grout: Combine Part A and B per manufacturer instructions—no water added. Let slurry rest 5 minutes, then remix. Work in batches no larger than 10 sq ft to avoid premature curing.
- Apply and compact: Hold float at 45° and press grout diagonally across joints. Flip float and scrape excess at 90° to avoid smearing. Wait 20 minutes, then do first wipe with damp (not wet) sponge using circular motion—rinse every 3 strokes.
- Final polish: After 3 hours, buff haze with dry microfiber cloth. Seal after 72 hours—not before.
When to Call a Pro
DIY stops where structural integrity begins. Call a certified tile contractor (CTI-certified or NTCA member) if you observe any of these:
- More than 30% of grout lines cracked and adjacent tiles are loose or hollow-sounding when tapped
- Cracks follow a straight line across multiple tiles—likely indicating substrate flexure or joist deflection
- Moisture meter readings >15% in subfloor beneath cracked area (use a pin-type meter like the Delmhorst BD-2100)
- Backsplash grout failure coincides with cabinet separation from wall—points to wall framing movement
"Over 62% of grout failures in kitchens stem from improper substrate prep—not grout choice," states the National Tile Contractors Association’s 2023 Field Survey Report.
Prevention Tips
Prevent recurrence by addressing conditions—not just symptoms:
- Install uncoupling membranes (e.g., Schluter-DITRA) under new kitchen floors to absorb lateral movement
- Use polymer-modified thinset (ANSI A118.4 compliant) for all tile installations—not mastic
- Re-seal grout every 2 years (test with water droplet: if it soaks in within 5 minutes, it’s time)
- Avoid vinegar or lemon-based cleaners—they degrade grout binders over time; use pH-neutral options like Best Kitchen Floor Cleaners
- Install expansion joints every 24' in large floor areas—and always at changes in plane (e.g., where floor meets wall)
Can I use bleach on cracked grout?
No. Bleach oxidizes grout pigments and degrades cementitious binders, accelerating powdering. It also fails to kill mold roots in porous grout—only masks surface discoloration. For mildew, use hydrogen peroxide (3%) applied with a soft brush, then rinse thoroughly.
How long does epoxy grout take to cure in a kitchen?
Epoxy grout reaches full chemical cure in 72 hours at 70°F and 50% RH—but light foot traffic is safe after 12 hours. Avoid placing heavy appliances or soaking the area for 7 days. Humidity above 80% extends cure time by 25–40%, per Laticrete Technical Bulletin #GR-2023.
Why does grout crack near the sink but not elsewhere?
Sink zones endure repeated thermal shock (hot pots, cold rinses), mechanical stress (dish scrubbing), and constant moisture exposure. That combo degrades standard cement grout faster. Epoxy or urethane grouts are mandatory here—cement-based types fail within 18–24 months in this location.
Can I grout over cracked grout without removal?
Never. New grout won’t bond to deteriorated material. It’ll delaminate within weeks, often taking the underlying tile edge with it. Full removal to sound substrate is non-negotiable—see our guide on How to Remove Old Grout for technique details.
Is cracked grout a sign of foundation problems?
Rarely in kitchens—unless cracks radiate outward from corners or align with visible wall cracks, stair-step masonry fissures, or doors that stick on multiple levels. In most cases, it’s localized to poor installation or maintenance. When in doubt, consult a structural engineer before assuming foundation involvement.
What’s the best grout color to hide future cracking?
Mid-tone neutrals (e.g., Warm Gray #227 or Linen #141 from Mapei) minimize visual contrast when micro-fractures form. Avoid pure white or jet black—they highlight even minor inconsistencies. Color-matched epoxy grout also resists staining better than cement-based options.
Cracked grout isn’t a cosmetic footnote—it’s your kitchen’s early warning system. Tackle it with precision, not speed: proper removal, correct product selection, and consistent sealing turn a recurring headache into a one-time fix. And if your tiles shift underfoot or you hear creaks when walking near the island, pause—your subfloor may need attention before any grout touches the joint.