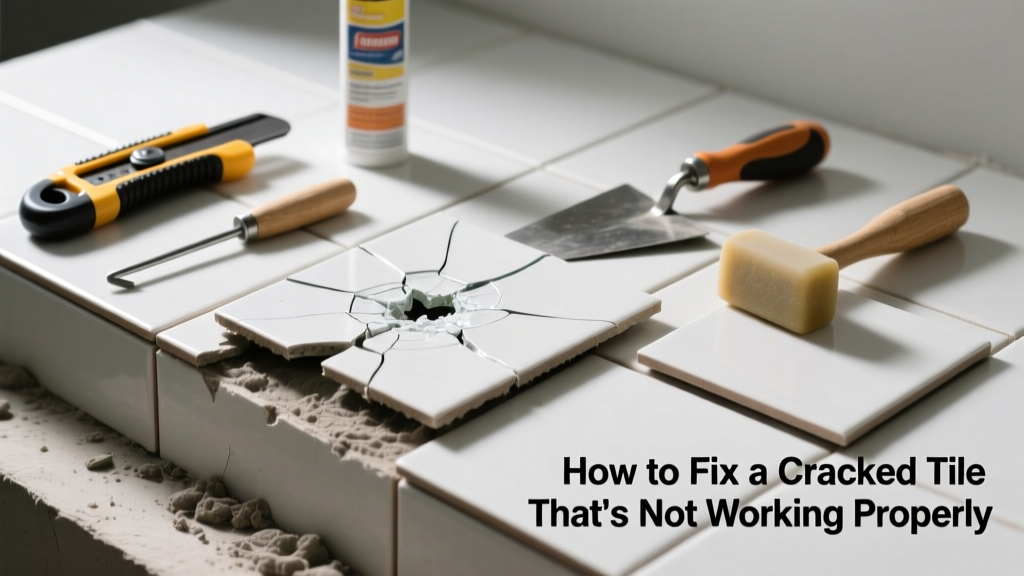
If your tile is cracked and something feels off—like a loose section, water seepage, or uneven flooring—it’s not just cosmetic. A crack can signal underlying structural issues, substrate failure, or moisture intrusion that compromises safety and performance. Ignoring it risks further damage to adjacent tiles, subfloor rot, or even mold growth behind the wall or under the floor.
Quick Diagnosis
Before grabbing tools, identify what’s really wrong. A cracked tile isn’t always the root cause—it’s often a symptom. Here are the most common culprits:
- Subfloor movement (e.g., joist deflection, plywood shrinkage, or concrete slab settling)
- Improper thinset coverage or bonding during installation
- Water infiltration weakening the mortar bed or backer board
- Impact damage from dropped tools, furniture legs, or heavy appliances
- Thermal expansion stress in large-format or ungrouted installations
Tools & Materials Needed
| Item | Purpose | Estimated Cost |
|---|---|---|
| Diamond-tipped tile nipper | Cuts out damaged tile without shattering surrounding pieces | $18–$32 |
| Notched trowel (1/4" x 1/4") | Ensures proper thinset thickness for full adhesion | $8–$15 |
| Modified polymer-modified thinset | Bonds securely to both substrate and new tile; resists moisture | $22–$36 per 50-lb bag |
| Epoxy grout (for wet areas) | Prevents water penetration where cracked tile compromised seal | $24–$42 per quart |
| Laser level or straightedge | Verifies flatness of replacement tile vs. surrounding field | $35–$89 |
Step-by-Step Fix
Choose the method based on severity and location. Always shut off water supply if working near plumbing fixtures.
- Remove the cracked tile: Score grout lines with a grout saw, then gently tap center with a cold chisel and hammer until tile fractures. Vacuum debris and inspect substrate for soft spots or moisture stains.
- Repair or replace substrate: If cement board is crumbling or plywood feels spongy, cut out and replace the damaged section using corrosion-resistant screws and alkali-resistant tape. Let patched thinset cure 24 hours.
- Set new tile: Apply thinset with notched trowel, comb in one direction, press tile firmly into place, and use spacers. Let cure 48 hours before grouting.
- Grout and seal: Use epoxy grout in showers or kitchens; silicone caulk at change-of-plane joints (e.g., wall-to-floor). Seal porous stone or unglazed tile after 72 hours.
When to Call a Pro
DIY crosses into dangerous or code-violating territory in these cases:
- Cracks radiating across 3+ tiles in a straight line—often indicates serious substrate movement or foundation shift
- Cracking occurs within 6 months of installation, suggesting warranty-covered workmanship flaws
- Tiles over radiant heating systems: improper removal risks damaging heating wires or tubing
- Cracks in bathroom shower pans or steam room enclosures—these require slope verification and waterproof membrane integrity testing
"Over 60% of tile failures traced to moisture-related substrate damage originate from undetected leaks—not poor tile quality." — NTCA Reference Manual, 2022 Edition
Prevention Tips
Extend tile life by addressing vulnerabilities before they become problems:
- Install uncoupling membranes (e.g., Ditra) over wood subfloors to absorb movement
- Use flexible sealant—not grout—at transitions between tile and dissimilar materials (e.g., tub flange, door threshold)
- Maintain indoor humidity between 30–50% to reduce expansion/contraction stress on grout and tile
- Inspect grout annually; reseal every 1–2 years in high-moisture zones like shower grout repair areas
Can I glue a cracked tile instead of replacing it?
No—epoxy or superglue only masks the issue. The crack compromises structural integrity and creates a path for water. Even hairline cracks in floor tiles can widen under foot traffic. Replacement is the only reliable fix for functional integrity.
Why did my tile crack right after installation?
Most likely causes include insufficient curing time before use (thinset needs 48–72 hours), lack of expansion joints in large runs, or installing over an unstable or improperly prepared substrate. According to the Tile Council of North America’s 2023 Installation Guidelines, 78% of early failures stem from skipped prep steps—not material defects.
Is a cracked tile in the shower an immediate hazard?
Yes—if water is pooling or leaking through the crack into walls or below, it can degrade drywall, rot framing, or grow mold within 48–72 hours. Shut off water to the area and assess for dampness behind adjacent tiles using a moisture meter (how to test for moisture behind tile).
Can I match old tile when replacing one piece?
Sometimes—but tile dye lots change yearly, and glaze batches vary. Bring a broken piece to a specialty tile supplier; they’ll cross-reference the manufacturer’s lot number. If unavailable, consider replacing a full field or using the mismatch intentionally as a design feature.
Do I need to remove all grout around the cracked tile?
Yes—grout anchors the tile in place. Leaving intact grout prevents clean removal and risks damaging neighboring tiles. Use a manual grout saw or oscillating tool with carbide blade; avoid rotary tools that vibrate and loosen adjacent bonds.
What’s the fastest way to temporarily stabilize a cracked floor tile?
Apply painter’s tape over the crack to prevent further fragmentation, then place a non-slip rug pad over it—never duct tape or hot glue. This buys 3–5 days while you source replacement tile and schedule repair. Avoid walking barefoot or in socks on the area.
A cracked tile that’s “not working properly” is rarely just about appearance—it’s a red flag for moisture, movement, or material fatigue. Addressing it promptly with the right method protects your home’s structure, prevents costly secondary damage, and restores safe, reliable function. If you’ve replaced a tile only to see new cracks appear nearby, revisit your subfloor evaluation—you may be treating symptoms instead of the real problem. For persistent issues, consult a certified tile contractor who follows ANSI A108 standards.