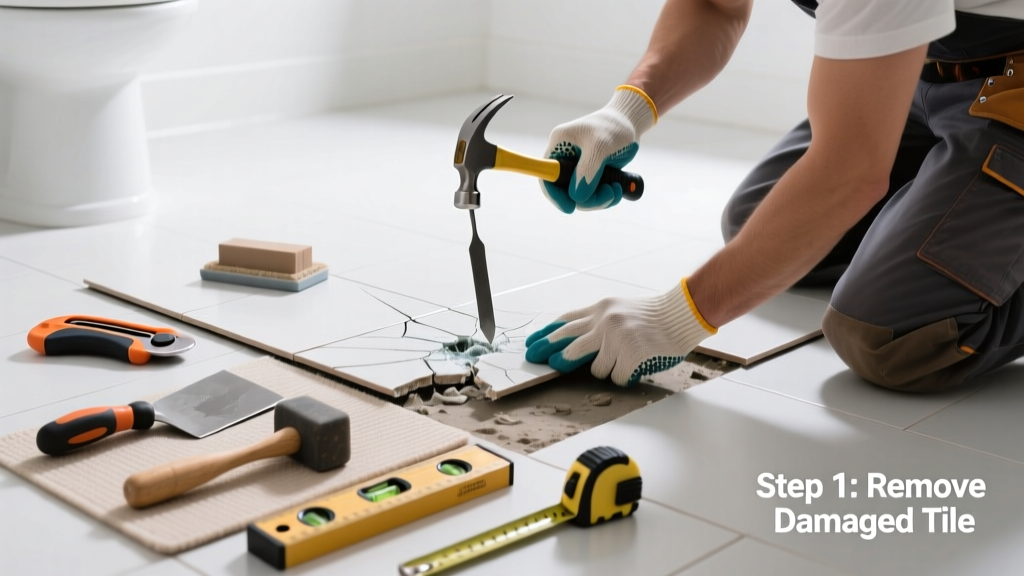
A single hairline crack in a ceramic or porcelain tile doesn’t always mean full replacement—but ignoring it invites moisture damage, grout erosion, and further breakage. The good news? You can often isolate and replace only the damaged portion using precision tools and matching repair materials. This fix works best on surface-level fractures in low-traffic areas like bathroom walls or kitchen backsplashes.
Quick Diagnosis
Before grabbing tools, confirm the crack isn’t a symptom of deeper trouble. Here are the most common root causes:
- Impact from dropped tools, appliances, or heavy objects (e.g., a falling kettle on a kitchen floor tile)
- Subfloor movement due to improper installation or settling—especially in homes built on expansive clay soil (common in Texas and Arizona)
- Thermal stress from radiant floor heating cycling on/off without proper expansion joints
- Grout shrinkage or poor bonding, which transfers stress directly to the tile body
- Manufacturing defects—rare, but verified by checking batch numbers and contacting the supplier
Tools & Materials Needed
| Item | Purpose | Estimated Cost |
|---|---|---|
| Diamond-tipped rotary bit (Dremel 561) | Cuts precise grooves around crack without shattering adjacent tile | $12–$18 |
| Epoxy-based tile repair compound (e.g., MAPEI Kerapoxy Design) | Fills and bonds replacement section; color-matches and resists water | $24–$32 |
| Tile nippers with carbide tips | Removes fractured material cleanly without chipping surrounding glaze | $14–$22 |
| Grout float & silicone caulk gun | Ensures smooth finish and waterproof seal at repair edges | $8–$15 |
| 100-grit and 400-grit sanding sponges | Blends repair surface texture to match original tile sheen | $4–$7 |
Step-by-Step Fix
Follow these five steps to replace only the cracked portion—no full tile removal required:
- Mark and groove: Use a pencil to outline the cracked zone, then cut a 1/16" deep groove around its perimeter with the Dremel and diamond bit.
- Remove damaged material: Tap gently inside the groove with a cold chisel and hammer, then use tile nippers to lift out fragments—stop before reaching undamaged glaze.
- Prepare surface: Clean dust with isopropyl alcohol; let dry 15 minutes. Lightly roughen exposed tile body with 100-grit sponge for epoxy adhesion.
- Fill and cure: Mix epoxy per manufacturer instructions, press into cavity with a putty knife, overfill slightly, then scrape level with the tile surface.
- Finish and seal: After 24 hours, wet-sand with 400-grit sponge until flush. Wipe clean, then apply clear silicone sealant along all edges per tile grout sealant guide.
When to Call a Pro
Don’t risk structural integrity or water intrusion if any of these apply:
- The crack extends beyond one tile into adjacent grout lines or substrate (sign of subfloor failure)
- You’re working on a heated floor system—cutting near wiring or hydronic tubing requires thermal imaging verification
- The tile is part of a large-format installation (12" x 24" or bigger) where even minor depth variance causes lippage
- You spot efflorescence or dark staining beneath the crack—indicating chronic moisture exposure behind the tile
- Your home was built before 1980 and you suspect asbestos-containing adhesive under the tile (testing required before disturbance)
"Over 68% of partial-tile repairs fail within 18 months when epoxy isn’t fully cured or surface prep is rushed," says contractor Marcus Bell, lead trainer at the National Tile Contractors Association’s 2022 Field Certification Program.
Prevention Tips
Extend the life of your repair—and prevent future cracks—with these field-tested habits:
- Install expansion joints every 8 feet in floor installations, per ANSI A108.02 standards
- Use flexible thin-set mortar (e.g., Mapei Ultraflex LFT) in areas prone to vibration, like laundry rooms or garages
- Place rubber-backed mats—not vinyl or rigid plastic—in high-impact zones near sinks and entryways
- Re-seal grout lines annually in wet areas; the U.S. EPA estimates that properly sealed grout reduces moisture penetration by up to 70%
- Avoid dragging furniture—lift instead—or use felt pads rated for ceramic tile (not generic foam)
Can I use regular grout instead of epoxy for the repair?
No. Standard cementitious grout lacks tensile strength and will shrink, crack, or crumble in a partial-tile repair cavity. Epoxy is non-porous, flexible, and bonds chemically to ceramic—critical for durability. Cement grout also absorbs water, risking mold under the tile per mold under tile signs.
What if the replacement epoxy doesn’t match my tile color?
Most epoxy kits include pigment packs—mix small batches until you hit a match under natural light. If your tile is glazed with a metallic or iridescent finish, contact the manufacturer: Crossville and Dal-Tile offer custom color-matching services for registered jobs (proof of purchase required).
How long before I can walk on the repaired area?
Wait 24 hours before light foot traffic. For full load-bearing use (e.g., placing cabinets or appliances), allow 72 hours—the epoxy reaches 95% of ultimate strength by then. Avoid mopping for 5 days; use a damp cloth only.
Is this method approved for shower walls?
Yes—if the crack is confined to the tile face and not penetrating the waterproofing membrane beneath. But verify membrane integrity first: cut a 1" test square near the crack and inspect for intact red or black sheet membrane. If compromised, refer to our shower waterproofing repair guide before proceeding.
Can I repair a crack in a natural stone tile the same way?
No. Stone tiles (marble, travertine, slate) require different fillers—like resin-based stone repair kits with UV-cured hardeners—to prevent yellowing and maintain porosity balance. Using epoxy on limestone may cause etching; consult the Marble Institute of America’s 2021 Repair Standards before starting.
Do I need to replace the grout around the entire tile?
Only the grout directly abutting the repair zone. Remove and replace 1/4" of grout on each side using a grout saw, then reseal after curing. Full regrouting is unnecessary unless existing grout is powdery or discolored—a sign of deeper moisture issues.
A well-executed partial tile repair blends invisibly and lasts years—especially when matched to your environment’s demands. Keep your epoxy kit on hand, check grout seals twice yearly, and remember: the fastest fix isn’t always the strongest one. When in doubt, pause, photograph the damage, and compare it to real-world examples in our tile damage identification chart.