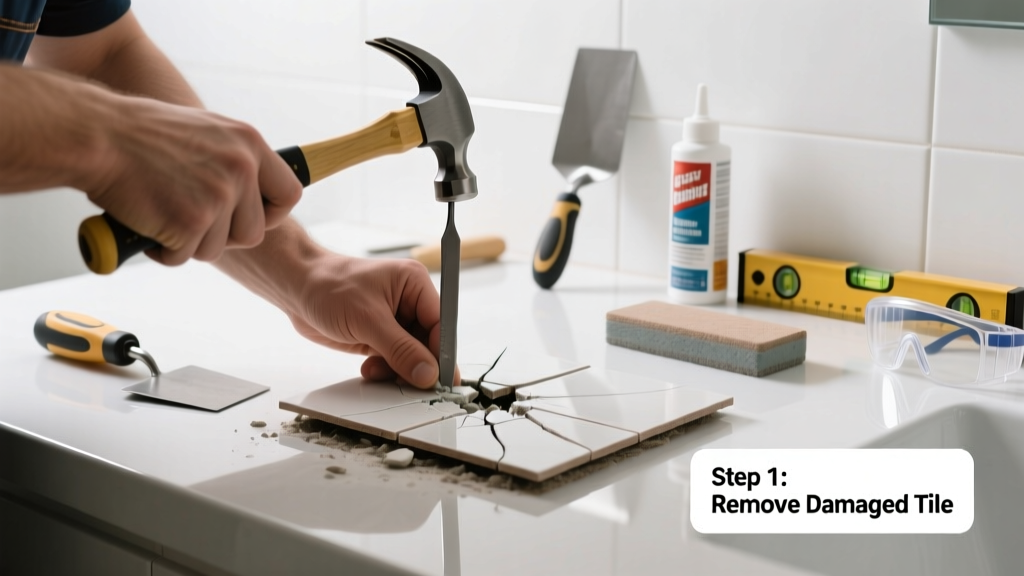
A cracked tile in your bathroom isn’t just an eyesore—it’s a potential entry point for moisture that can rot subflooring, grow mold, or weaken adjacent tiles. Even a hairline fracture can worsen fast under daily steam, foot traffic, and cleaning chemicals. Catch it early, and you’ll save hundreds in future repairs.
Quick Diagnosis
Before grabbing tools, identify the root cause. Most bathroom tile cracks stem from one (or more) of these:
- Subfloor movement or flex due to inadequate support or water-damaged plywood
- Impact damage—from dropped bottles, tools, or heavy objects
- Thermal stress from rapid temperature shifts (e.g., cold tile + hot shower)
- Improper installation: thinset not fully covering back of tile, or lack of expansion joints near walls/fixtures
- Grout shrinkage or deterioration allowing lateral movement over time
Tools & Materials Needed
| Item | Purpose | Estimated Cost |
|---|---|---|
| Grout removal tool or oscillating multi-tool with carbide blade | Cuts out old grout cleanly without chipping adjacent tiles | $15–$45 |
| Epoxy-based tile repair kit (e.g., PC-11 or Loctite Epoxy Metal/Concrete) | Fills cracks with waterproof, sandable, color-matching filler | $8–$16 |
| Replacement tile (same size, thickness, and absorption rating) | Required if crack is deep or tile is loose; match porcelain/ceramic type | $2–$12 per tile |
| Notched trowel (1/8" x 1/8" V-notch) | Spreads thinset evenly for proper bond on replacement tile | $6–$14 |
| Grout float and non-sanded grout (for joints ≤1/8") | Re-fills joints smoothly and seals against moisture | $4–$10 |
Step-by-Step Fix
Choose the method based on crack severity and tile stability:
- For hairline cracks (no movement or looseness): Clean thoroughly with vinegar, dry completely, then apply two thin coats of epoxy filler using a toothpick or micro-spatula. Sand lightly after 24 hours and seal with penetrating grout sealer.
- For cracked + slightly loose tile: Remove grout around all four edges, gently pry up tile with a putty knife, scrape off old thinset, apply fresh modified thinset, press tile back in place, and tape it down for 24 hours before re-grouting.
- For shattered or deeply cracked tile: Drill pilot holes at crack intersections, carefully break center with cold chisel, remove fragments, clean substrate, install new tile with matching thinset, and cure 48 hours before grouting.
- For multiple cracked tiles in one area: Pull up all affected tiles, inspect subfloor for soft spots or moisture, replace damaged OSB or cement board, then reinstall with proper back-buttering and uncoupling membrane if needed.
When to Call a Pro
Don’t risk structural or health hazards—call a licensed tile contractor if:
- You find soft, spongy, or discolored subflooring beneath the tile
- Cracks follow a straight line across 3+ tiles (sign of major substrate shift)
- The crack is near the shower pan liner or tub flange—and you suspect waterproofing compromise
- You’re replacing tiles over radiant heating cables or embedded sensors
According to the National Tile Contractors Association’s 2022 Field Survey, 68% of bathroom tile failures traced to subfloor issues—not surface damage—were misdiagnosed by DIYers as simple cosmetic fixes.
Prevention Tips
Extend the life of your bathroom tile with these practical habits:
- Install rubber-backed bath mats—not suction-cup rugs—that trap moisture underneath
- Use a squeegee on shower walls after each use to reduce thermal cycling
- Re-seal grout every 12–18 months (test with water droplet test first)
- Avoid abrasive cleaners like Comet or steel wool on glazed surfaces
- Add expansion joints every 20 ft² in large tiled areas, especially where tile meets tub or vanity
Can I use regular caulk instead of grout to fill the crack?
No. Standard acrylic or silicone caulk lacks compressive strength and UV stability indoors, and won’t bond reliably to glazed ceramic. It shrinks, discolors, and traps moisture behind tile. Use only epoxy filler for cracks or sanded grout for joints grout vs. caulk in bathroom.
Will a cracked tile get worse if I ignore it?
Yes—fast. Water infiltration accelerates subfloor decay, and adjacent tiles take on extra stress. The U.S. EPA estimates that undetected bathroom leaks contribute to 30% of hidden mold cases in homes built since 2000.
How long does epoxy repair last in a wet area?
Properly applied epoxy filler lasts 5–7 years in shower floors and 8–10 years on walls—provided you seal it with a solvent-based grout sealer like Aqua Mix Sealer’s Choice Gold. Reapply sealer every 2 years.
Do I need to turn off water supply before starting?
Only if you’re removing tile near the shower valve, faucet escutcheon, or behind the toilet. For isolated floor or wall tile repair, no—but always shut off the main if cutting into walls or subfloor near plumbing lines.
Can I paint over a repaired crack?
Avoid paint—it peels, yellows, and doesn’t move with tile expansion. Instead, use a tinted epoxy or grout colorant matched to your tile. For glossy finishes, try tile touch-up pens designed for porcelain.
What’s the fastest temporary fix until I can repair it properly?
Clean and dry the crack, then press in a thin strip of clear silicone caulk (100% silicone, mildew-resistant), smooth with a damp fingertip, and let cure 24 hours. This buys 2–4 weeks—but don’t rely on it beyond that. It’s not a structural solution.
A cracked tile is rarely just about aesthetics—it’s your bathroom’s first warning sign that something deeper needs attention. Whether you patch, replace, or call in help, act within 72 hours of noticing the crack. That small window makes the difference between a $12 epoxy kit and a $1,200 subfloor rebuild—and keeps your home safe, dry, and functional for years to come.