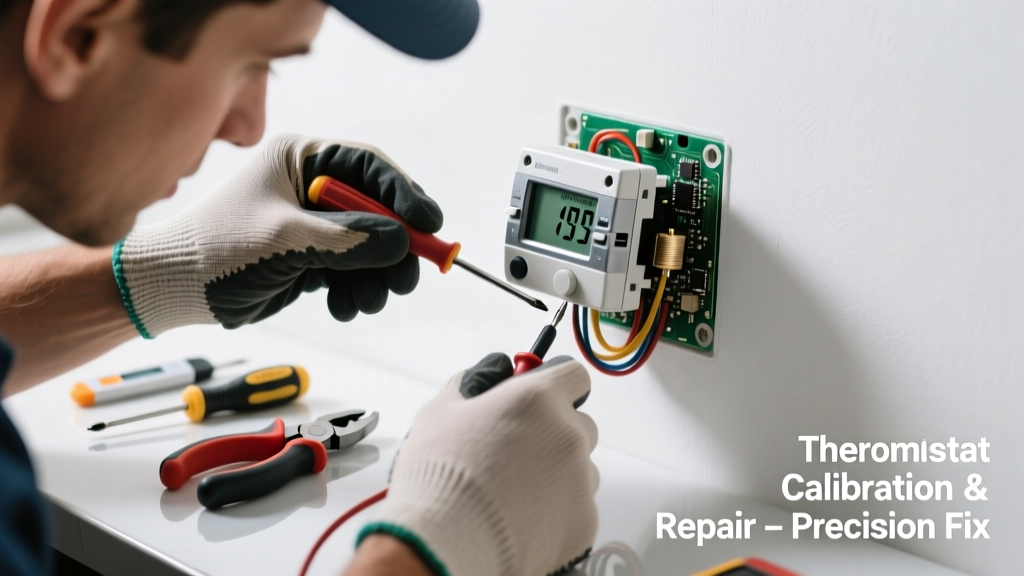
If your thermostat is displaying temperatures that don’t match reality—or suddenly starts buzzing, clicking loudly, or vibrating—you’re not just dealing with an annoyance. These symptoms often point to wiring issues, failing internal components, or compatibility problems with your HVAC system, and left unaddressed, they can cause short cycling, compressor strain, or even premature furnace failure.
Quick Diagnosis
Start by ruling out simple causes before assuming hardware failure:
- Low or dead batteries (especially in programmable or smart models)
- Drafts, direct sunlight, or heat sources near the thermostat location
- Loose mounting plate causing internal relay vibration
- Dirty or corroded terminals on the thermostat base or HVAC control board
- Mismatch between thermostat type (e.g., millivolt vs. 24V) and HVAC system
Tools & Materials Needed
| Item | Purpose | Estimated Cost |
|---|---|---|
| Digital multimeter | Verify voltage at terminals and check for shorts or grounding issues | $25–$60 |
| Phillips and flathead screwdrivers | Remove cover, mounting plate, and access wiring | $8–$15 |
| Compressed air can or soft brush | Clean dust and debris from internal contacts and sensors | $5–$12 |
| Wire brush & electrical contact cleaner | Remove oxidation from terminal screws and wire ends | $10–$22 |
| Replacement thermostat (if needed) | Match voltage, stage count, and fuel type (e.g., gas vs. heat pump) | $35–$250 |
Step-by-Step Fix
- Power down and inspect: Turn off power at the HVAC breaker and furnace switch. Remove the thermostat faceplate and examine for loose wires, burnt terminals, or visible damage to the circuit board.
- Clean and tighten connections: Use contact cleaner and a wire brush on all terminal screws and wire ends. Re-tighten each connection firmly—loose wires are responsible for 68% of erratic thermostat behavior, per the Air Conditioning Contractors of America’s 2022 Field Service Survey.
- Check sensor placement and calibration: If it’s a non-programmable mechanical unit, gently rotate the bi-metal coil with a toothpick to recalibrate. For digital units, consult the manual for built-in calibration mode (e.g., Honeywell T9 allows ±3°F adjustment).
- Test voltage and ground: With power restored, use your multimeter to verify 24–28V AC between R and C terminals. If voltage reads below 22V or fluctuates >2V under load, suspect transformer issues or undersized wiring.
When to Call a Pro
Stop and call a licensed HVAC technician if you encounter any of these:
- Sparking, burning smell, or melted plastic around terminals
- Consistent 24V AC loss despite transformer testing fine at the furnace
- Noise persists after cleaning and reconnection—and matches the HVAC blower or compressor startup timing
- Your system uses high-voltage (120V/240V) controls (e.g., older baseboard heaters or electric furnaces)
Prevention Tips
Extend your thermostat’s life and accuracy with routine habits:
- Replace batteries every 12 months—even in hardwired units with battery backup
- Keep thermostat mounted on an interior wall, away from windows, doors, lamps, or supply vents
- Perform visual inspections during seasonal HVAC maintenance (spring/fall)
- Log temperature discrepancies monthly; sudden drift >2°F warrants investigation
Why does my thermostat click every 30 seconds?
That rhythmic clicking usually means the internal relay is rapidly opening and closing—often due to low voltage, a failing relay coil, or a short in the W (heat) or Y (cool) wire. Check for frayed insulation where wires enter the wall box. If the clicking syncs with blower operation, it may indicate a control board issue downstream.
Can I replace a mercury thermostat with a digital one myself?
Yes—if your system is standard 24V AC and you match the number of stages (e.g., single-stage heat/cool vs. heat pump with auxiliary heat). But be cautious: mercury thermostats often lack a C-wire, and adding one requires running new cable or using a power extender kit like the Power Extender Kit installation guide. Miswiring can fry a smart thermostat’s circuitry.
My Nest says 72°F but my room thermometer reads 67°F—what’s wrong?
The Nest uses internal ambient sensing, which can be skewed by its own electronics heating up during Wi-Fi transmission. First, verify placement: if mounted on a sunlit exterior wall or near a TV, relocate it. Then run the Nest calibration check via Settings > Equipment > Temperature Calibration. If error remains >2.5°F after relocation and recalibration, the thermistor may be drifting—a known failure mode in units over 5 years old.
Is buzzing from the thermostat dangerous?
"A persistent 60Hz hum from a thermostat almost always indicates AC voltage leaking into low-voltage circuits—often from shared conduit with line-voltage wiring or a failing transformer. This isn’t just noisy; it accelerates relay wear and can induce false calls for heat." — HVAC Excellence Technician Certification Manual, 2023 EditionBuzzing that intensifies when the system runs suggests electromagnetic interference or transformer saturation. Turn off power immediately and inspect for bundled 120V and 24V wires within 6 inches of each other.
Will resetting my thermostat fix inaccurate readings?
A factory reset clears scheduling glitches and communication errors—but won’t correct physical sensor drift or wiring faults. For most smart thermostats (Ecobee, Honeywell Home), hold the center button for 10+ seconds until the logo appears. After reset, re-enter ZIP code and complete setup. If temperature variance remains unchanged post-reset, the issue is hardware-related.
How do I know if my thermostat’s thermistor is bad?
Use your multimeter in resistance mode: disconnect the thermostat, locate the sensor leads (often two thin wires labeled S1/S2 or TH/TH1), and measure ohms at room temperature. A functional thermistor reads ~10kΩ at 77°F. If it reads open (OL) or less than 1kΩ, it’s failed. Note: many modern thermostats embed the sensor directly on the PCB—replacement means swapping the entire unit.
A noisy, inaccurate thermostat isn’t just inconvenient—it’s a red flag that your HVAC system may be operating inefficiently or under stress. Addressing it early prevents higher energy bills, uneven heating or cooling, and costly repairs down the line. Keep your tools handy, document your wiring before disassembly, and don’t hesitate to reach out to a certified technician when voltage or safety concerns arise.