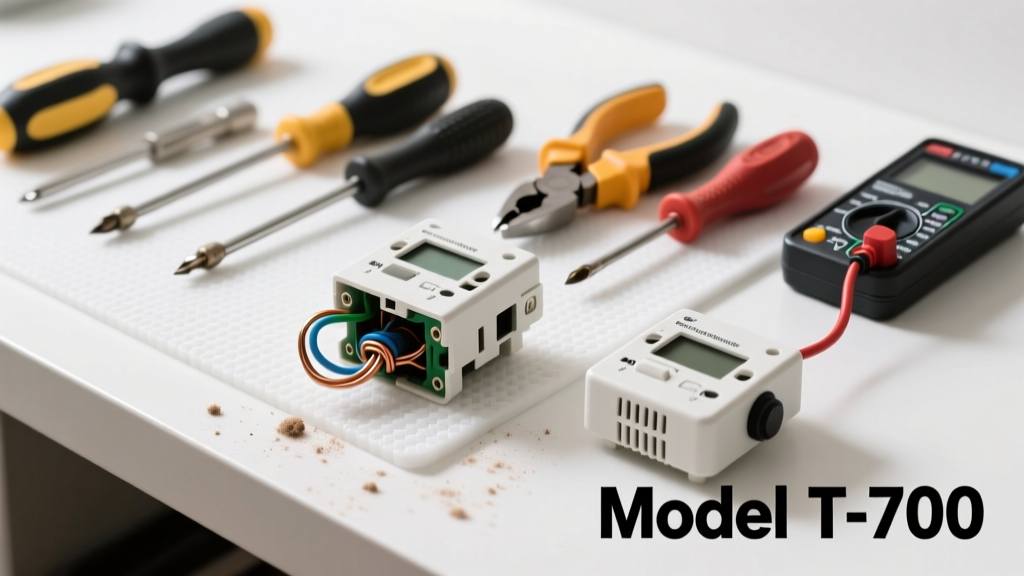
If your thermostat isn’t responding, but the HVAC system runs fine when bypassed, the issue is likely a single failed component—not the entire unit. Replacing just the faulty part (like the thermistor, display driver, or relay) can cost under $15 and take less than 30 minutes. Most homeowners overlook this option and replace the whole thermostat unnecessarily.
Quick Diagnosis
Before grabbing tools, rule out simple causes:
- No power to the thermostat (check circuit breaker and furnace switch)
- Loose or corroded wire connections at terminals R, W, Y, G, or C
- Dead internal battery (even on hardwired models with backup cells)
- Faulty temperature sensor—verify with a multimeter reading across the thermistor leads (should vary with ambient temp)
- Stuck or cracked reed switch (common in older mechanical thermostats)
Tools & Materials Needed
| Item | Purpose | Estimated Cost |
|---|---|---|
| Digital multimeter | Test continuity, voltage, and resistance of internal components | $18–$45 |
| Phillips #1 screwdriver | Remove faceplate and mounting screws without stripping | $4–$12 |
| ESD-safe tweezers | Handle tiny SMD resistors, capacitors, or relays safely | $6–$15 |
| Replacement thermistor (e.g., 10K NTC) | Most common failed part; matches OEM specs for Honeywell, Ecobee, or Nest Gen 2–3 | $2.50–$8.99 |
| Soldering iron + 63/37 rosin-core solder | Desolder and replace surface-mount parts cleanly | $22–$65 |
Step-by-Step Fix
- Power down completely: Turn off the HVAC breaker AND remove thermostat batteries—even if hardwired. Wait 60 seconds to discharge capacitors.
- Remove faceplate and backplate: Label all wires with tape (e.g., “R”, “W”, “C”) before disconnecting. Take a photo for reference.
- Inspect the PCB: Look for bulging capacitors, charred traces, or cracked solder joints near the temperature sensor or relay. Use multimeter in diode mode to test thermistor: room-temp reading should be ~10kΩ ±5%; outside that range means replacement.
- Desolder and replace the faulty part: Heat one pad, lift lead gently with tweezers, then remove fully. Clean pads with solder wick. Install new part, ensuring correct orientation (polarity matters for electrolytics and diodes).
- Reassemble and test: Reconnect wires, restore power, set to heat mode, and verify response to temperature change within 90 seconds.
When to Call a Pro
Don’t attempt DIY if you encounter any of these:
- Smoke, burning odor, or visible arcing inside the thermostat housing
- Thermostat shares a common wire (C-wire) with a smart HVAC control board that’s integrated into the furnace—rewiring risks voiding warranty or damaging the control board
- You’re working with a commercial-grade thermostat tied to a building management system (BMS) or fire alarm interlock
- Your model is a proprietary unit like a Carrier Infinity or Trane ComfortLink II—these require OEM programming tools and firmware keys
Prevention Tips
Extend your thermostat’s life with these habits:
- Replace backup batteries every 12 months—even if the display stays lit (voltage sag affects sensor accuracy)
- Keep vents clear: dust buildup on internal sensors causes thermal drift over time
- Install a whole-house surge protector:
According to the National Fire Protection Association’s 2022 Electrical Report, 22% of HVAC control failures stem from voltage spikes during nearby lightning strikes.
- Avoid mounting near heat sources (lamps, south-facing windows) or drafty doors—this stresses the thermistor’s calibration
Can I replace just the display without replacing the whole thermostat?
Yes—if it’s an LCD or LED module with a ZIF connector (common in Honeywell T87, Emerson Sensi Touch). Check service manuals for your model number first. Desoldering a bonded display is rarely feasible; most units use plug-in modules.
What’s the difference between a thermistor and a thermocouple in thermostats?
Thermistors (NTC or PTC) are ceramic resistors whose resistance changes predictably with temperature—used in nearly all residential digital thermostats. Thermocouples generate voltage from temperature differentials and are found only in millivolt gas valve systems (e.g., older wall-mounted thermostats). They’re not interchangeable.
Do I need a C-wire to replace a thermostat part?
No—the C-wire powers the thermostat’s processor and Wi-Fi, not internal sensors. You can safely work on thermistors, relays, or displays without connecting or even having a C-wire present.
How do I know if my thermostat uses a mechanical or electronic sensor?
Flip it over: mechanical units (like old round Honeywell models) have a coiled bimetallic strip visible behind the dial. Electronic ones have a small black rectangular chip labeled ‘NTC’ or ‘10K’ near the edge of the PCB—or a tiny glass bead sensor wired to two pins.
Can a dirty air filter cause thermostat malfunction?
Not directly—but a clogged filter forces the HVAC to run longer, overheating the heat exchanger and triggering high-limit safety shutoffs. That mimics thermostat failure because the system stops responding to calls for heat, even though the thermostat itself works fine. Check your filter monthly and replace it every 90 days.
Is it safe to solder inside a thermostat?
Yes—if you use a temperature-controlled iron (<400°F), fine-tip (0.02”) tip, and work in short bursts (<3 seconds per joint). Overheating can delaminate PCB traces or crack ceramic capacitors. For beginners, start with a practice kit before tackling live electronics.
A properly repaired thermostat often outlasts a new budget model—especially if you’ve addressed the root cause, like voltage surges or dust infiltration. Keep your multimeter calibrated, label every wire, and don’t rush the soldering step: clean joints prevent intermittent failures down the line. If the same part fails twice in six months, suspect underlying electrical issues—not the thermostat itself.